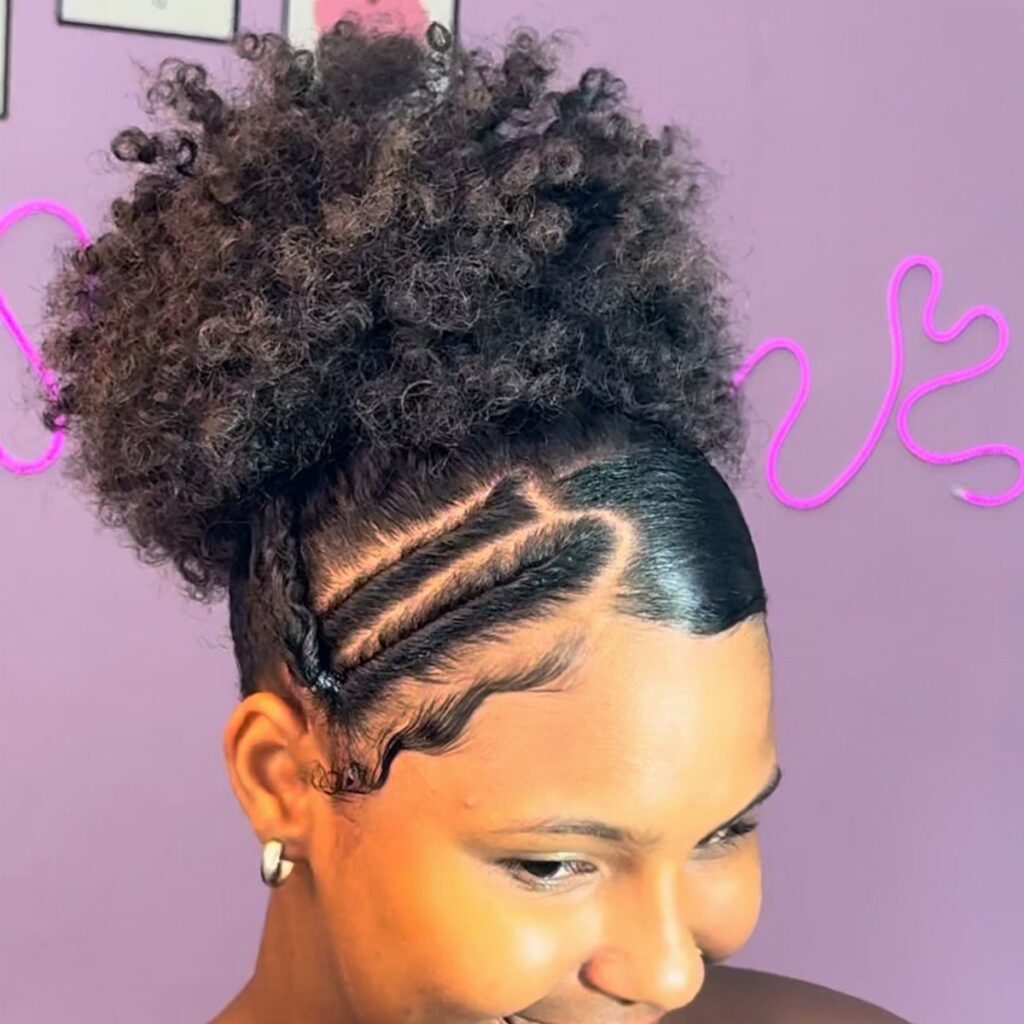
Your curl pattern decides this list more than any photo does: type 3 hair springs into loose spirals, while 4A–4C coils pack tight and can lose 50–75% of wet length as they dry, so the same bun or puff lands differently on each.
The ideas run from a simple half-up bun to a curly wolf cut you can ask for by name, with updos, ponytails, short crops and wash-and-go coils in between.
Judge every look by your dry length, then by how many mornings you’ll actually repeat it.
1. Half-up Bun
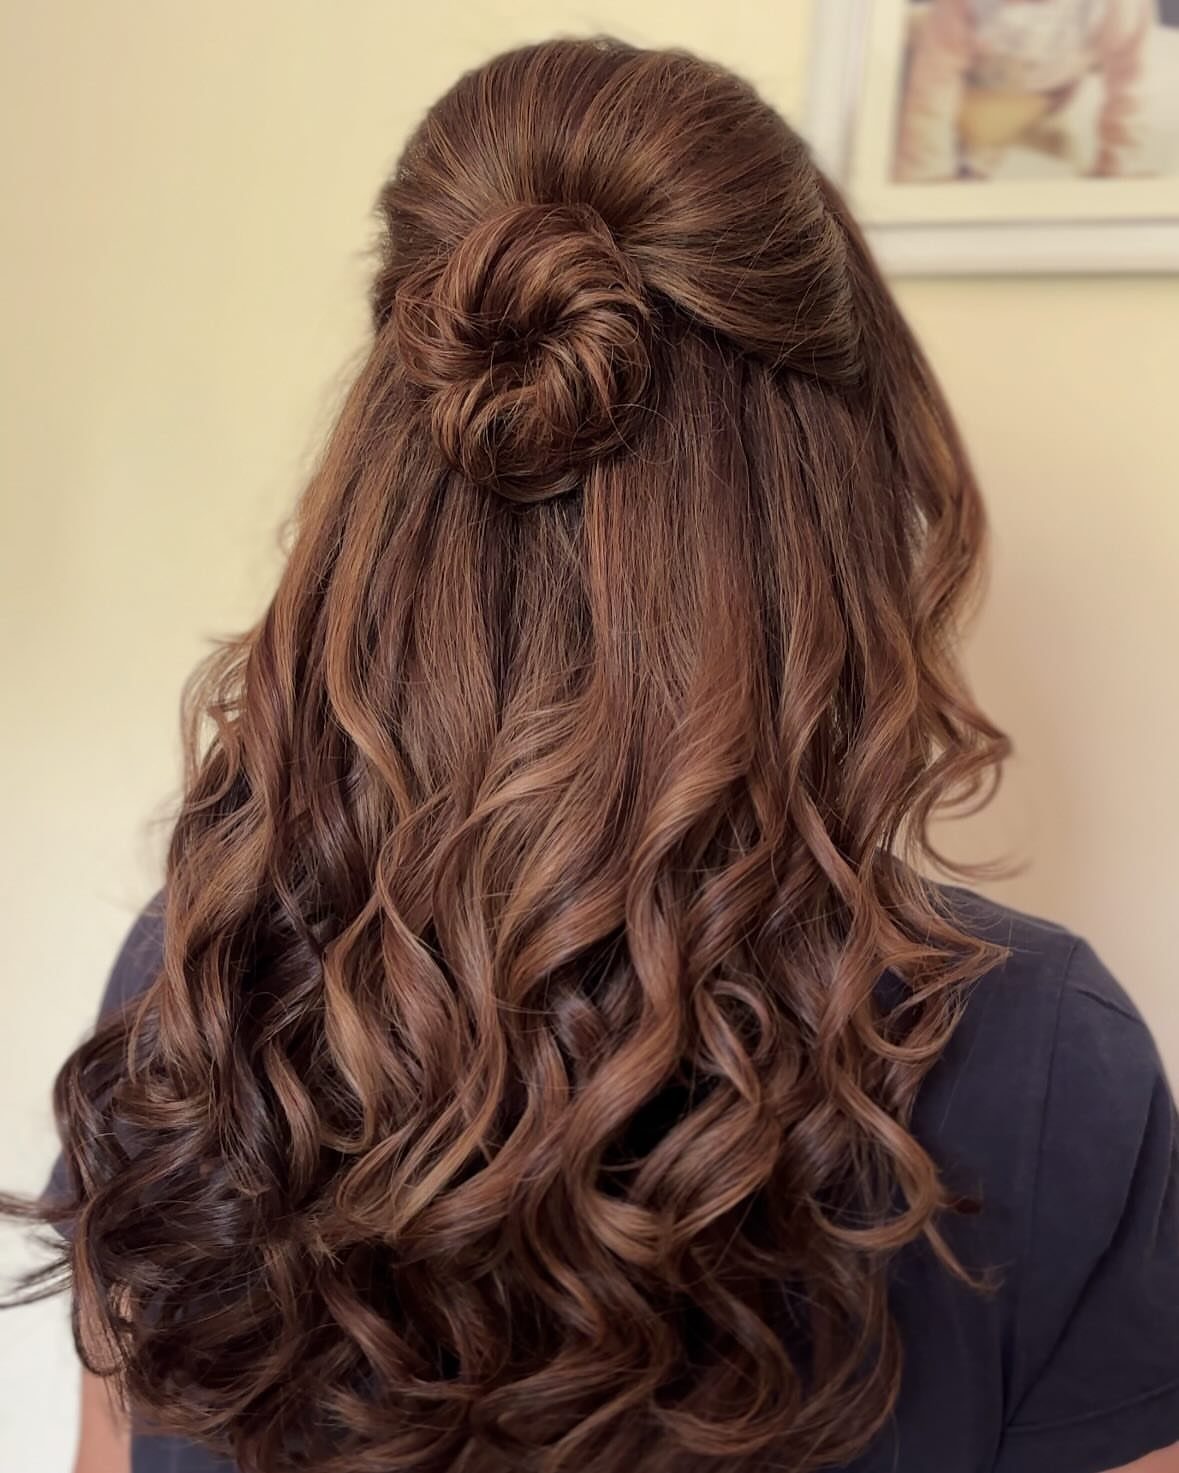
Only the top section goes up here, and the rest of the curls stay loose down the back. I like it for mornings when you want your hair off your face but still want the full length on show.
Pull the top section back, give it one twist, and pin or tie it off. Leave the lower curls alone.
The Curly French Twist is a low-maintenance look that will take you from the office to a night out.
2. Low Bun
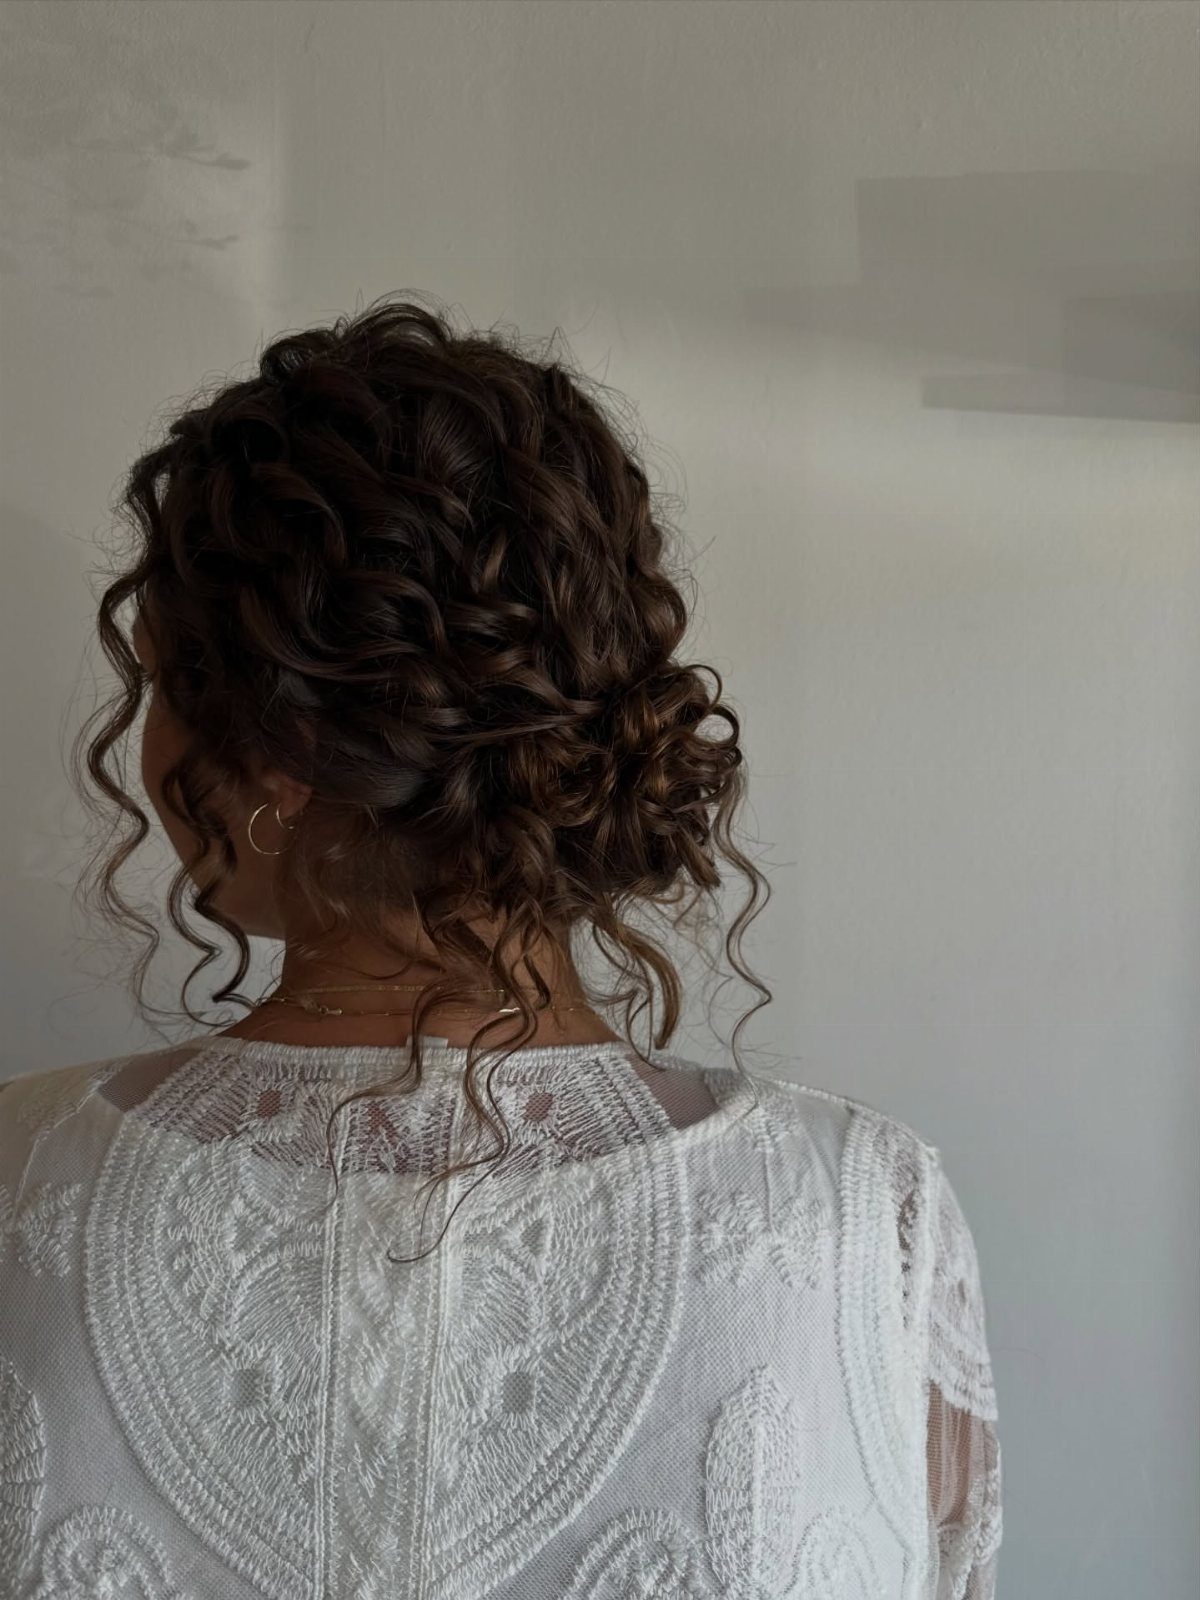
A few loose tendrils at the nape are what make this bun work, so I’d leave them out on purpose. Pulled tight to hide every strand, a bun fights the curl pattern; kept relaxed, it lets the pattern show.
3. High Bun
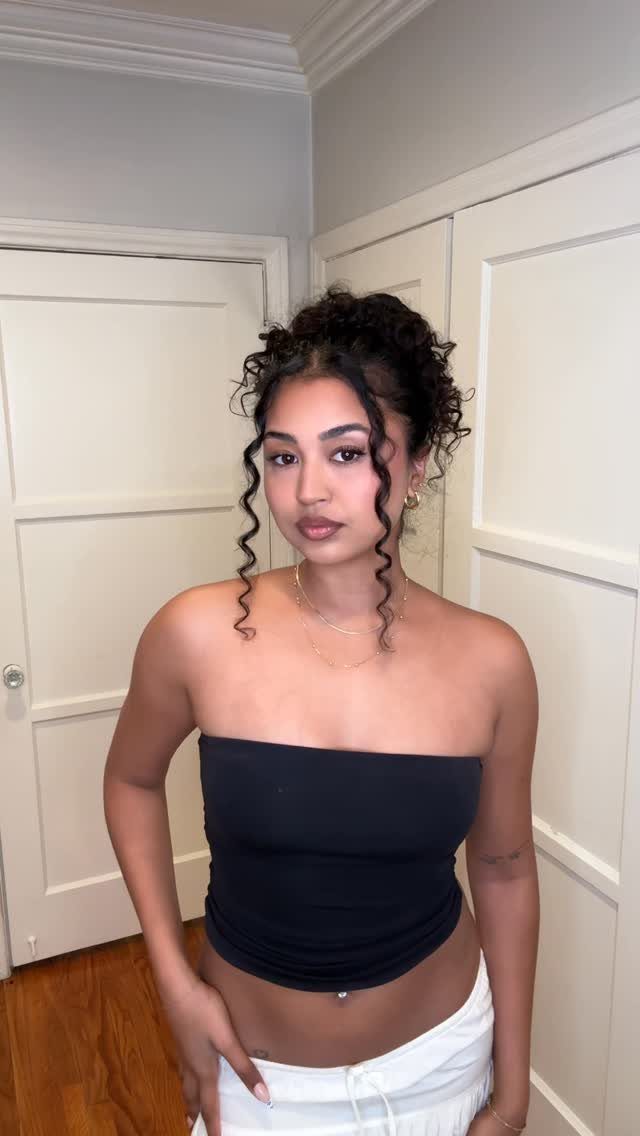
Height changes the whole feel of a bun, and at the crown this one reads lifted and a little playful. Twist your curls or coils up and around the base, then pin or tie them in place.
Pull a few strands loose around the face after the bun is secured. Doing it last keeps them soft and stops the bun from tugging them back in.
4. Natural Ponytail
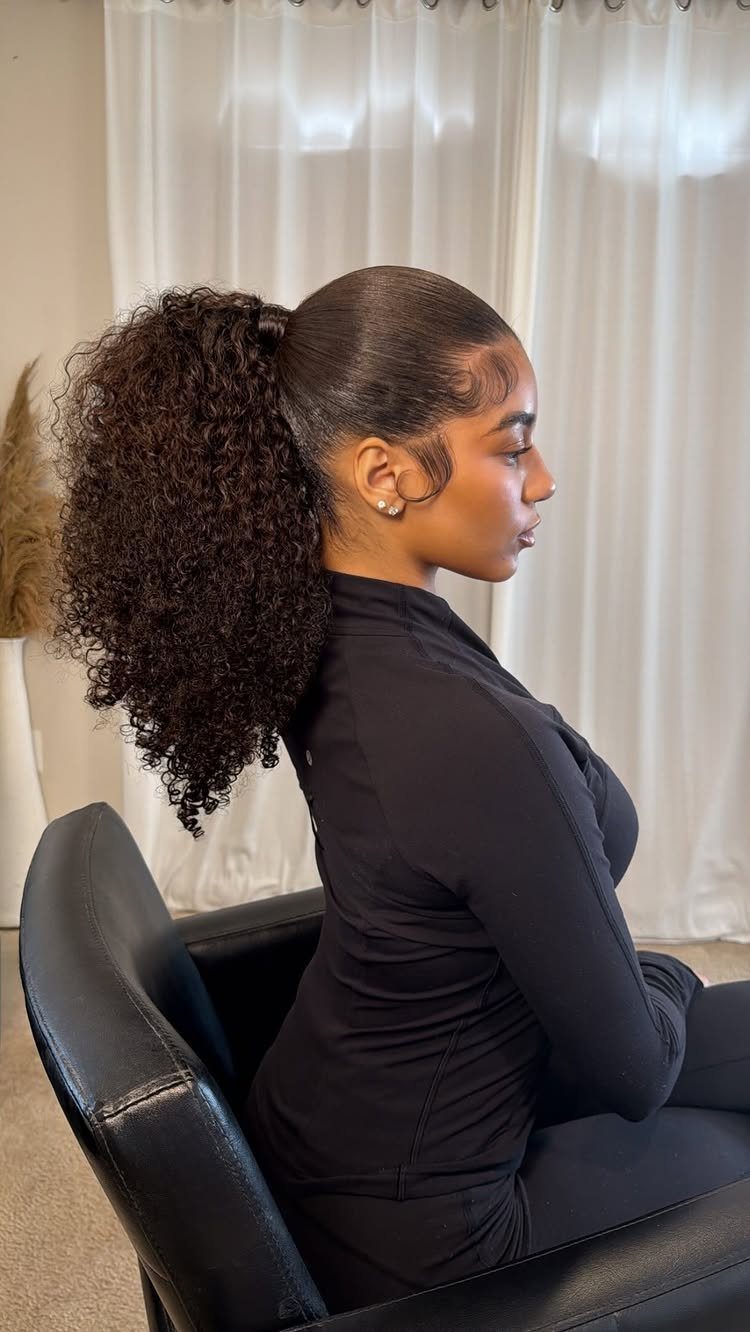
Curls left in their natural pattern and tied back: that is all this ponytail asks of you. Smooth the edges down with gel if you want crisp definition, or leave them alone if you prefer soft and easy.
I’d let a curl or two fall forward at the temples. Gather the rest high, secure with an elastic, and style the front with your fingers rather than a brush.
5. High Ponytail
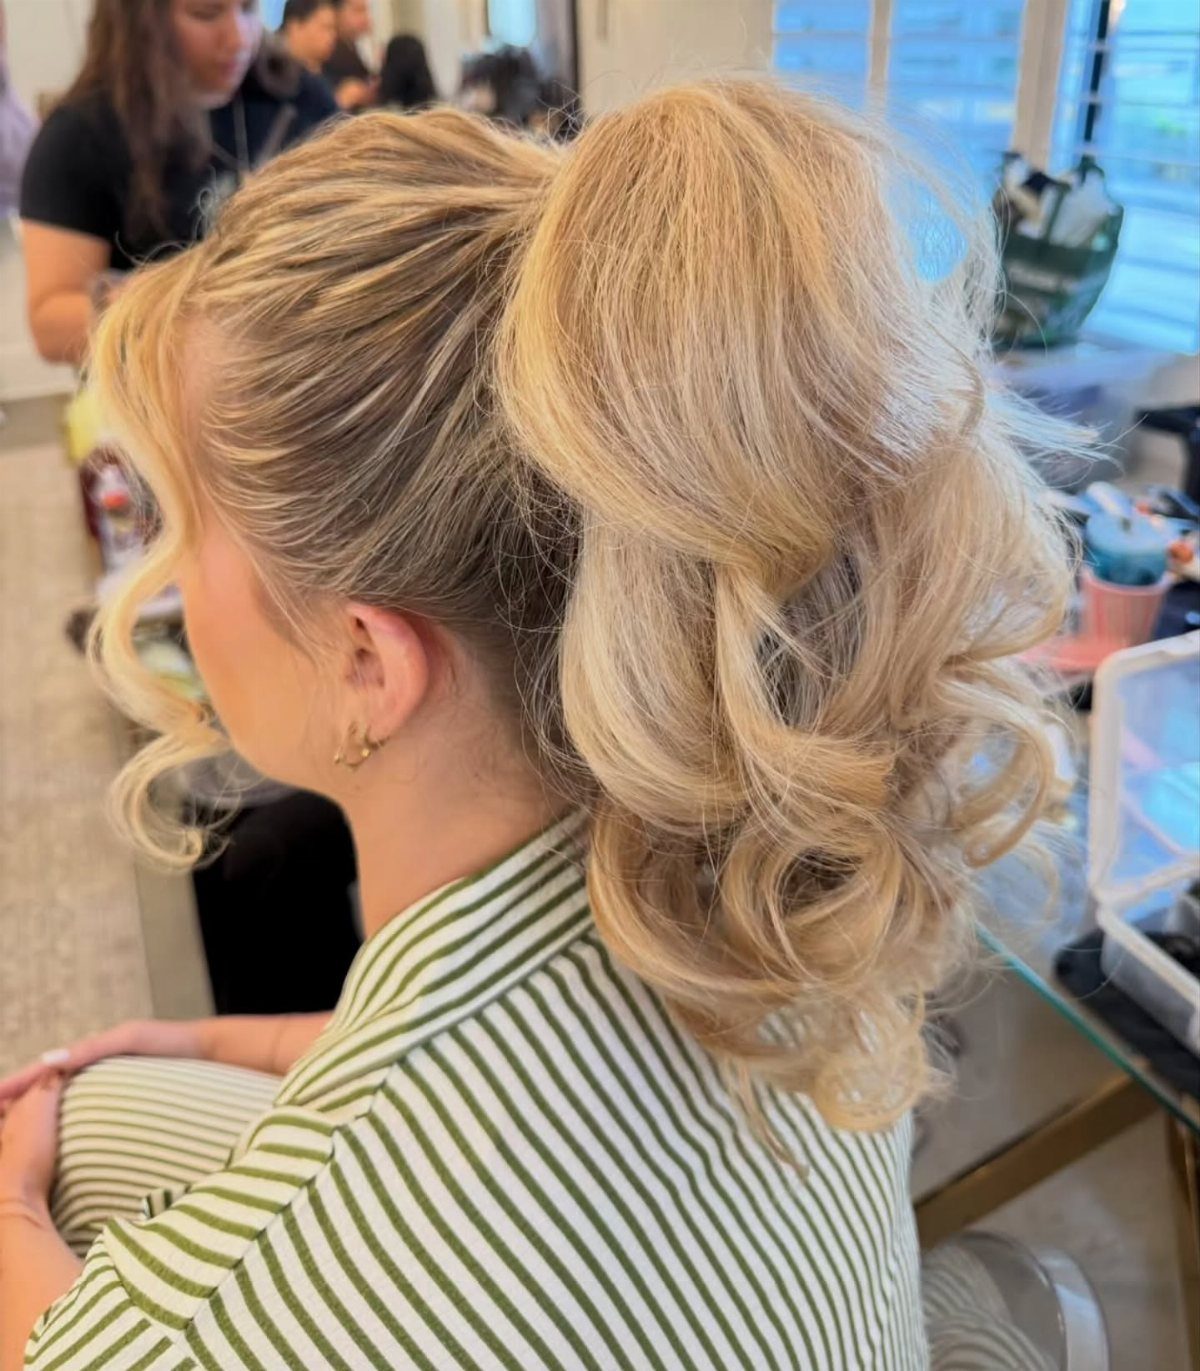
Gathering curls at the crown sends the whole length of the ponytail falling from one high point, so the pattern shows from root to end.
Use your fingers to bring the hair up, secure it with one elastic, and fluff the ponytail lightly. Choose a softer elastic over a tight one if you want to keep the crown looking full.
6. Classic Bun
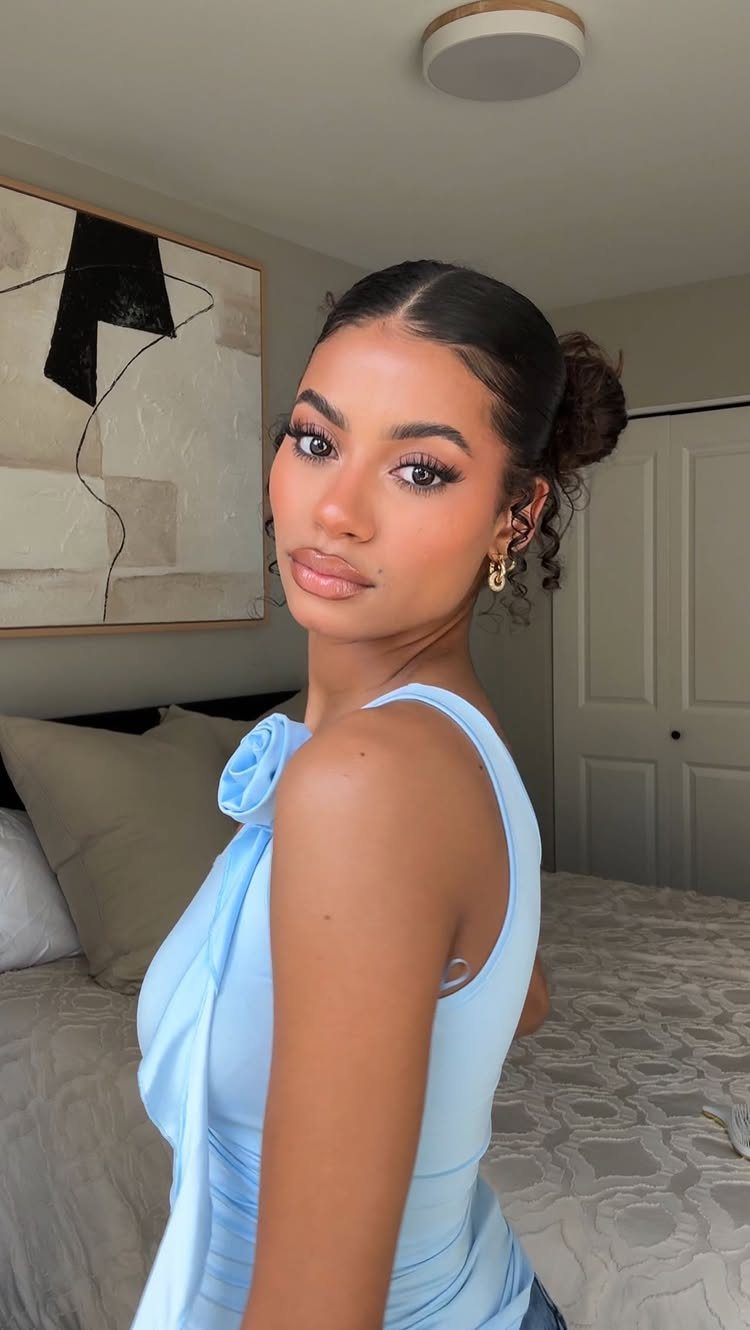
Start with a pulled-back ponytail, then twist it around its own base and pin it down: that is the entire method. The result is a neat, simple bun with no extra styling.
I reach for this one when I want the plainest option on the list. Wear it as is, or loosen the twist a little for a softer shape.
7. Braided Updo
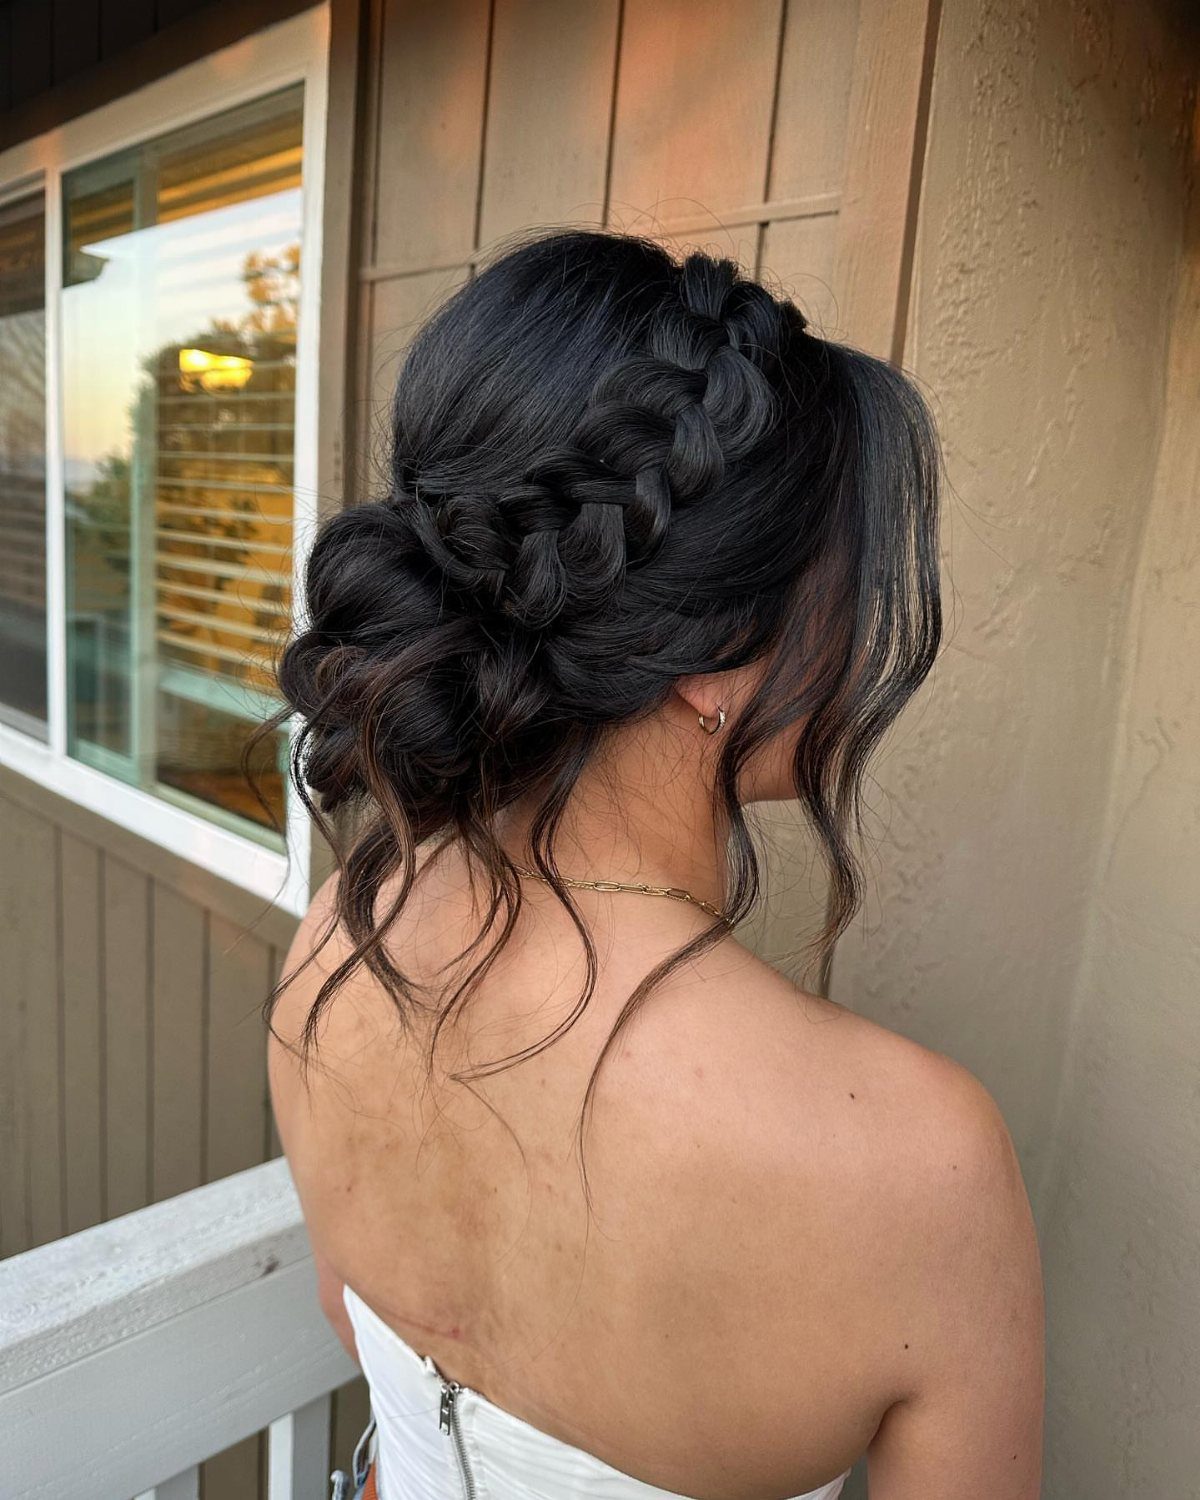
Sections are braided close to the head, then gathered with the loose curls at the crown or nape. Pin the braids first, then tuck the curls around them and secure everything in place.
Braids give structure, and the loose curls keep the updo from looking too formal. If your curls tend to fall, braid damp hair and let it dry fully before pinning.
8. Loose Curly Updo
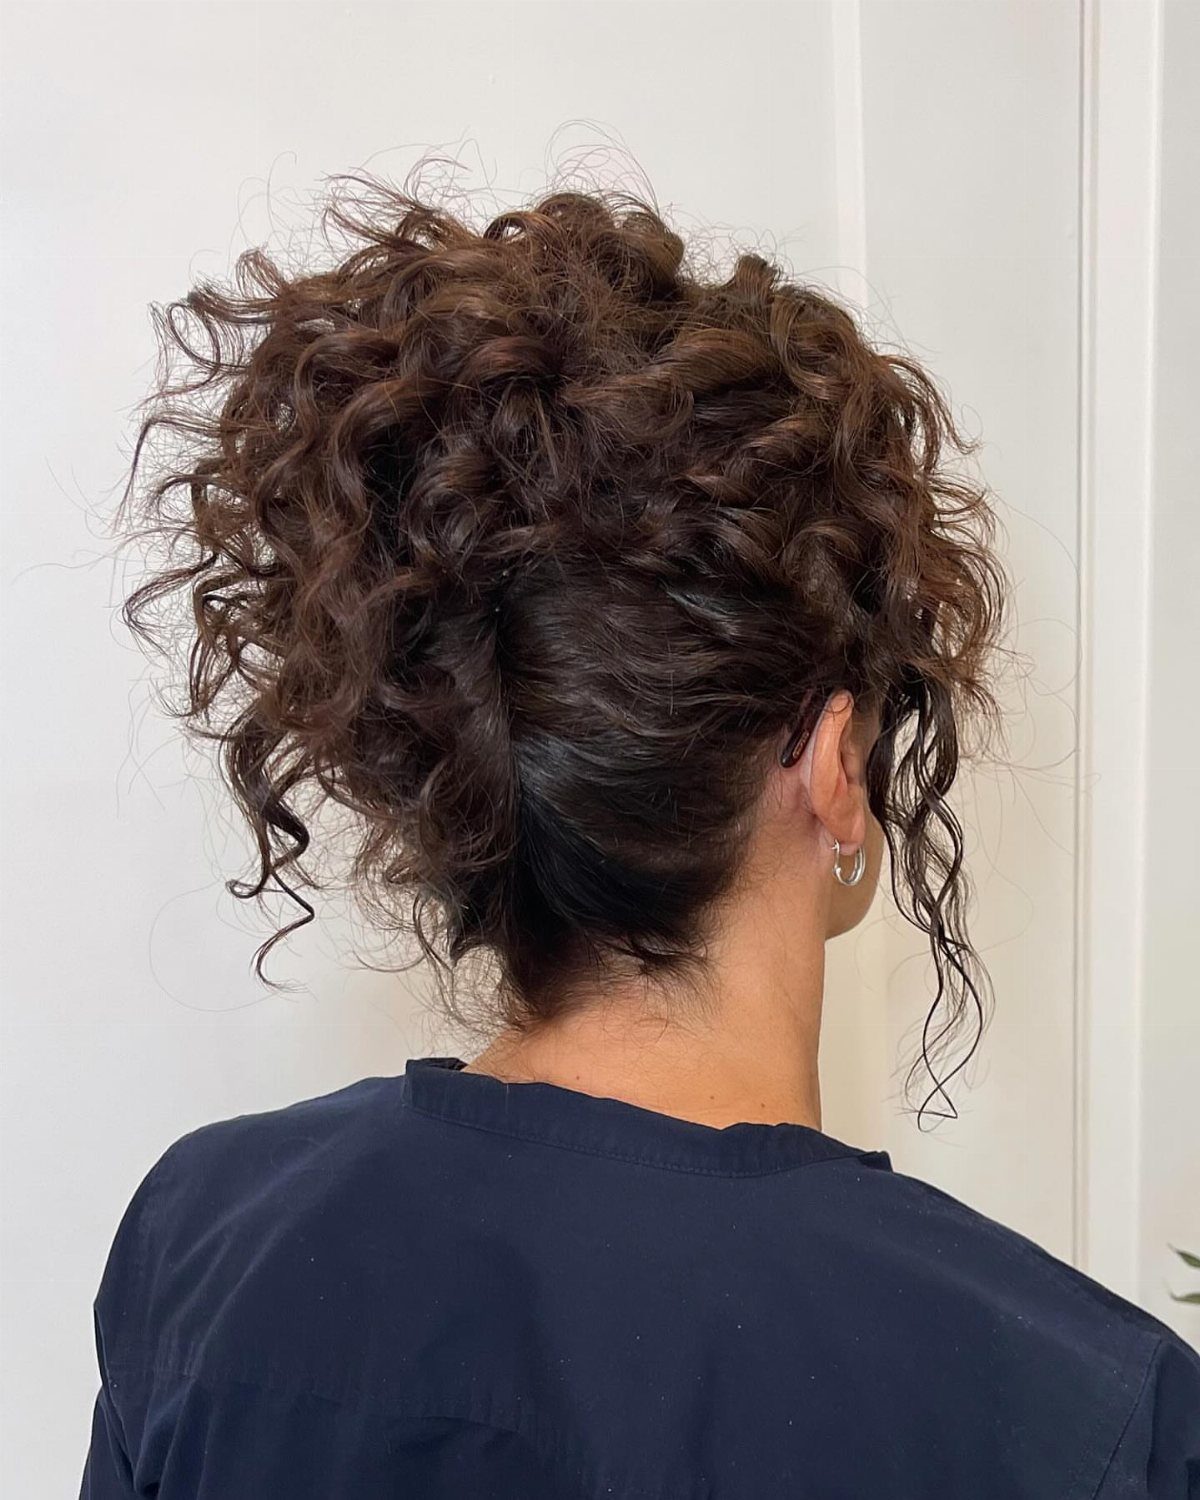
Pin curls upward without smoothing or twisting them tight. The shape stays soft, and the volume comes from the curl pattern itself.
This one works for weddings or formal events, but expect to use more pins than usual to hold the weight of loose curls.
Start at the nape, pin each section as you work up, and leave a few tendrils out to frame your face.
9. High Puff
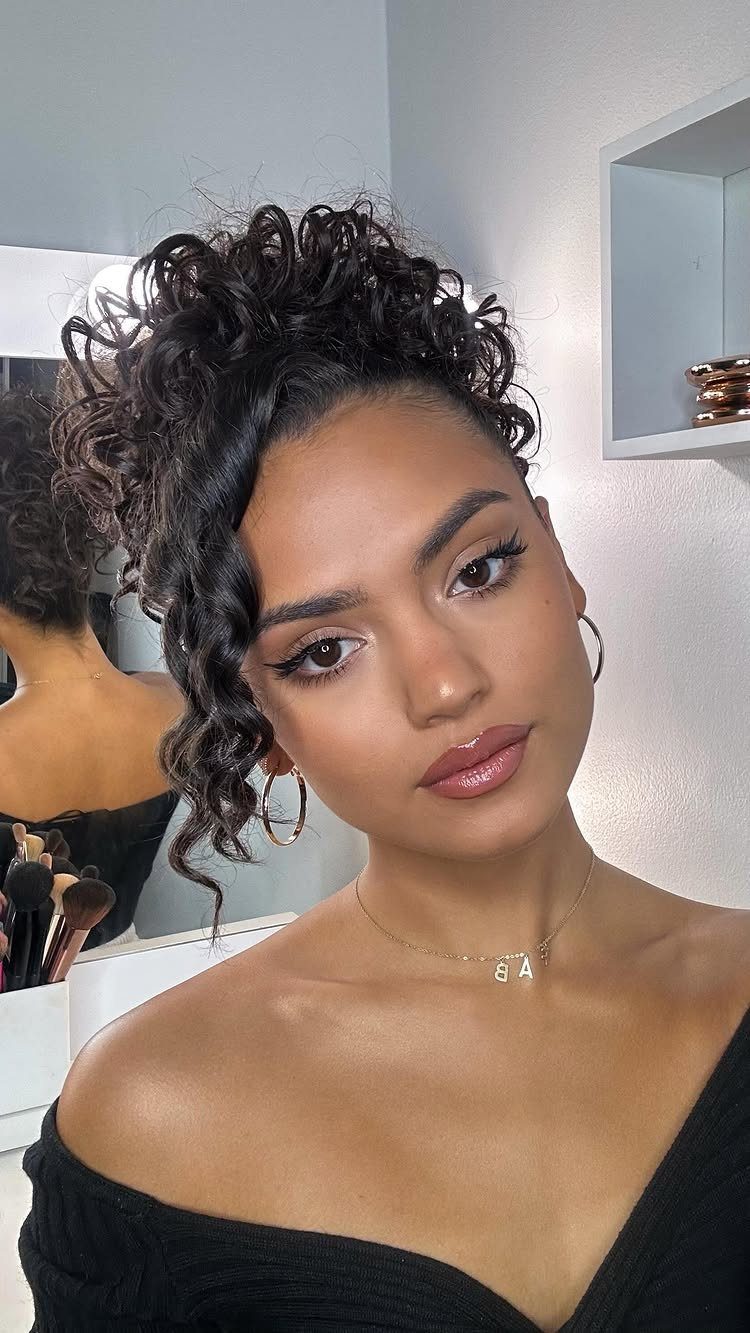
Pull everything up to the crown, smooth gel through both sides, and lock it down with a hair tie. You want the puff sitting directly at your crown, not back toward the nape.
Use a wide elastic that matches your hair color. Pull a few curls forward after you tie it off if you want soft framing, or leave the edges slicked for clean lines.
10. High Bun with Fringe
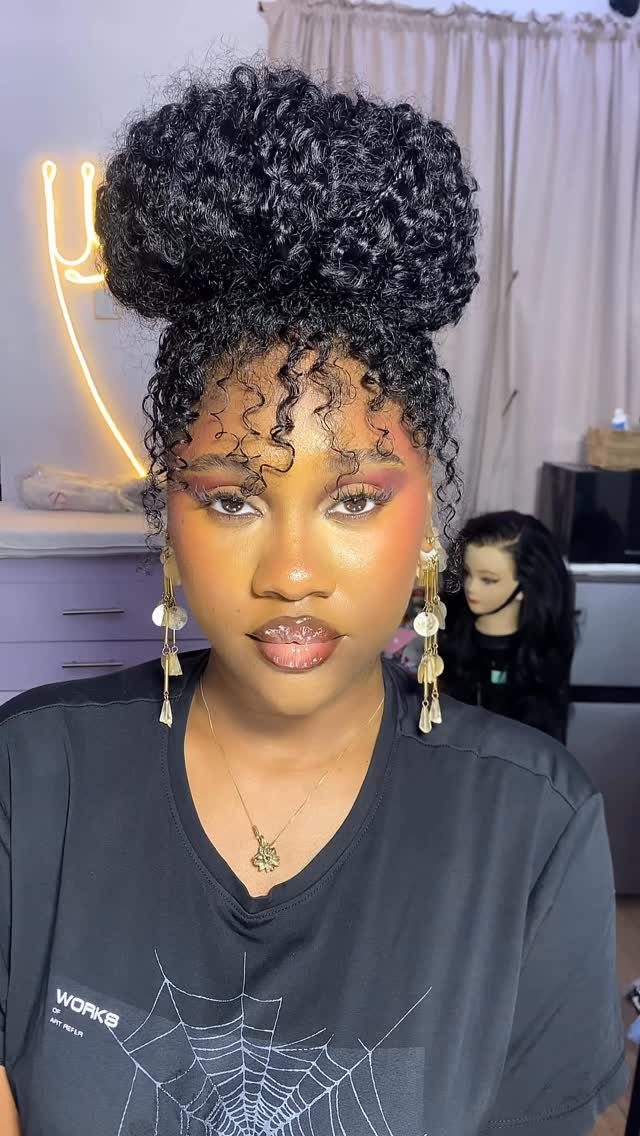
Gather the top and back into a high bun, and leave the front section out to curl across your forehead. The fringe sits loose and separate from the bun.
Pin the bun first, then style the front curls with your fingers. If your curl pattern is tight, fluff the fringe lightly to keep it soft and lifted.
11. Space Buns
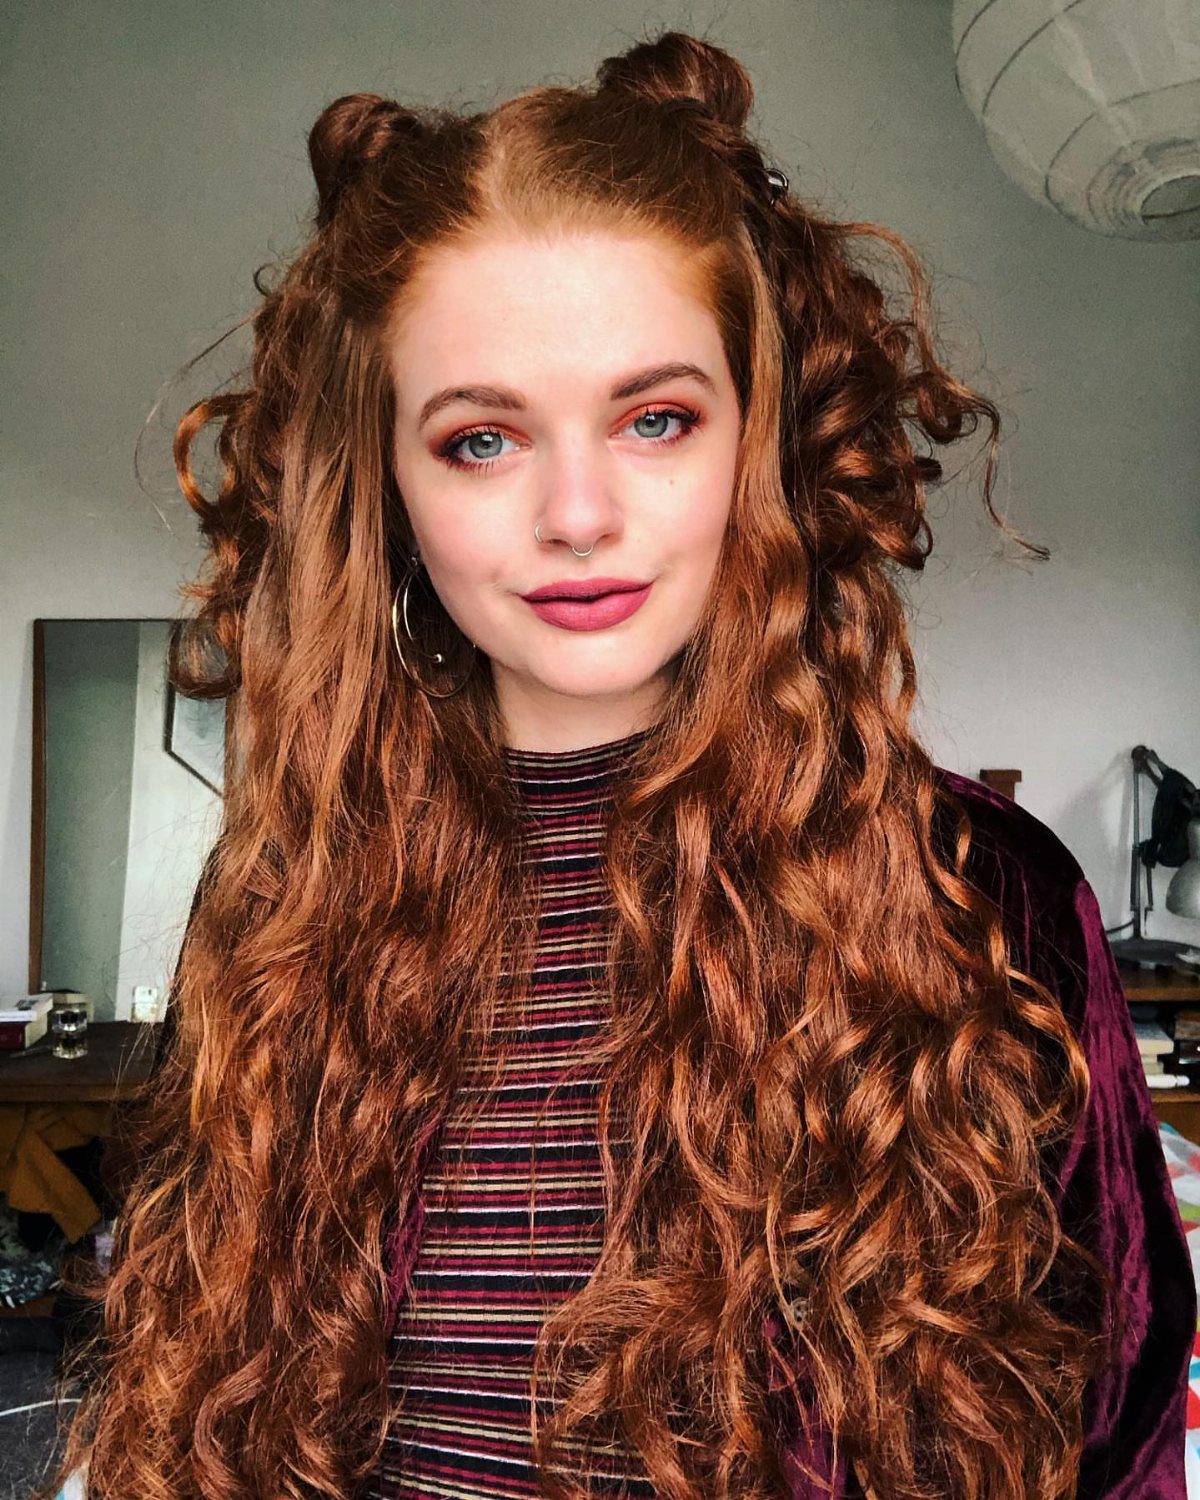
Part your hair down the center, gather each side at the crown, and twist or coil each section into a bun. The 2 buns sit high and symmetrical.
Smaller buns read neater; bigger ones read playful.
Secure each with an elastic, then wrap the ends around the base and pin them down. Leave the length below the buns loose if you want curls trailing down your back.
12. Loose Textured Pin Twist
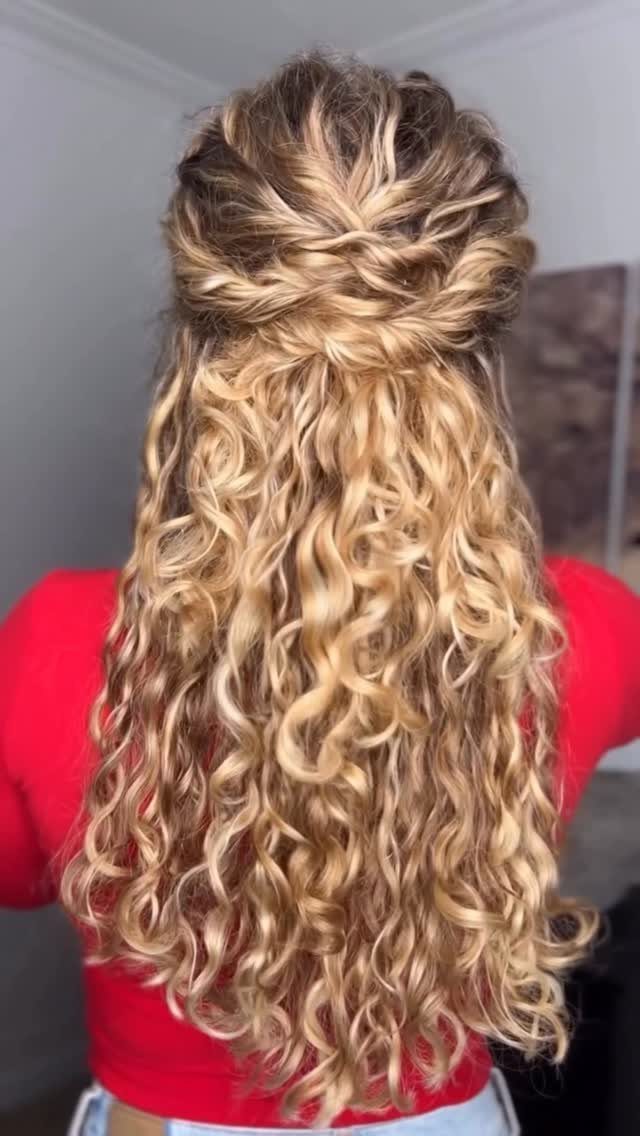
Take small sections from the front and sides, twist each one lightly, and pin it back so the ends blend into the rest of your hair. The pins stay hidden, and the shape looks loose rather than structured.
This one takes patience but no special skill.
Work one section at a time, and pin each twist where it feels balanced. The back stays down, and the pinned sections sit across the crown.
13. Curly Top Knot
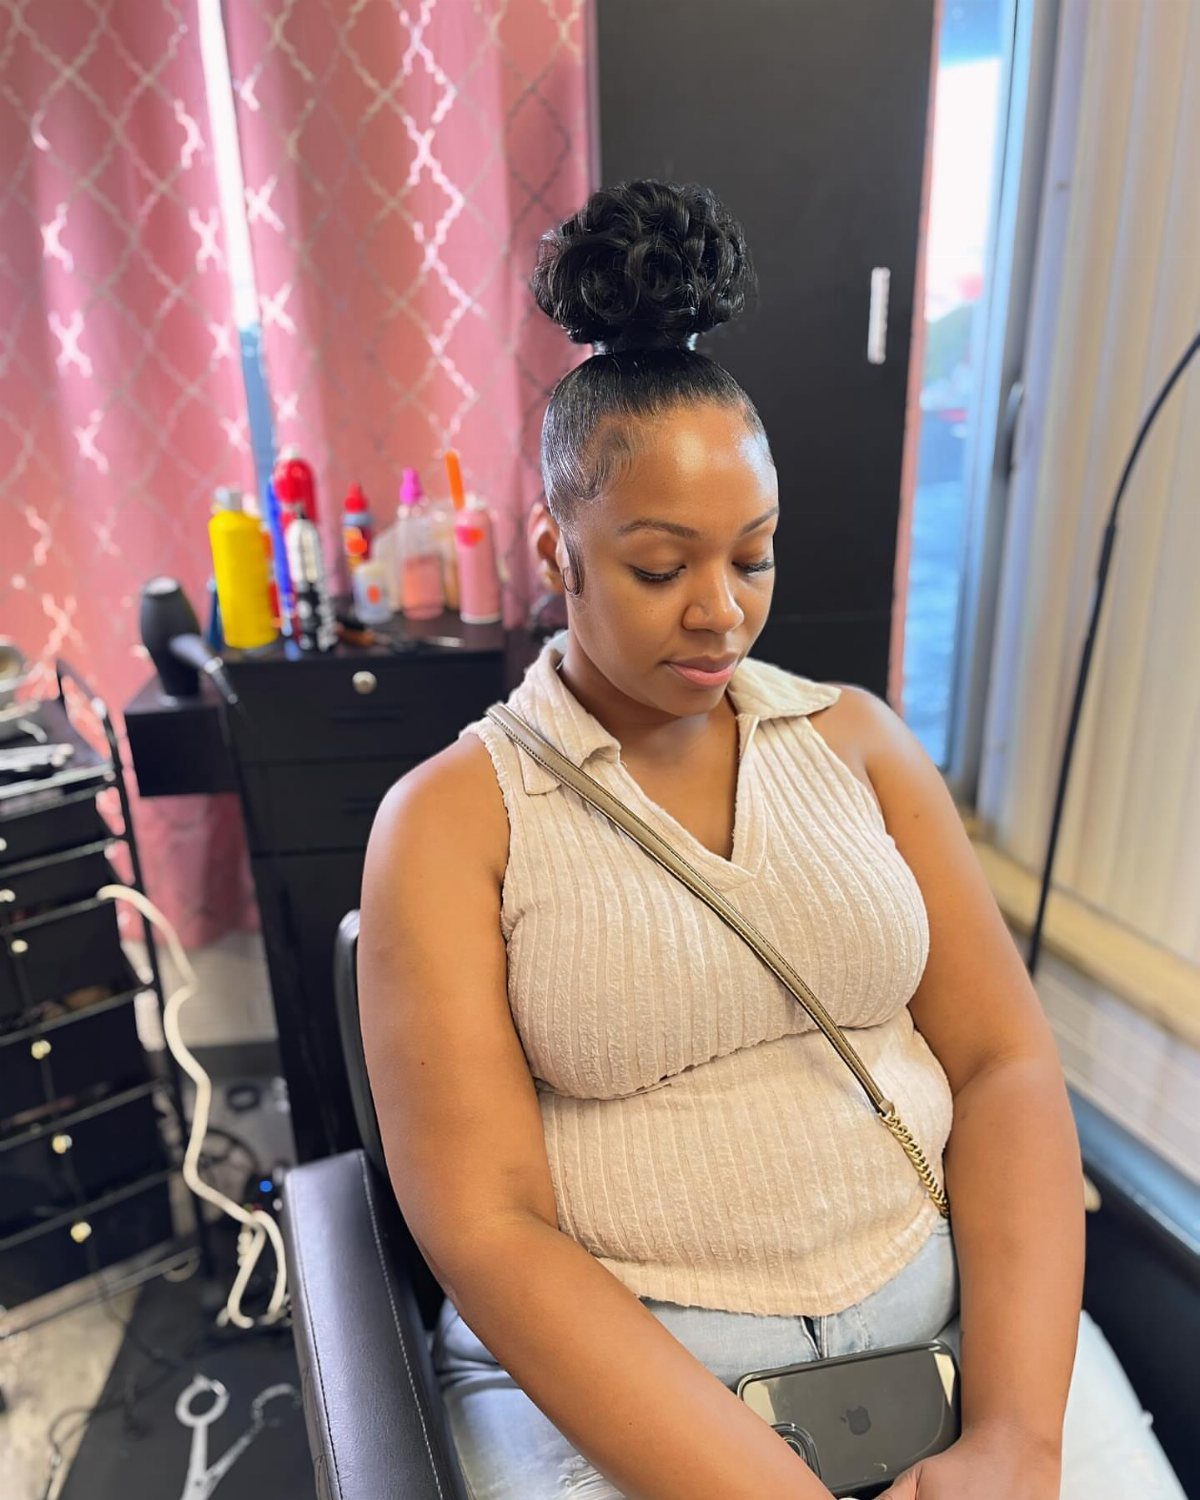
All the length gathers at the crown and twists into a knot that sits high and centered. Start with an elastic at the crown, then wrap the curls around it and tuck in a few pins to hold the shape.
The height keeps your face fully visible, and the knot sits compact enough to stay out of the way all day. If your curl pattern is loose, twist the section tighter before pinning so the knot holds its shape.
14. Curly Pixie
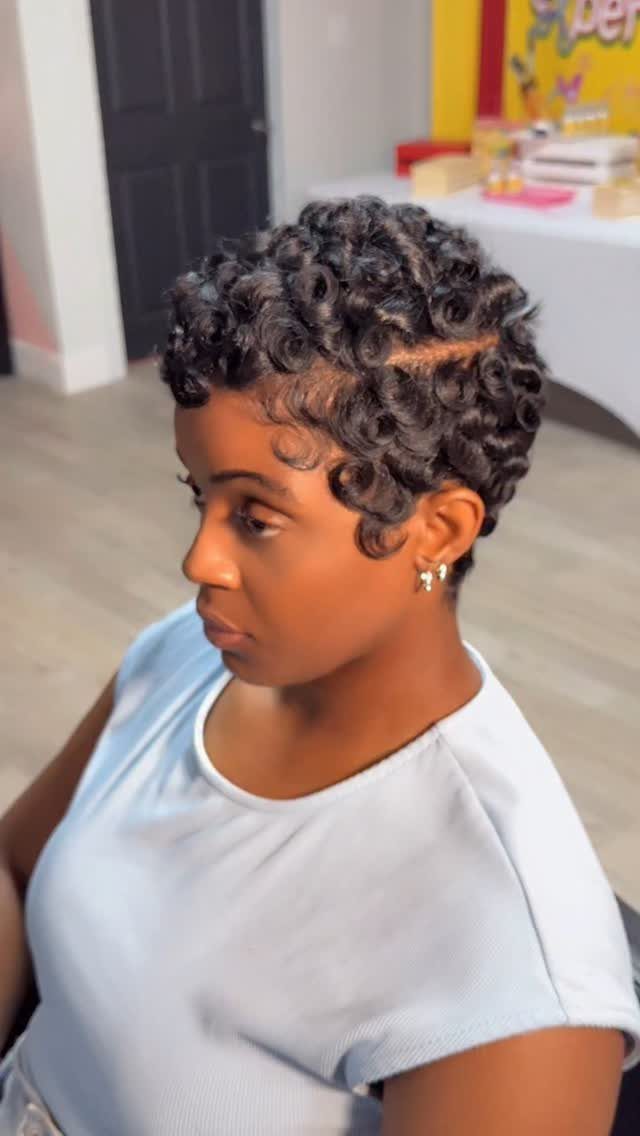
Short at the sides, with length left at the crown and front, this cut gives you curls where they show most and keeps the rest close.
Ask for tapered sides and enough length on top to let the curl pattern form.
Upkeep is light, since a pixie in curls forgives a stretched-out trim schedule. Style with your fingers in the morning, and add curl cream to damp hair if you want extra definition.
15. Curly Shag
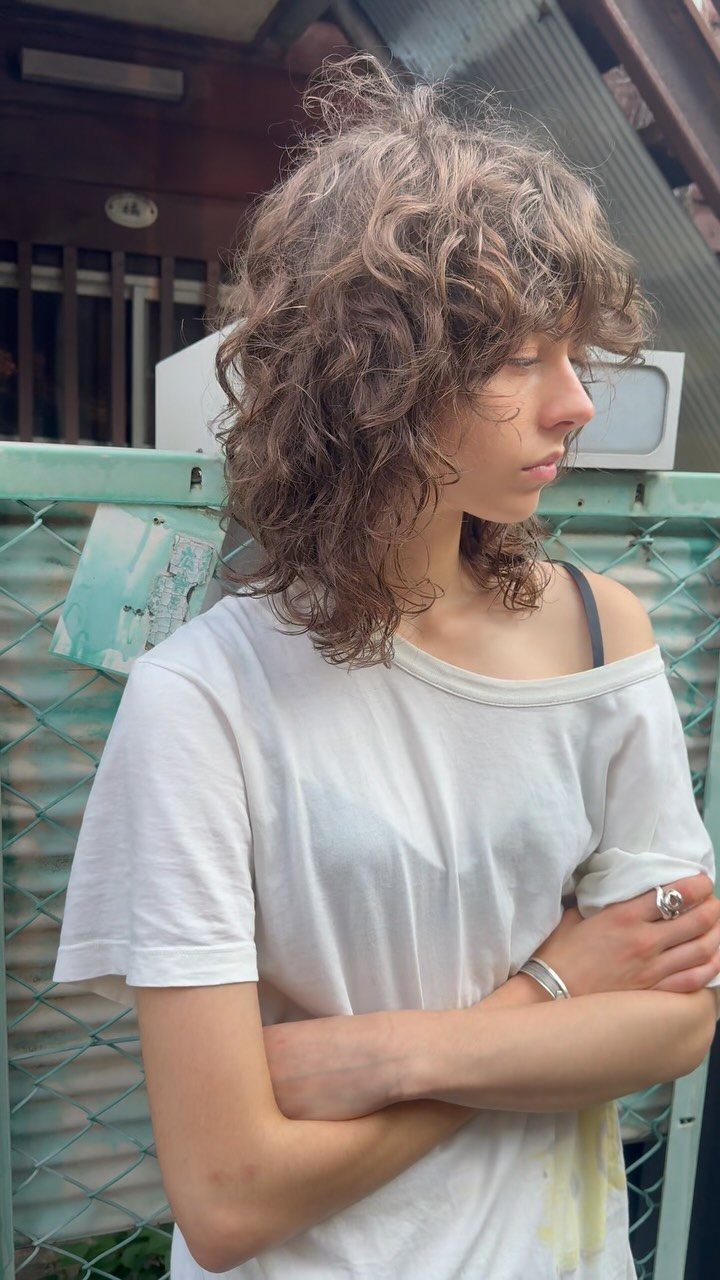
Layers cut through the length give this shag its shape, and the front section falls across the forehead in a loose fringe.
The cut looks lived-in rather than precise, so a bit of frizz or movement reads as part of the style.
Ask for choppy layers and a textured fringe.
Light product works fine here, and bare hair works too, because the curl pattern does most of the shaping. It grows out gracefully, so you can stretch trims well past the usual point without losing the look.
16. Rounded Afro
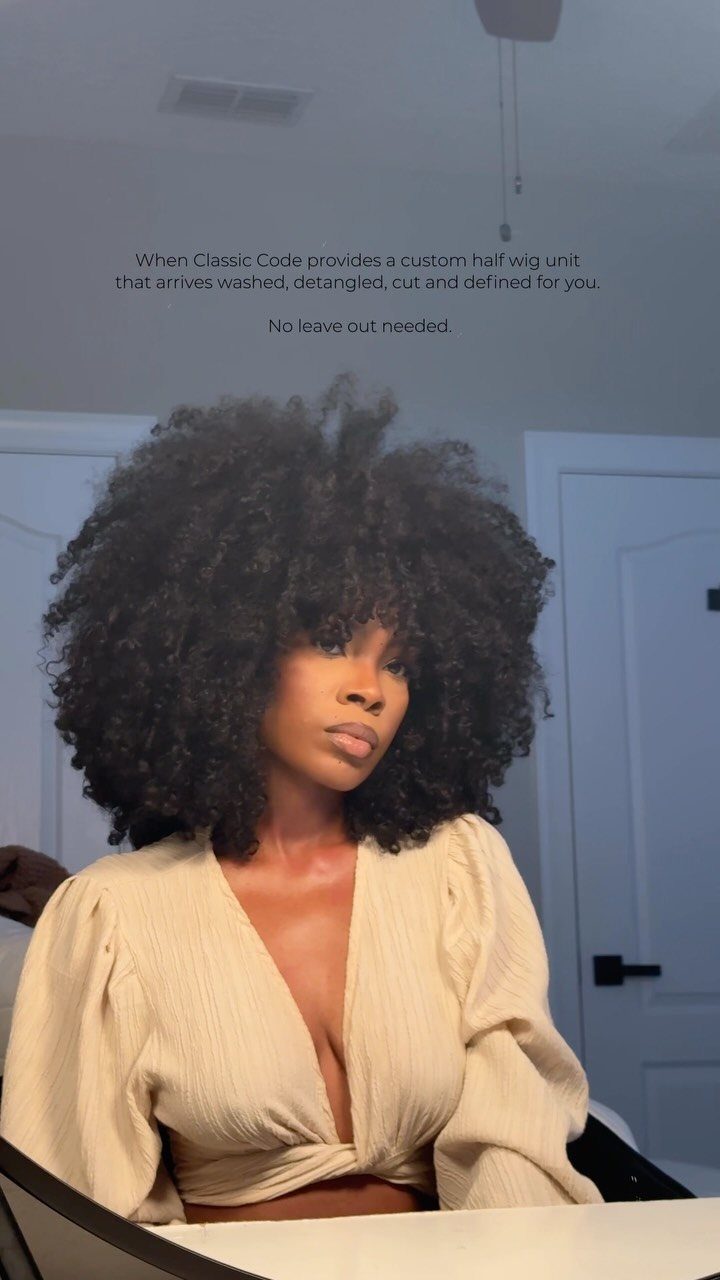
The shape is what matters here: coils picked out into a full, rounded silhouette that sits even all around. Use a pick to lift the hair from the roots, working outward in all directions until the shape reads symmetrical.
Start with dry hair, and pick gently so you lift without separating the coils too much. Round out the crown last, and check the shape from both sides before you stop.
17. Wash-and-go Crop
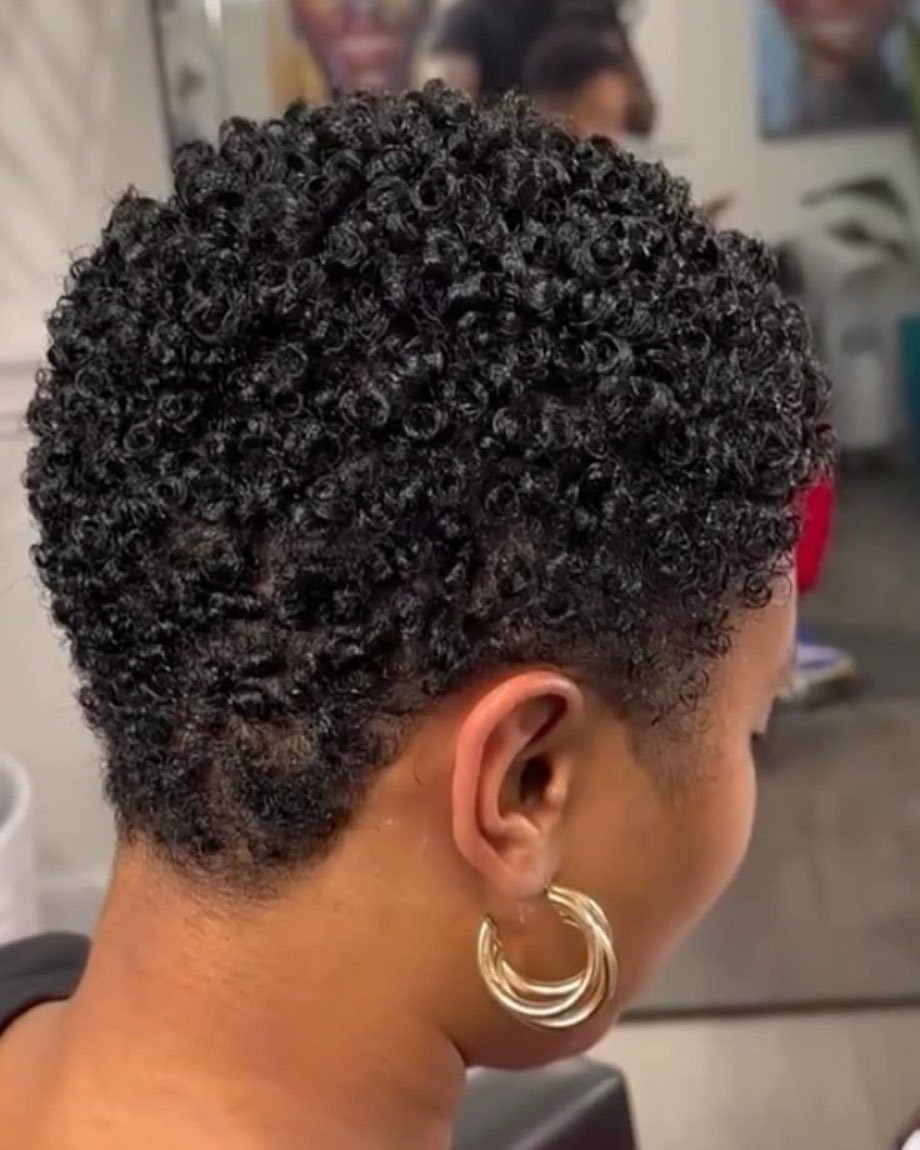
Cut short all over, this crop keeps your curls tight to the head and asks almost nothing of you in the morning. Wash, condition, and go: that is the routine.
Regular trims will hold the shape, or you can let it grow for a fuller silhouette over time.
18. Wash-and-go Coils
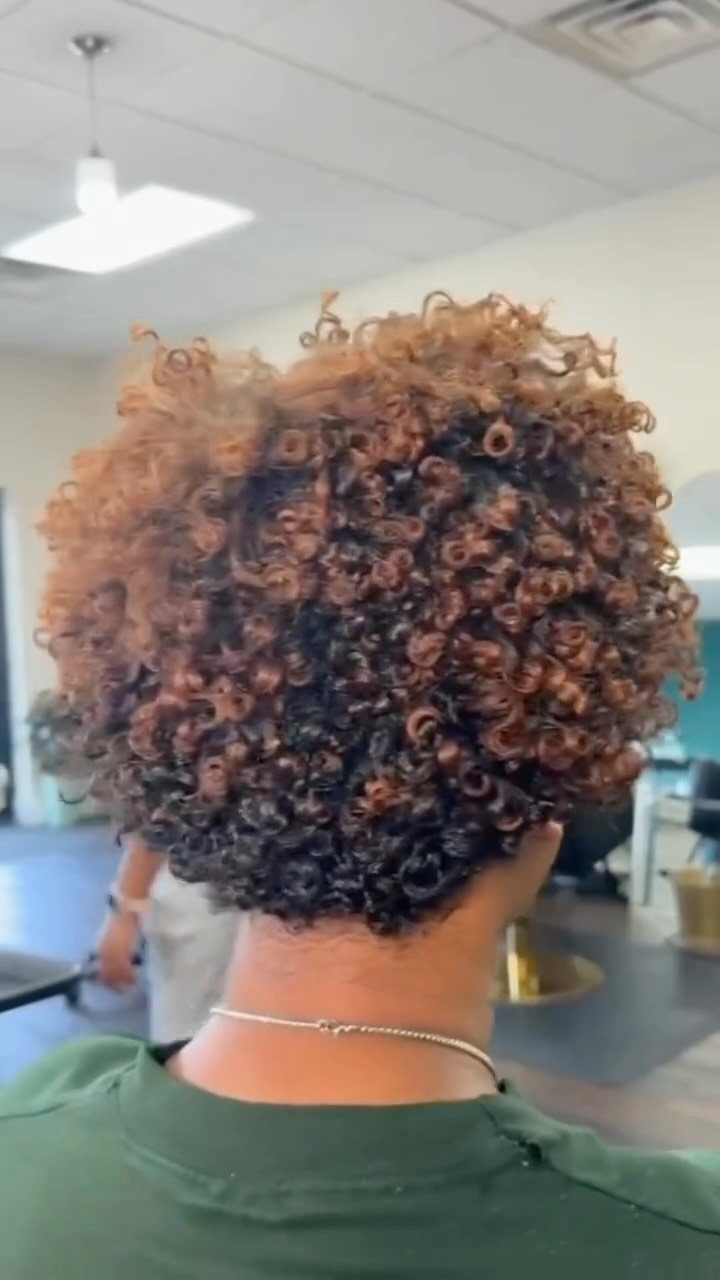
Defined coils worn in their natural pattern, with no pins or heat. Apply curl cream or gel to damp hair, section by section, then let it air-dry or diffuse on low.
The definition comes from product and technique, not from the cut, so this one works at any length. Refresh with water and a little more product on day 2 or 3 if the coils lose their shape.
19. Curly Wolf Cut
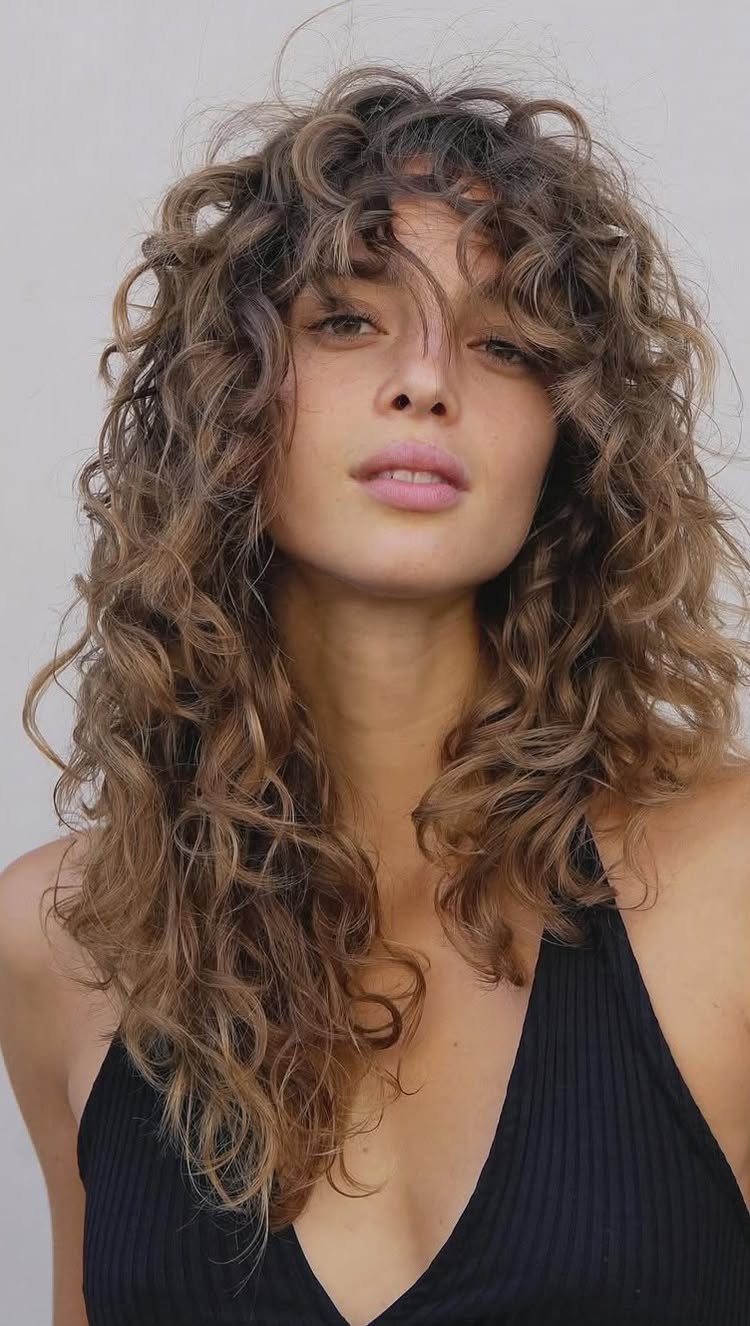
Layers do the work in this cut: short, choppy ones around the crown and longer lengths through the back, with bangs that sit full across the forehead.
On medium-length curls, that layering keeps the shape from falling flat and stacks volume where you want it.
Ask your stylist for a wolf cut by name and say your hair is curly, so the layers get cut with the curl pattern in mind.
Bring the photo, since bang placement varies from one cut to the next. I’d keep the styling light and let the curls do the shaping.
Choosing Styles by Curl Type
Start with your curl type, because the same look behaves differently on each. Type 3 hair bounces in loose spirals, type 4 coils tight and structured.
Before you save a photo, check 4 things: how well the style suits your pattern, your face shape, how much upkeep it asks for, and your length.
If you have 4A–4C hair, factor in shrinkage: anywhere from 50–75% of wet length can disappear as it dries.
I’d judge any style by your dry length, since hair that looks long when wet or stretched may sit much shorter once it dries.
Be honest about your mornings too. A style you won’t repeat is not worth saving, however good it looks on someone else.
Preparing Curls for Updos
Spray heat protectant first, then use a diffuser so everything dries at the same speed and stays glossy.
If your curls are a day or two old, calm the frizz before you start.
A curl milk spray, such as Garnier Fructis Curl Renew Milk Spray, revives the pattern and smooths flyaways so the shape holds together once it is pinned.





