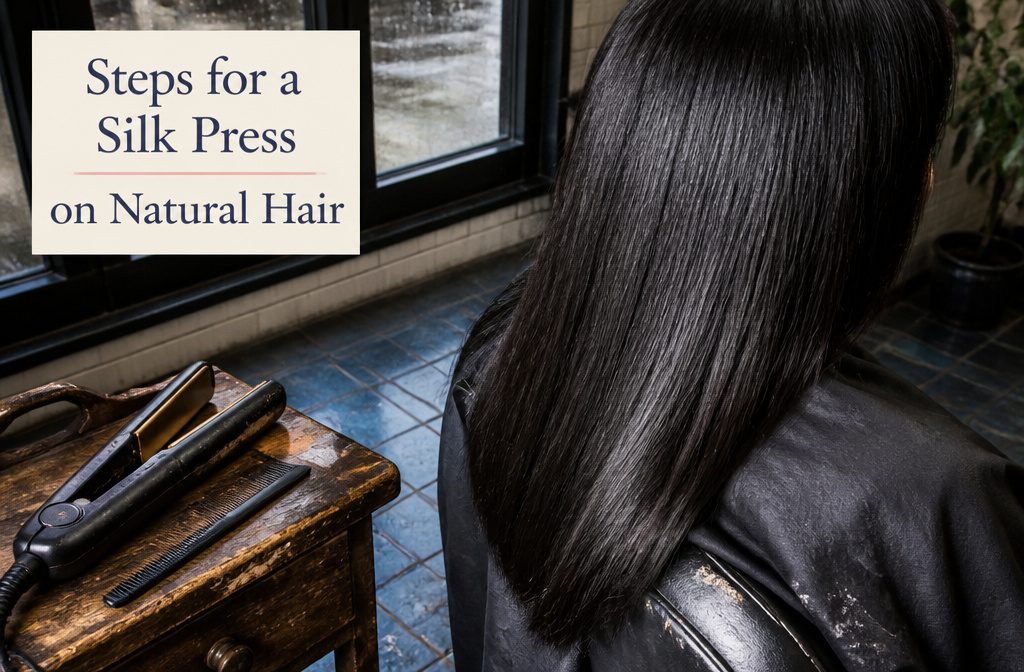
A silk press is heat straightening for natural hair with no chemical relaxer or texturizer.
The flat iron does what a perm used to do, but the change lasts only until your hair meets water, humidity, sweat or your next wash. Then the curl pattern comes back.
The outcome depends on the condition of the hair that day. Color-treated, relaxed or heat-damaged hair needs the most caution and should stay around 300–320°F.
1. Consultation and Assessment
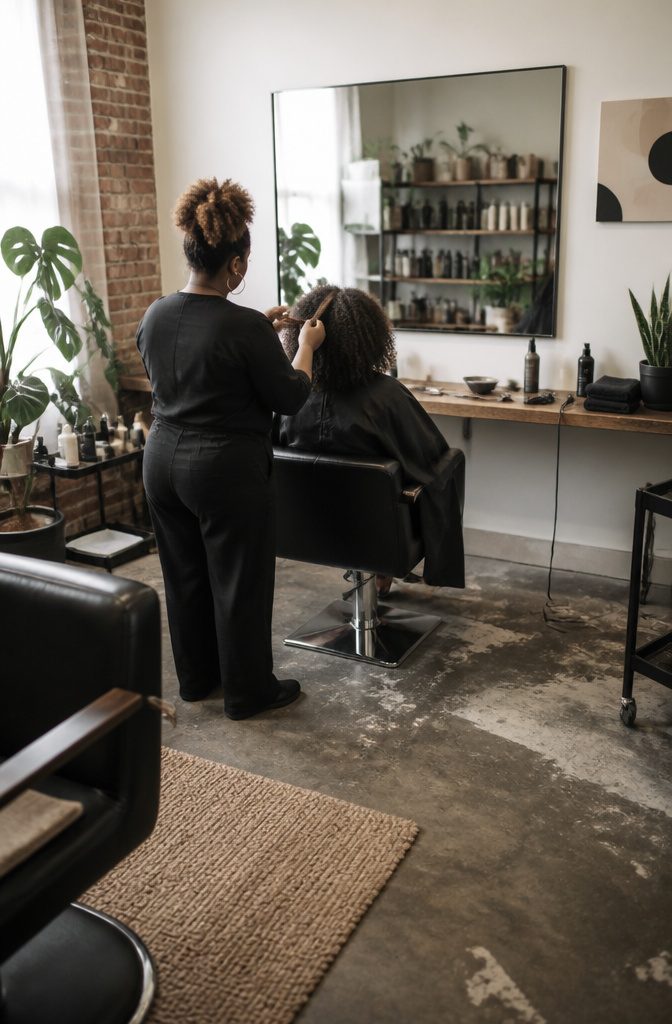
A silk press works on every natural texture, from 3a curls to 4c coils, but the outcome depends on the condition of the hair that day.
The consultation, whether with a stylist or you at a mirror, settles density, strand thickness and damage, then picks the technique and heat setting.
Color-treated, relaxed or heat-damaged hair needs the most caution, and so does thin, fragile hair: stay around 300–320°F on both.
Hair that is already breaking should skip the press for now; a few weeks of deep conditioning, protein and trims come first.
2. Cleanse Away Buildup
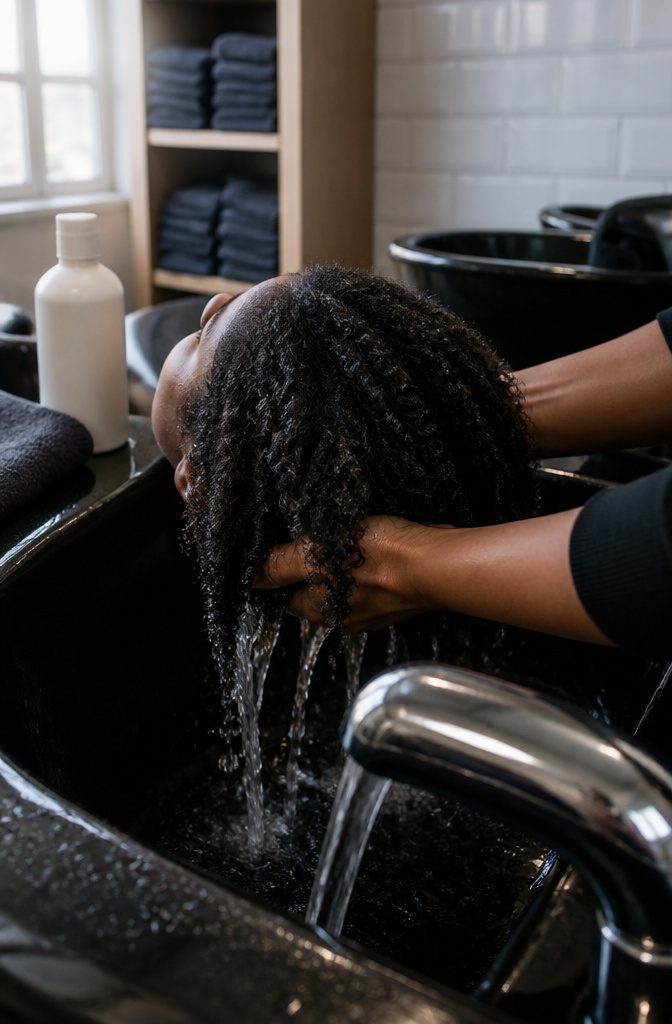
Silk presses fail at the base more often than at the iron.
Dirt, oil, debris and product residue sit on the strands and interfere with straightening, so the hair can’t smooth out evenly. A clarifying shampoo is the reset wash that clears all of it, and I’d treat it as non-negotiable.
For the product, I point people to Olaplex N°.4C Bond Maintenance Clarifying Shampoo, $34 for 8.45 ounces.
Heavy oils belong off the hair at this stage; only the natural oil from your scalp should be there when you start. Lightweight, bouncy strands press better than coated ones.
3. Deep Condition First
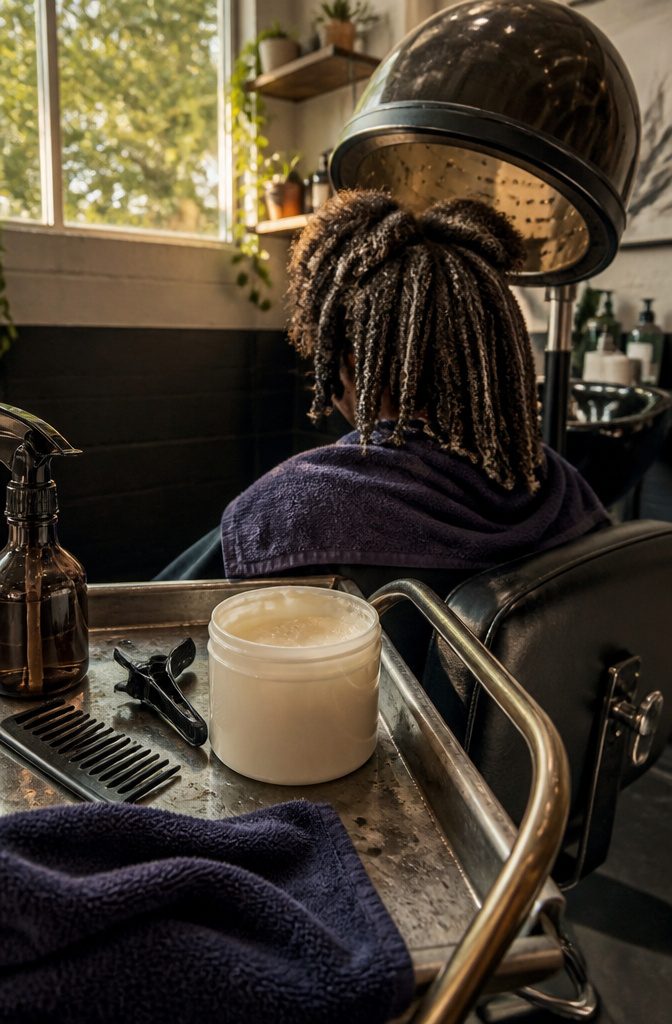
Heat styling pulls moisture out of hair, so a moisture or protein treatment goes on before any blow-dryer or iron comes near it. Mielle Organics Babassu & Mint Deep Conditioner ($9–$13) covers both bases, since the formula pairs protein with rehydrating ingredients.
Work it through damp hair, then sit under the dryer so the warmth helps the conditioner soak in. The Conair InfinitiPro Digitalaire ($40–$60) is the dryer I’d point you to.
Timing splits two ways: 15–20 minutes or 20–30.
I’d pick 20–30 minutes for natural hair, because dense, dry strands have a lot to absorb and the extra ten minutes costs only patience. If your morning is tight, 15–20 still works.
4. Trim Split Ends
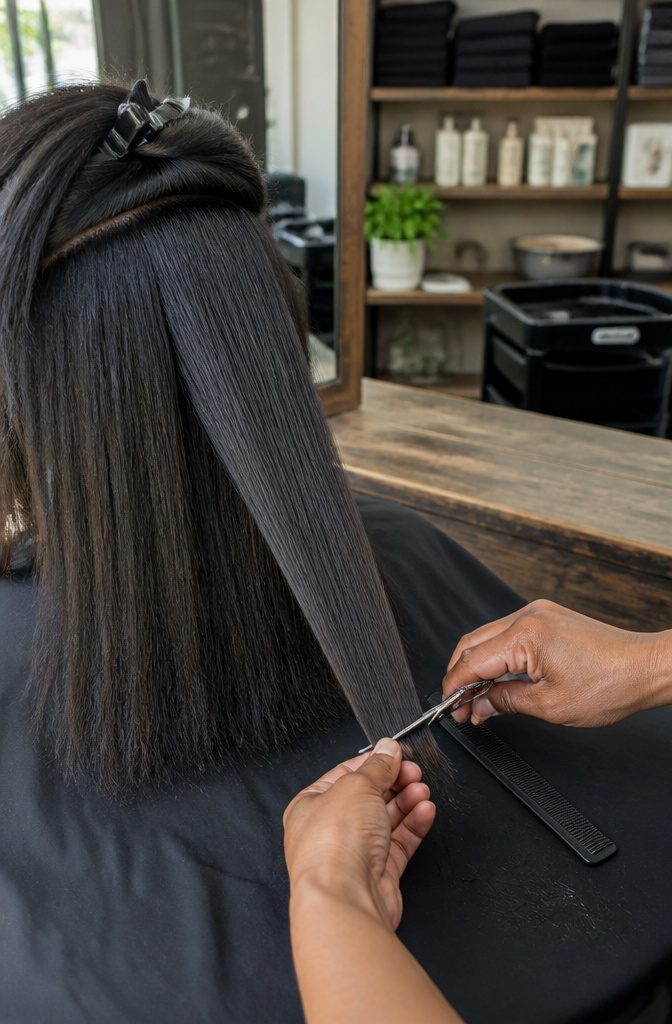
Frayed or split ends have no real shape, so they’re hard to press, and they hinder movement, add to tangling and break further up the strand.
Freshly cut ends hold a press better. If it has been more than 3 months since your last haircut, trim before the press, even when your ends look fine to you.
Splits or dead, see-through ends at any point call for a trim sooner than that.
I’d ask for just enough off to remove the damaged part rather than a big chop. A press can make split ends look smooth for a while, but it won’t repair them, so the cut belongs first.
5. Heat Protectant and Prep
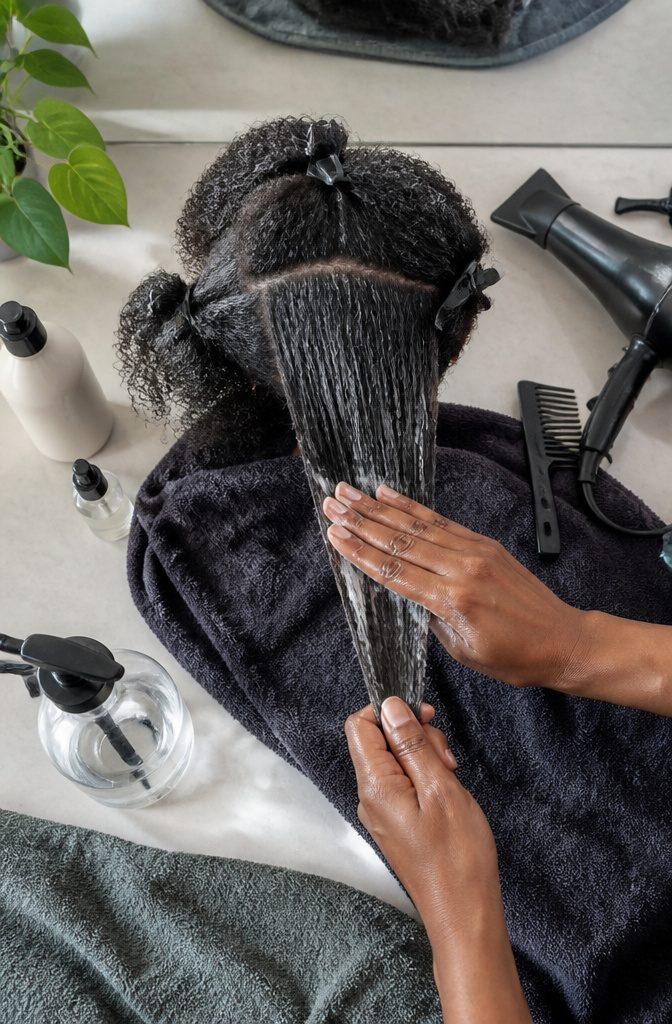
A silk press is won in the prep, and prep starts while the hair is still damp. Work a heat protectant through each section, then give it a few minutes to absorb fully before the dryer comes out.
Shea Moisture Silk Press in a Bottle Prep Cream costs $7–$9, and it’s the one I’d start with: it’s cheap, built for this job, and covers you against both the blow dryer and the flat iron.
COLOR WOW Dream Cocktail Carb runs $14–$18 and adds shine on top of the protection, so it earns the extra money if gloss is what you want from the finished press.
Whichever you pick, no moisture can be left in the hair, root to end, before the flat iron touches it.
6. Blow-Dry in Sections
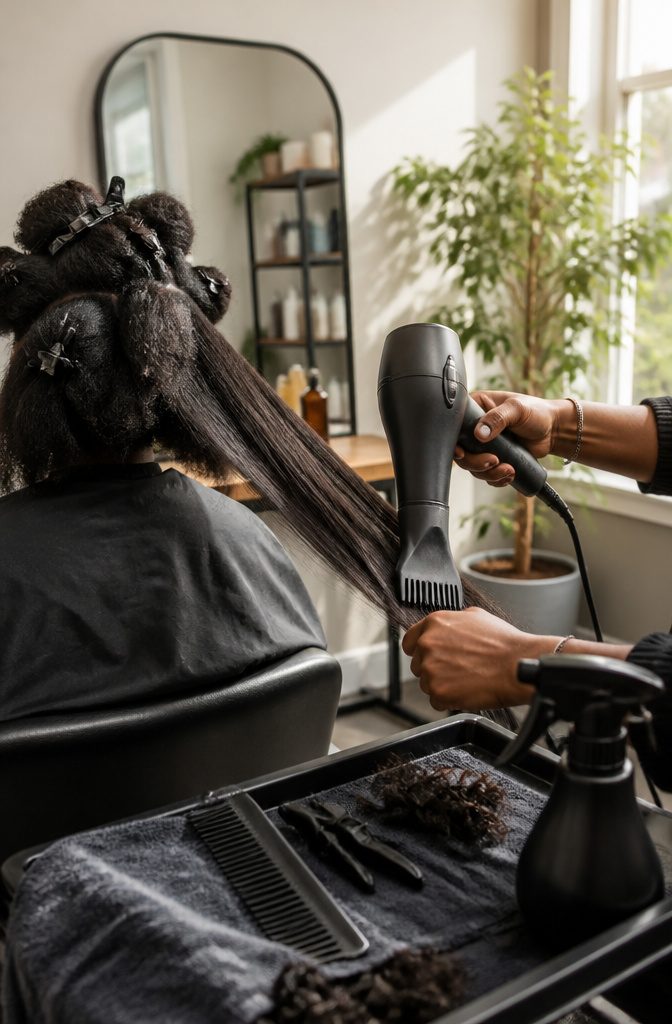
Blow-dry each section from root to end until no moisture is left.
I mean completely dry. Any dampness left in the roots will cause reversion later, usually within a day or two, even if your ends stay smooth.
The roots sit closest to your scalp’s natural oil and moisture, so they revert fastest when the blow-dry step wasn’t thorough enough.
Use a blow dryer with a comb attachment if you have one. The attachment does most of the straightening work at this stage, which means you’ll need fewer flat iron passes and less total heat on your hair.
Work through 6–8 sectioning clips to keep the rest of your hair out of the way while you focus on one piece at a time. Clips run $5–$8 and prevent sections from blending back together while you work.
Skipping them or working with sections that are too large gives uneven heat distribution, and you’ll end up with bumpy or wavy patches that no amount of flat ironing will fix.
7. Flat-Iron in Small Sections
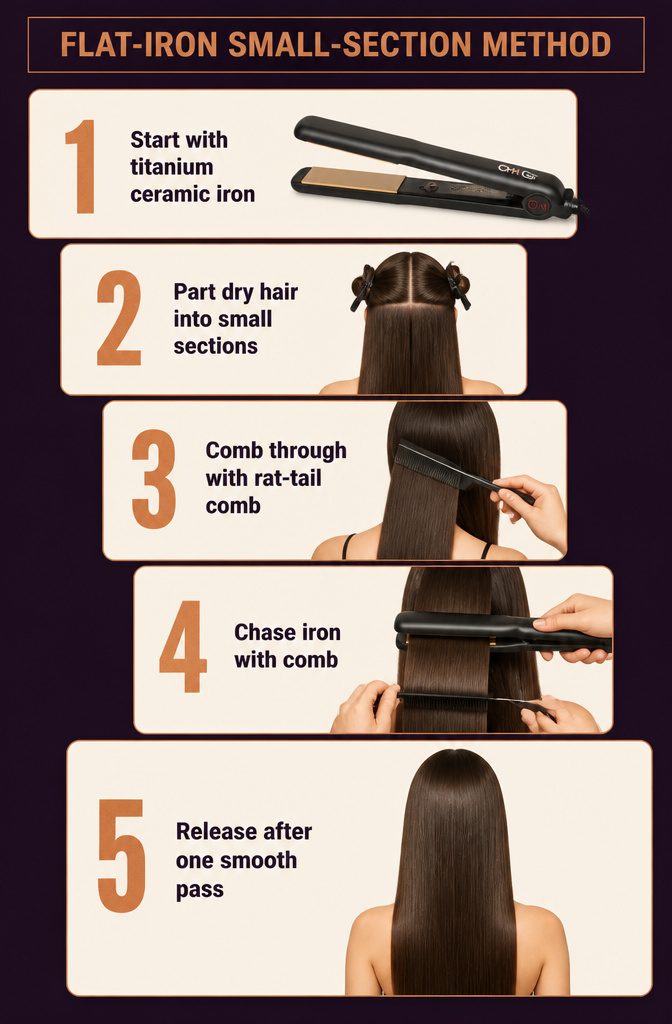
- Start with a titanium ceramic iron such as the CHI G2 Titanium Ceramic Flat Iron ($85–$120), which heats the hair from the inside out for a bone-straight finish.
- Part completely dry hair into small sections and clip the rest away. Denser hair needs thinner sections.
- Comb each section through with a rat-tail comb ($3–$8) before the iron touches it.
- Clamp near the root and chase the iron with the comb, keeping the teeth right behind the plates as they glide down.
- Release the section after one pass if it looks smooth. Add a second only for stubborn pieces, since more heat is not the answer.
8. Finish With Light Oil
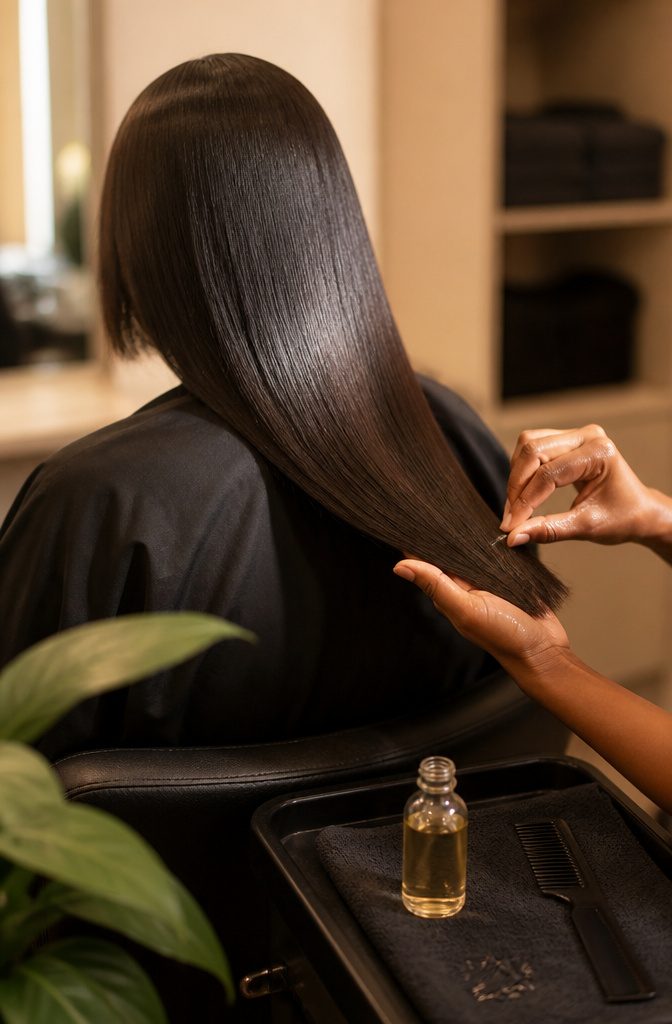
A silk press finishes best with a few drops of light oil or serum, not a coating.
Smooth it over fully straightened hair to add shine, softness and a little more protection against damage, and to keep the strands moving freely.
OGX Extra Strength Renewing + Argan Oil of Morocco ($7–$14) and BioSilk ($9–$20) both suit the job, and I’d buy whichever is easier to find near you.
Heavy product is what flattens a press. Use less than feels like enough, because extra oil weighs the strands down and leaves the scalp feeling slick instead of cool and dry.
If the ends still look dull, add one more drop and work it through from the ends up, not from the roots down.
9. Style and Secure
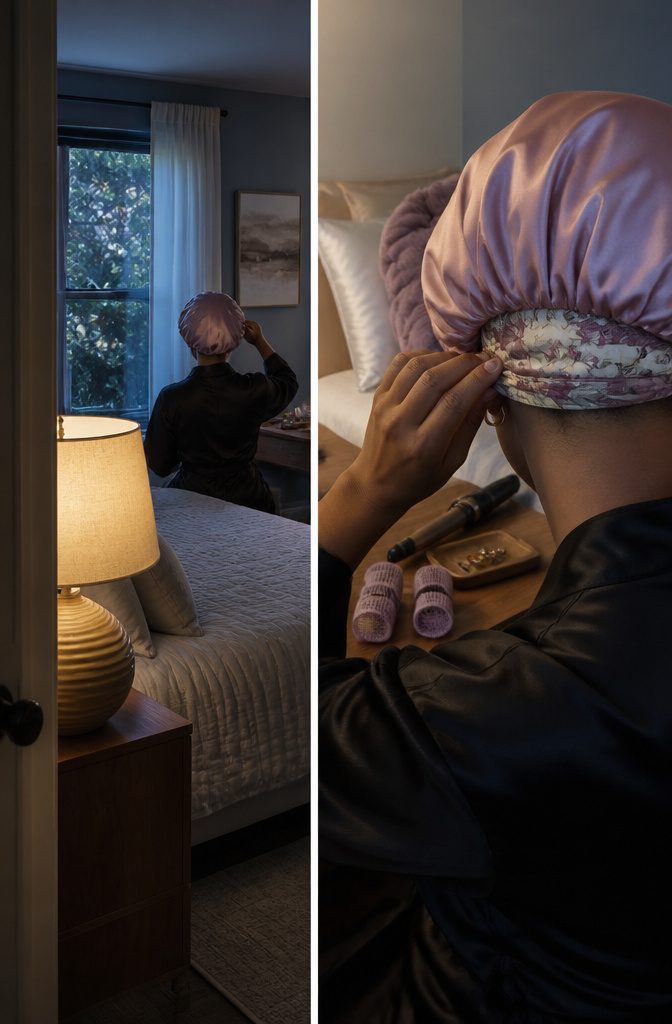
A silk press needs little styling once the iron is done.
A curling iron adds loose bends at the ends, wrapping the hair around the head gives a smooth, swingy shape, and rollers or pin curls suit anyone who wants body and a softer set.
Whichever you pick, go easy on hairspray, since extra product weighs the press down and costs it bounce.
Cover the finished press with a silk scarf, then a bonnet, even on days you stay in. The wrap builds movement memory so the hair falls back into place, and it blocks wind and humidity.
A satin or silk bonnet runs $8–$15. In the shower, pair the scarf with a shower cap.
10. Maintain the Press
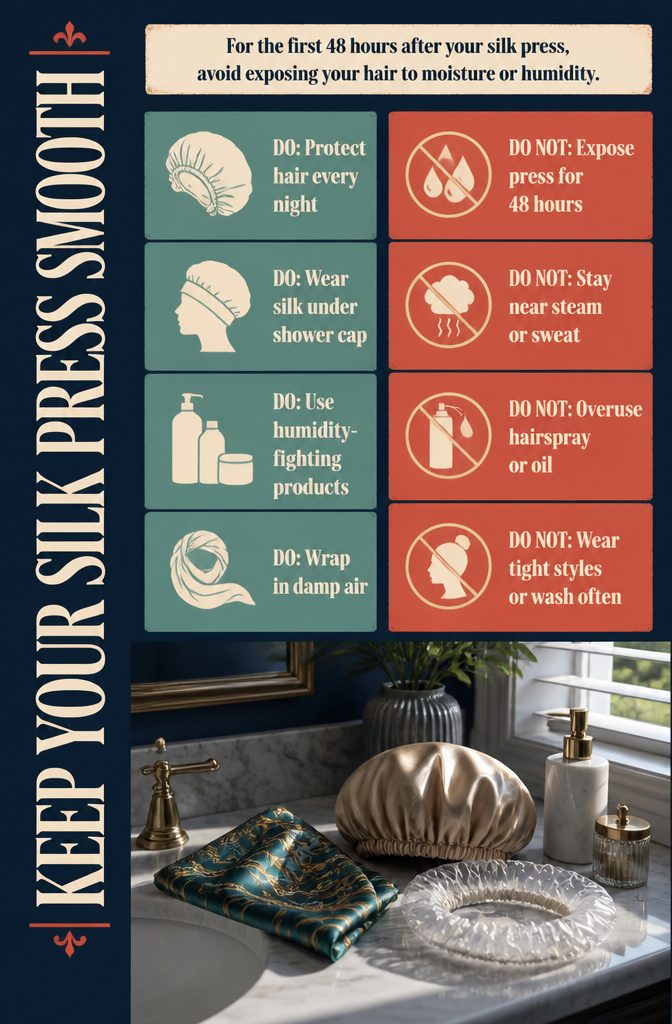
Moisture is what sends a press back to curls, and Davines gives the window plainly.
For the first 48 hours after your silk press, avoid exposing your hair to moisture or humidity.
— Davines
Plan those two days around staying dry, then keep these habits going:
- Wrap your hair in a silk scarf or satin bonnet every night, or roller-set or pin-curl it.
- Wear a silk scarf under a shower cap in the shower.
- Stay away from steam and sweat.
- Use humidity-fighting products, and wrap whenever damp air can’t be avoided.
- Go easy on hairspray and oil, which weigh the press down and flatten the bounce.
- Skip tight styles, and wash only when you must.
What a Silk Press Is
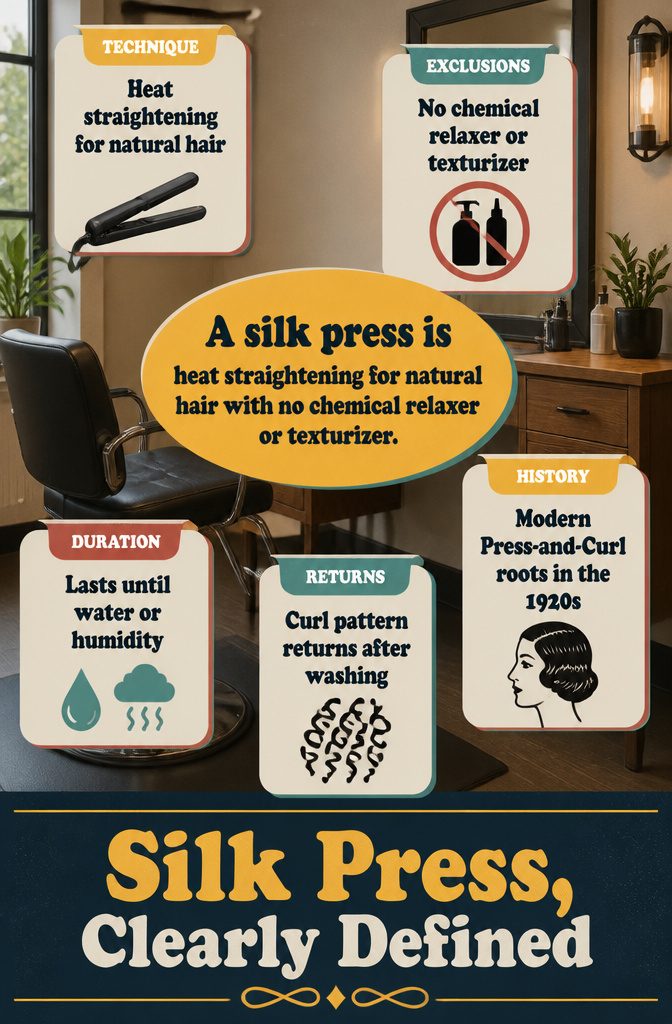
A silk press is heat straightening for natural hair with no chemical relaxer or texturizer.
The flat iron does what a perm used to do, but the change lasts only until your hair meets water, humidity, sweat or your next wash. Then the curl pattern comes back.
The method itself dates to the 1920s, disappeared for decades, then came back around the 1990s. One source calls it the modern Press-and-Curl.
Social media brought it back again in recent years, and now it sits between two older choices: the relaxer, which rewrites your curl pattern permanently, and the keratin treatment, which mixes heat with chemistry.
The silk press skips both and gives you straight hair that reverts on its own.
Temperature by Hair Type
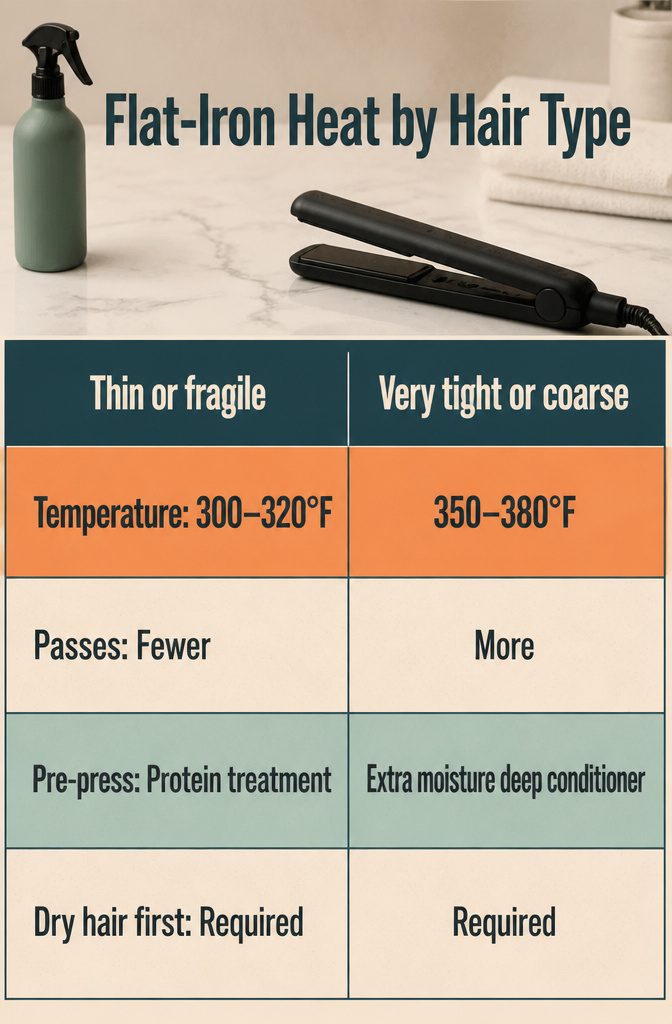
Your flat iron temperature should match what your hair can take, not a single number that fits everyone.
Thin or fragile hair needs 300–320°F with fewer passes to avoid scorching the strand. Color-treated, previously relaxed, or heat-damaged hair sits in the same range because chemical processing has already weakened the cuticle.
Very tight or coarse hair can handle 350–380°F, with one guide noting about 200°C as the working temperature. Coarse hair tolerates more heat but dries out faster, so deep conditioning before you press matters more than the extra degrees.
| Hair Type | Temperature Range | Passes Needed | Pre-Press Priority |
|---|---|---|---|
| Thin or fragile | 300–320°F | Fewer | Protein treatment |
| Color-treated, relaxed, or heat-damaged | 300–320°F | Fewer | Moisture + protein balance |
| Very tight or coarse | 350–380°F | More | Extra moisture deep conditioner |
Keep the hair fully dry before the flat iron touches it, work in small sections, and limit how many times you run the tool over the same piece. That combination prevents most heat damage before it starts.
7 to 14 Days of Wear
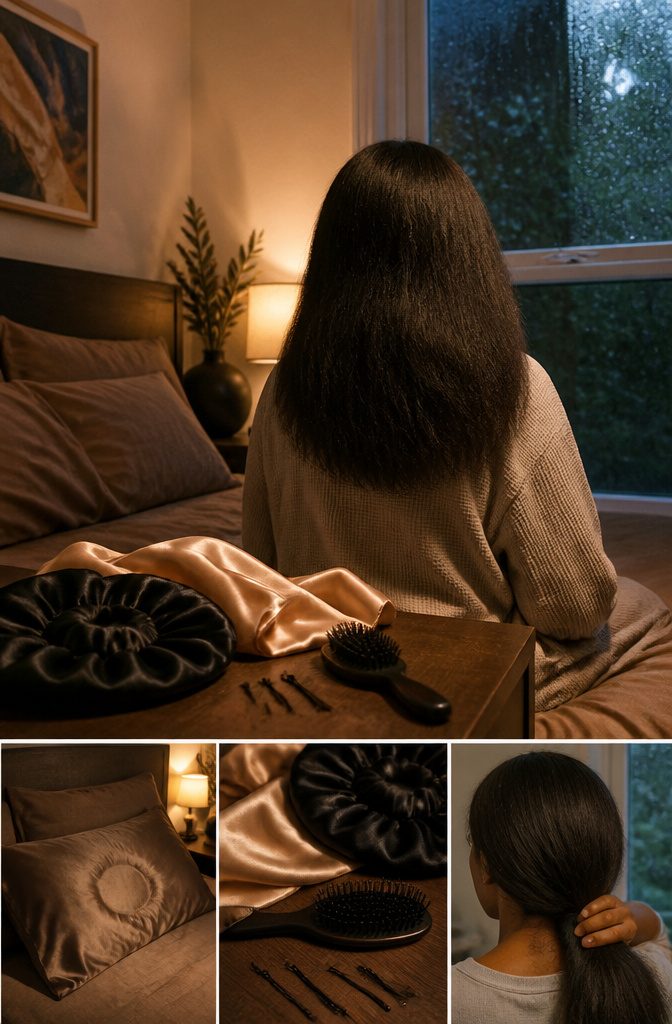
Plan on 7–10 days, with 14 as the outside limit. Low-porosity hair can stretch toward two weeks, while high-porosity hair reverts faster, especially in humidity.
Damp climates, active days and any contact with water pull a press toward the short end. Heavy product does too, because it weighs strands down and leaves them limp, so keep it minimal.
Nights decide more than most people expect. Wrapping, roller-setting or pin-curling before bed, then covering everything with a silk or satin bonnet or scarf, holds the shape and keeps wind and weather off it.
Past 12–14 days, I’d wash and start over rather than re-straighten the roots. That only stacks more heat damage on top of the first round.
Salon Versus At-Home Cost
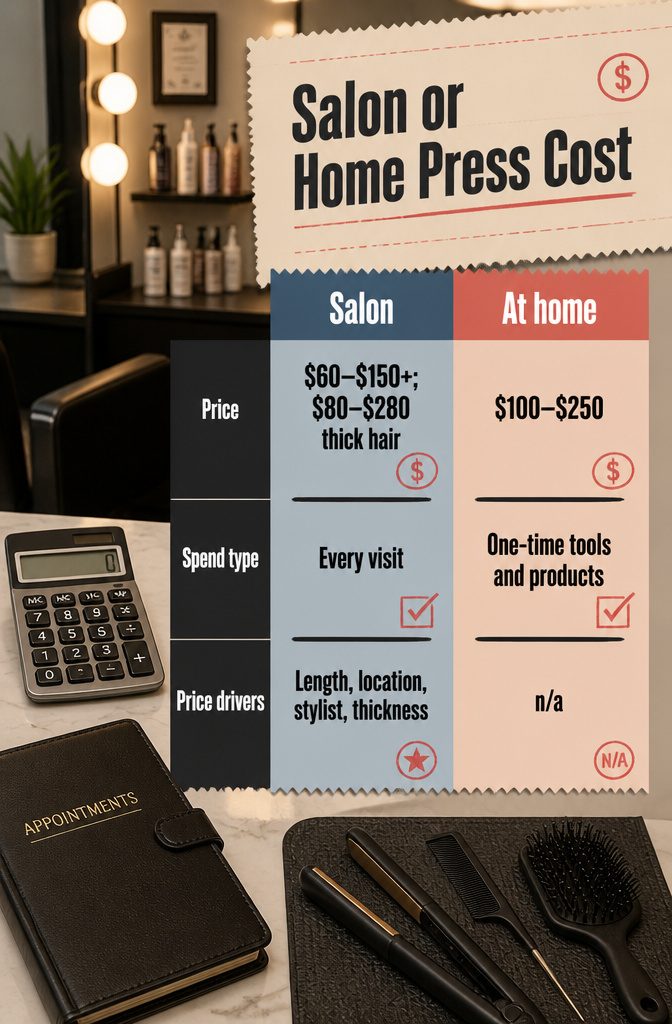
A salon press runs about $60–$150+ depending on length, location and stylist, and thick or coarse hair can push quotes to $80–$280. The at-home list lands at $100–$250, a one-time spend on tools and products that outlast a single press.
I’d pay for the salon the first time and buy the home kit once you plan to press repeatedly, since that’s where the savings show up.
| Salon | At home | |
|---|---|---|
| Price | $60–$150+ ($80–$280 for thicker hair) | $100–$250 |
| Type of spend | Every visit | One-time tools and products |
| What moves the price | Length, location, stylist, thickness | n/a |
Troubleshooting a Bad Press
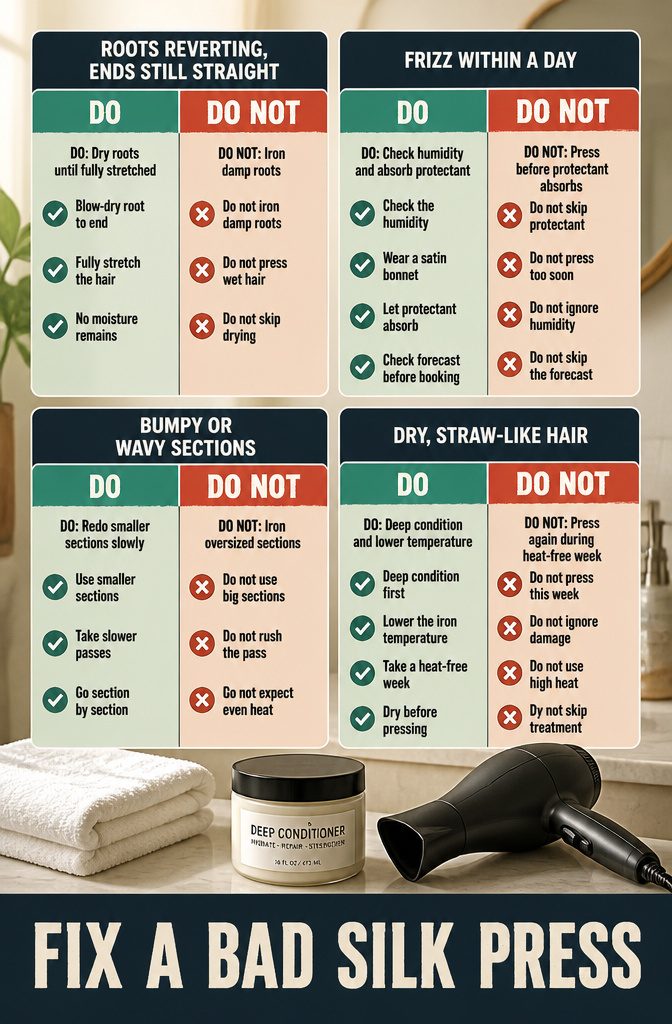
Four problems cover most bad presses, and each has a plain fix.
- Roots reverting, ends still straight: the roots hit the iron damp. Blow-dry root to end with the hair fully stretched, until no moisture remains.
- Frizz within a day: humidity, no satin bonnet, or protectant that hadn’t absorbed before the iron. I’d check the forecast before booking.
- Bumpy or wavy sections: sections that are too big get uneven heat. Redo them smaller, with slower passes.
- Dry, straw-like hair: this is heat damage in progress. Deep condition before blow-drying, lower the iron temperature, and take a heat-free week before pressing again.
Frequently Asked Questions
How long does a silk press last?
Most silk presses last 7–10 days, and 14 days is the outside limit.
Low-porosity hair can stretch toward the longer end, while high-porosity hair reverts faster, especially in humidity. Past 12–14 days, wash and start fresh instead of re-straightening the roots.
What is a silk press?
A silk press is a heat-straightening technique for natural hair that uses no chemical relaxer or texturizer.
A flat iron smooths the curl pattern temporarily. The curls return when the hair meets water, humidity, sweat or your next wash.
How do you maintain a silk press?
Wrap your hair in a silk scarf or satin bonnet every night, or roller-set or pin-curl it first.
Keep moisture away, especially for the first 48 hours, and wear a silk scarf under a shower cap when you wash. Go light on hairspray and oil, since both weigh the press down.
How much does a silk press cost?
A salon silk press runs about $60–$150+, and thick or coarse hair can push quotes to $80–$280.
Length, location and stylist all move the price. Doing it at home costs $100–$250 for tools and products, a one-time spend that pays off if you press repeatedly.
What hair products do you need for a silk press?
You need a clarifying shampoo, a deep conditioner, a heat protectant, a light finishing oil or serum, and a silk scarf or satin bonnet.
On the tool side, you need a blow dryer (ideally with a comb attachment), a titanium ceramic flat iron, a rat-tail comb and sectioning clips.
What are the downsides of a silk press?
The main downside is that the result is temporary: water, humidity and sweat all bring the curls back.
It also takes upkeep, like wrapping your hair every night. Too much heat or too many passes can damage the hair, and hair that is already breaking should skip the press until it recovers.
Why are my roots reverting while my ends are still straight?
The roots were most likely not fully dry when the flat iron touched them.
Blow-dry from root to end with the hair stretched until no moisture remains. Roots revert fastest because they sit closest to your scalp’s natural oil and moisture.
Why did my hair frizz within a day of a silk press?
The usual causes are humidity, skipping the satin bonnet at night, or a heat protectant that had not absorbed before the iron went on.
Check the weather before you book a press. Protect the hair at night and in the shower.
Why does my silk press look bumpy or wavy in sections?
Your sections were probably too big, which gives uneven heat. Redo those pieces in smaller sections and take slower passes with the iron.
Why does my hair feel dry or straw-like after a silk press?
Dry, straw-like hair is a sign of heat damage in progress. Deep condition before you blow-dry, use a lower iron temperature next time, and give your hair a heat-free week before pressing again.





