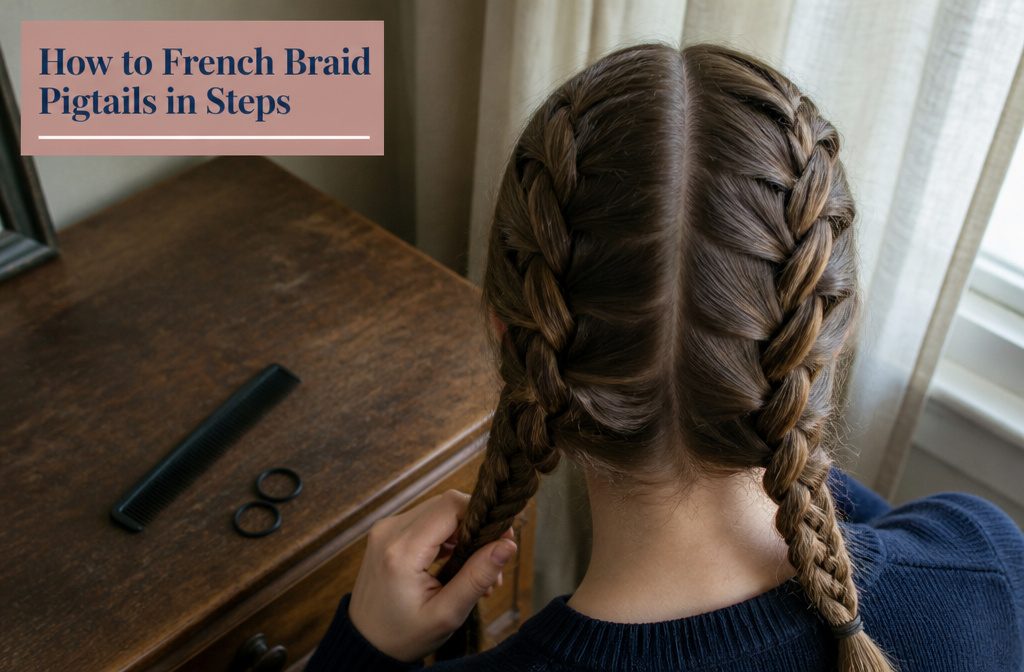
Two even braids, one on each side of a center part, take a comb and 2 binders.
Lopsided pigtails come from the second braid starting at a different height than the first, so match the small triangular starting section on both sides. Freshly washed hair slips, so slightly unwashed hair holds the braid better.
1. Part the hair down the center
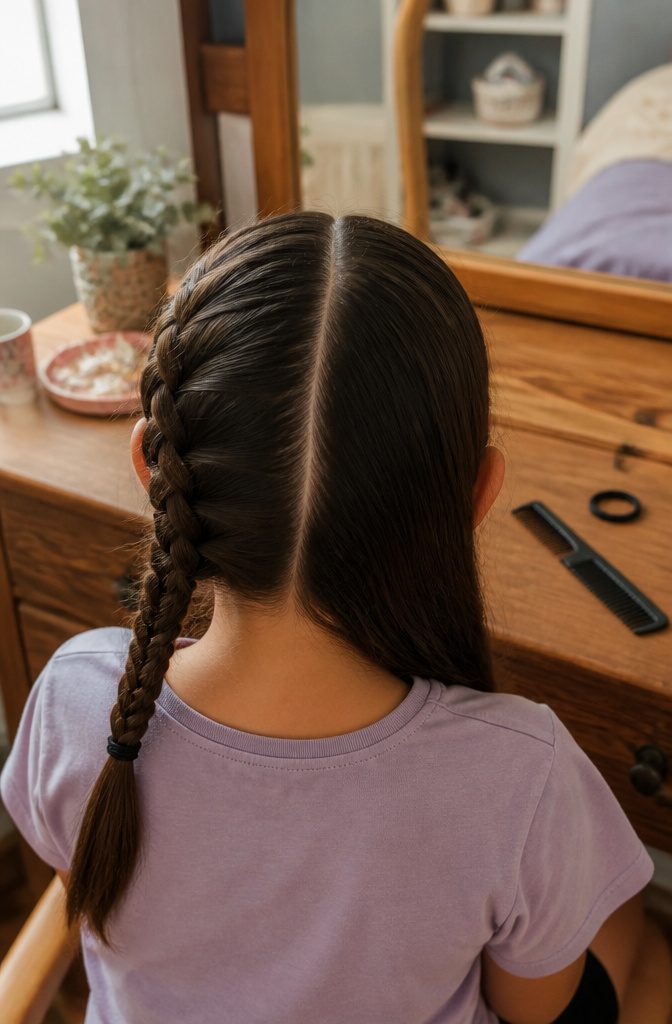
Run a comb from the front hairline over the crown and down to the nape, splitting the hair into two equal halves.
Part the hair down the middle of the entire head, because a part that stops at the crown or wobbles at the back leaves the pigtails sitting unevenly.
I like the line at the back especially crisp, since it shows once both braids are done.
Tie one half up with a hair binder right away.
That side stays out of your way while you braid the other, and no stray pieces cross the part. The whole style takes a comb and 2 binders, so set both within reach first.
2. Take a small starting section and divide it into three
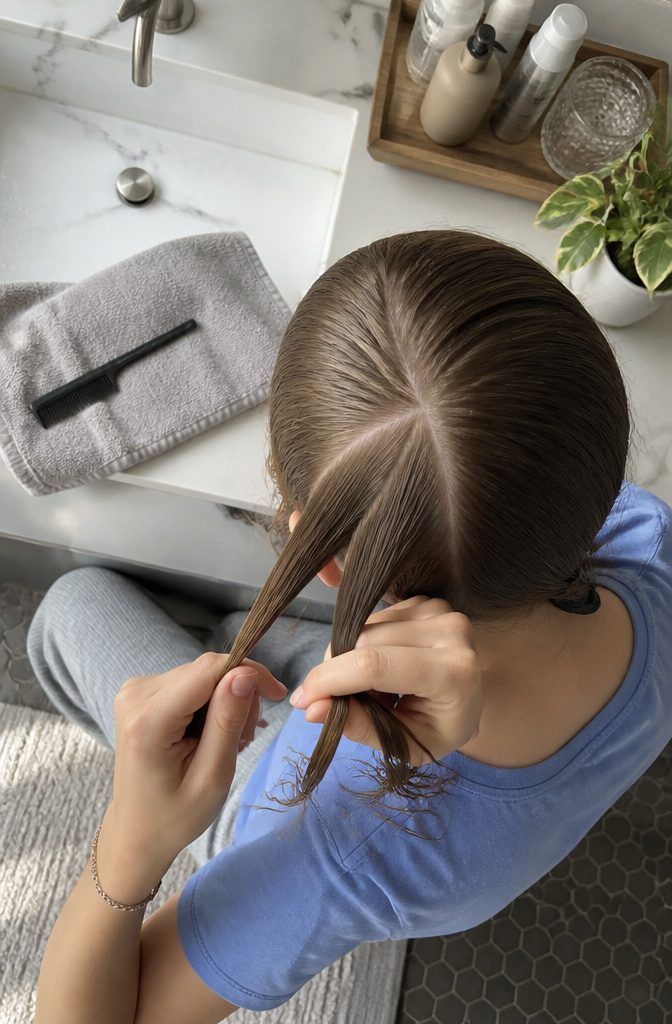
Start near the crown with a small triangular subsection, split into 3 equal parts. Angle it in the direction the braid will travel, down toward the back of your ear.
Bigger chunks give a looser, chunkier braid, so I’d save three large sections for a relaxed look and use the small triangle when you want a tidy braid.
Howcast describes the setup in one line:
We’ll need a small, triangular subsection. Splitting it into three and twisting the middle piece towards the outside.
— Howcast
Uneven thirds make the first crossover lopsided, so compare the strands by eye before you cross anything.
3. Cross strands and add hair as you braid
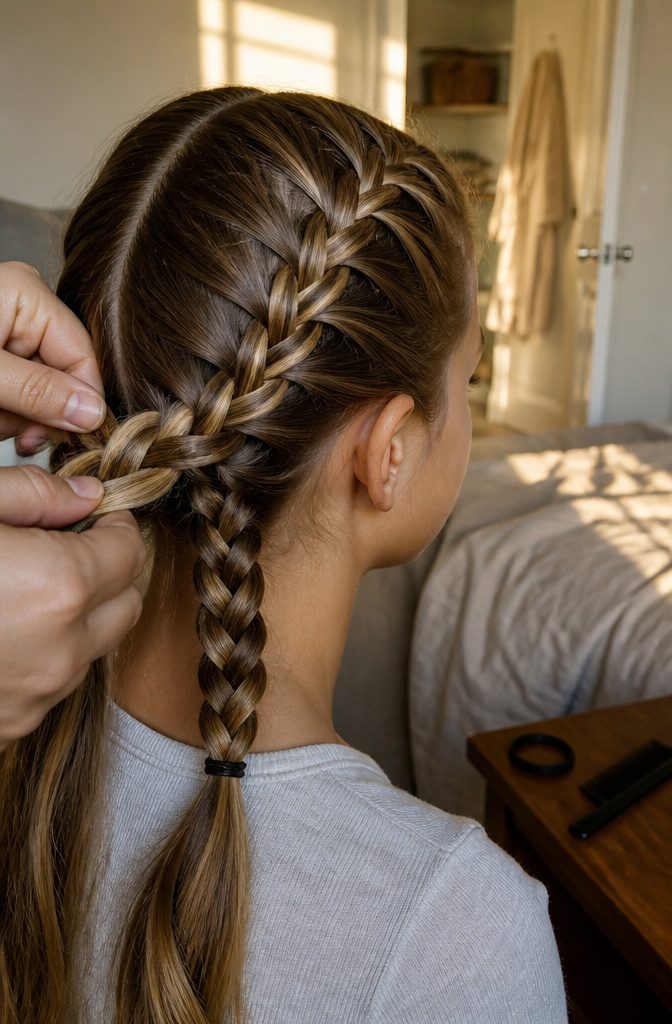
Cross the left section over the middle, then the right section over the middle, and pick up a little new hair from that side each time a strand crosses.
Work both sides in turn, and keep every pickup the same small size. Uneven grabs leave bumps, slack tension and a patchy pattern.
You’ll also see a Dutch (reverse) version, where the middle strand twists toward the outside and the new hair is added to that outside piece.
It also works for pigtails, and I’d choose it only if you want that reversed look. For a classic French pigtail, I’d stick with the standard cross and keep the pickups snug behind the ear.
4. Continue adding hair down the side of the head
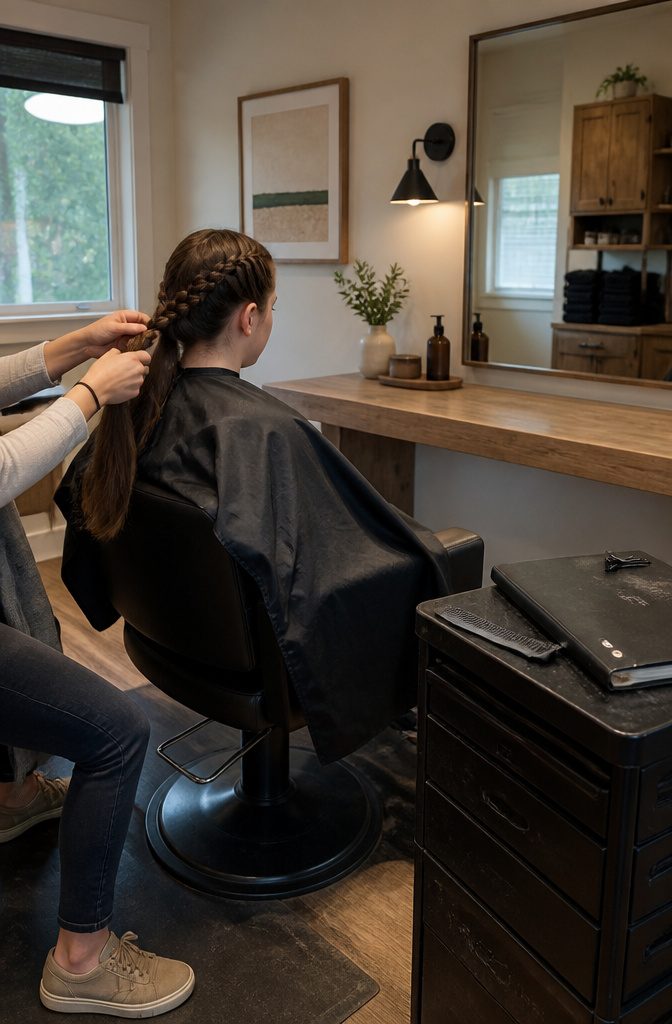
Once you move past the initial crosses, keep adding sections of hair from the scalp at the same height as the working braid.
Grabbing hair from above or below creates diagonal lines and visible lumps along the side. The sections stay small and even, pulled taut close to the head to keep the braid tight and the pattern clean.
Behind the ear is where tension matters most. The curve wants to loosen, so keeping your working hand close to the scalp through that section holds the braid secure.
You continue down the side until all scalp hair is incorporated and only the lengths remain. At that point the French braid portion is done, and you switch to a regular three-strand braid to finish.
5. Switch to a regular three-strand braid
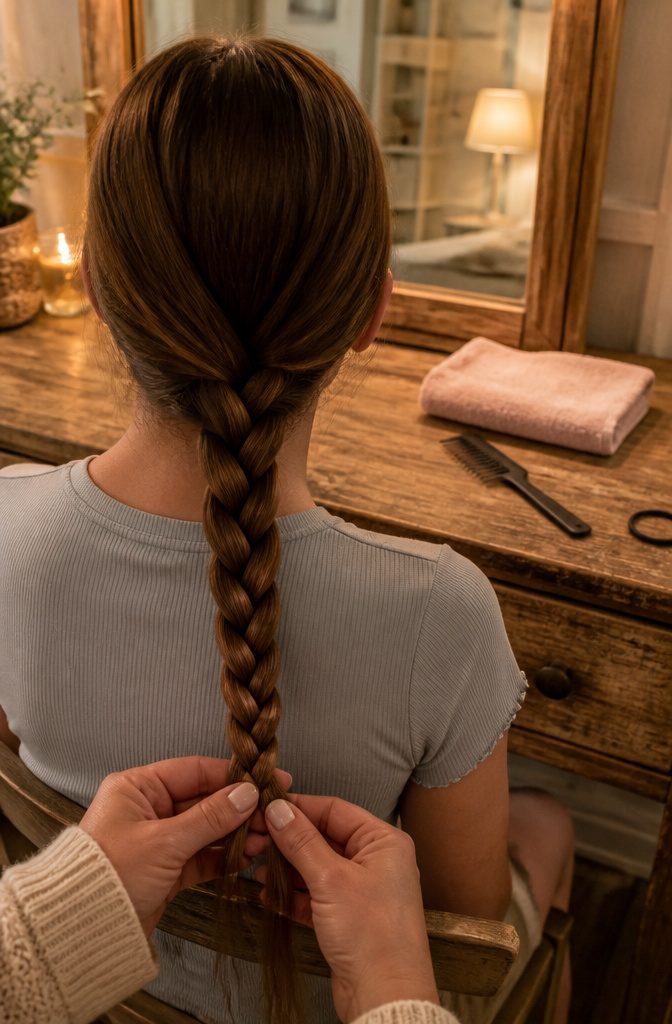
Once every strand of scalp hair has been pulled in, usually around the nape of the neck, stop adding hair and continue with a standard three-strand braid down the remaining length.
The motion is the one you started with, left strand over the middle, then right strand over the middle, only now nothing new joins.
Hand position sets the finish. Keep your hands close to the braid for a tight, sleek look, or hold them slightly farther away for a thicker, boho one.
Ends tangle easily at this stage, so in one video walkthrough the braider pauses and combs them out before going on. I’d do the same, then fasten with a hair elastic.
6. Secure the first pigtail and repeat on the other side
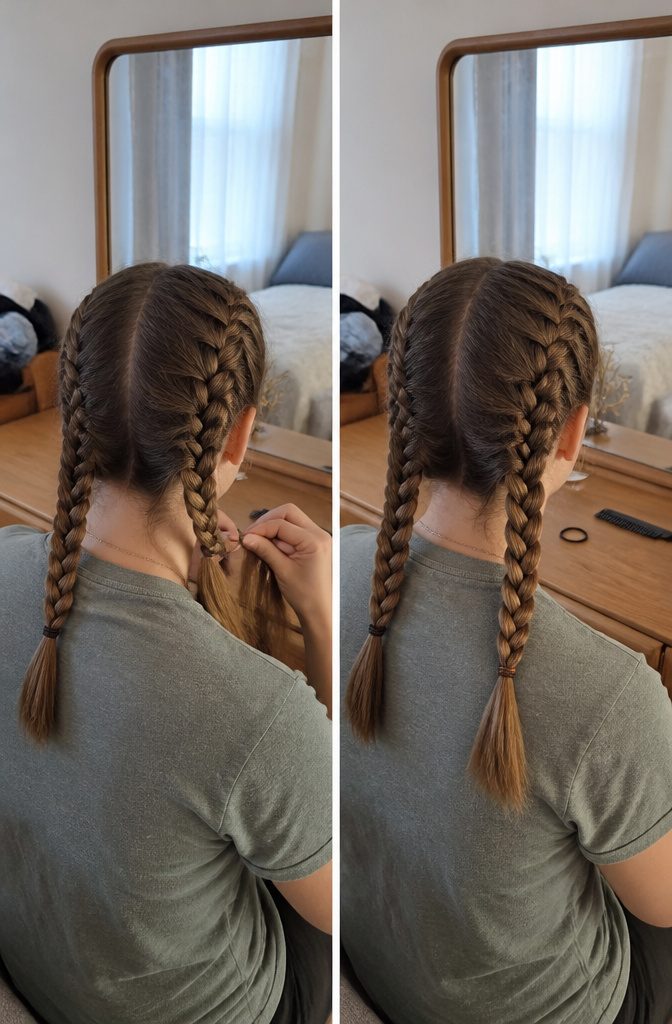
Tie off the finished braid with a hair binder or a plain elastic, whichever you have on hand. Either one works, and I’d pick the one that lets you wrap loosely enough that the braid doesn’t pucker at the end.
Next, unclip the other side and repeat the whole process from the first small section, with the same crossing and the same amount of hair added each pass.
Keep the second braid’s starting point level with the first, because a mismatch there is what makes pigtails look lopsided.
Before you tie off the second braid, glance in a mirror and compare the two. Loosening or tightening now is far easier than redoing the braid once it’s secured.
7. Loosen or finish the braids your way
Pulling at the sides of each braid turns a tidy set of pigtails into something softer, and I prefer them that way. Tug gently here and there, and loosen any piece that feels tight against your scalp.
Keep your hands close to the braid for a sleek look. Hold them farther away and gently "pancake" it for a fuller, boho finish.
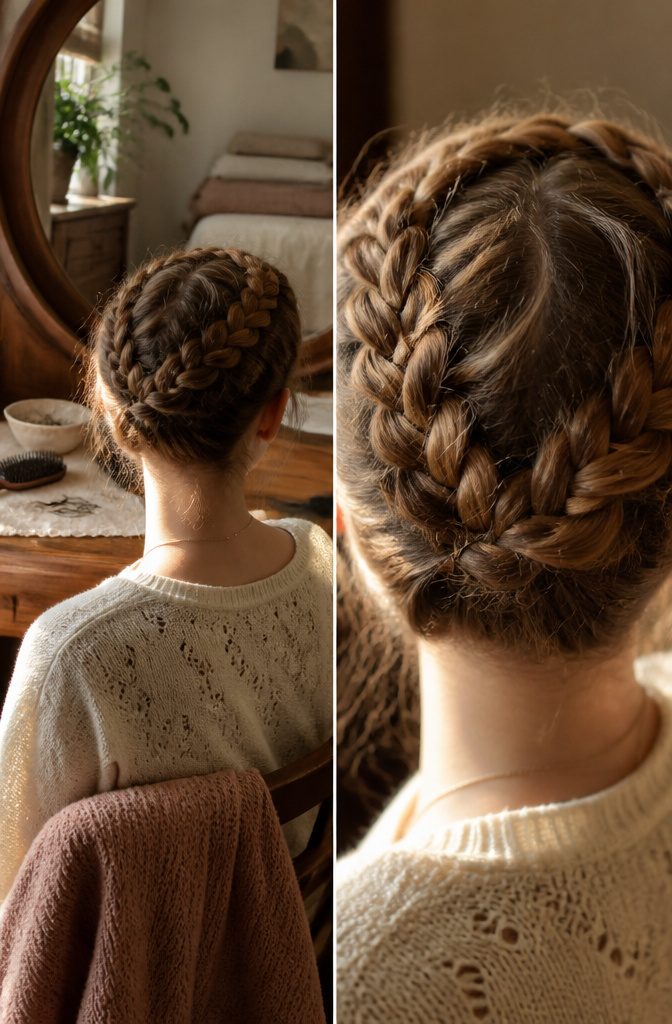
For a bigger change, flip each pigtail and cross it over the top of the opposite side, then pin it down as Heidi braids. A couple of bobby pins per side does it.
Tuck the elastic and loose tail underneath so they disappear. Two messy buns or one ponytail also work, but Heidi braids read as the most deliberate.
Practice where you can see your hands
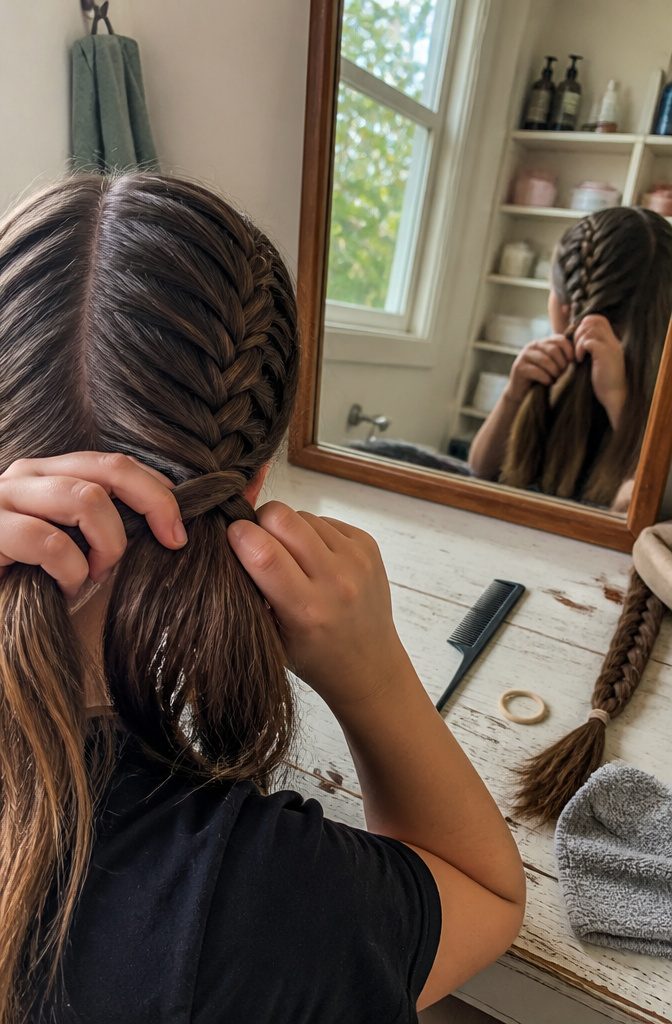
Braiding someone else’s hair first is the faster way in, since you can see every strand without twisting your arms.
Once the crossing pattern makes sense, switch to a front braid along your own part and stand at a mirror so your hands stay in view. Pigtails give you two reps per try, one on each side.
Tired arms and tangled fingers are normal early on, and they fade with repeats. Holding the three strands apart in your fingers shows you which one gets the new hair and which two cross.
I’d redo a lumpy braid rather than push through a sloppy pair, because the habits you repeat are the ones that stick.
Use slightly unwashed hair for better grip
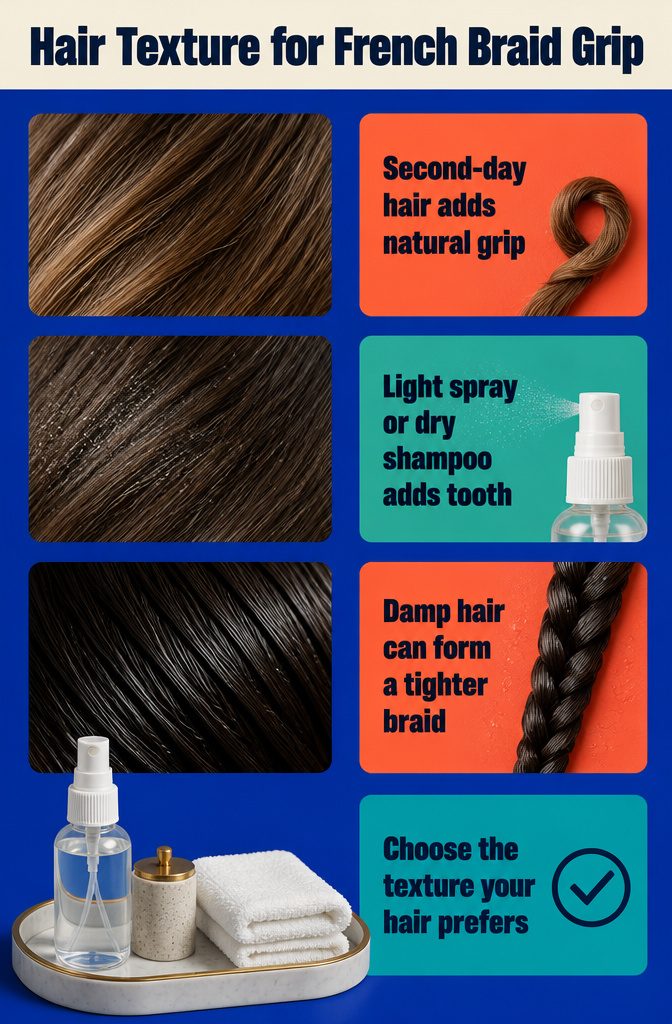
Hair that is slightly unwashed gives you the natural grip a French braid needs to stay put.
Freshly washed hair can slip between your fingers, and the braid loosens faster than you want it to. I look for that second-day texture when the hair has a little body and friction built in.
If your hair is too clean or silky right now, a light mist of texturizing spray or dry shampoo adds enough hold to make the braid manageable.
You are not trying to coat the hair, just giving it enough tooth so the sections stay separated as you cross them.
Some people prefer slightly damp hair for a tighter braid.
Damp strands compress more easily and lock in place as they dry. Pick whichever state your own hair cooperates with best.
Frequently Asked Questions
Is it easy to French braid pigtails as a beginner, and how do I start?
Yes, the method is beginner-friendly, and pigtails give you 2 braids to practice on every attempt.
Part the hair down the center, tie one half out of the way, then start near the crown with a small triangular section split into 3 equal strands. Even parting, steady tension and matching section sizes are what speed up learning.
What is the difference between Dutch braid and French braid pigtails?
A French braid crosses the outer strands over the middle one and picks up new hair from each side as it goes.
A Dutch (reverse) braid twists the middle strand toward the outside and adds the new hair to that outside piece, which gives a reversed look. Both work for pigtails; use the standard cross for a classic French pigtail.
Why is slightly unwashed hair better for French braids?
Slightly unwashed hair has natural grip, so the sections stay separated and the braid holds.
Freshly washed or silky hair slips through your fingers, but a light mist of texturizing spray or dry shampoo adds the friction it lacks. Some people prefer slightly damp hair because it compresses and locks in place as it dries.
How do I keep my French braid pigtails neat and even?
Pick up the same small amount of hair each time a strand crosses, and take it from the scalp at the same height as the braid.
Grabbing from above or below creates diagonal lines and lumps. Start both pigtails at the same level so the pair looks matched.
How tight should a French braid be?
Snug and close to the scalp the whole way down.
Keep your working hand against the head, and pay extra attention behind the ear, where the curve tends to loosen. Check both braids in a mirror before tying off the second one, since adjusting then is easier than redoing it.
How do I finish and secure a French braid?
Once all the scalp hair has been pulled in, usually around the nape, stop adding hair and continue with a standard 3-strand braid to the ends.
Tie it off with a hair binder or plain elastic, wrapped loosely enough that the end doesn’t pucker. If you want more fullness, gently pancake the braid afterward.
What tools and products do I need to French braid pigtails?
You need a comb and 2 hair binders or elastics. Optional extras help the style last: a texturizing spray or dry shampoo at the start for grip, then a finishing spray or lightweight serum to hold the braid and control flyaways.
How do I add volume to French braid pigtails without making them messy?
Once the braid is tied off, gently pull the outer edges outward a little at a time.
Small tugs keep the pattern intact, while one big pull can leave the braid lopsided. Braiding with your hands slightly farther from the braid also gives a fuller, boho finish.





