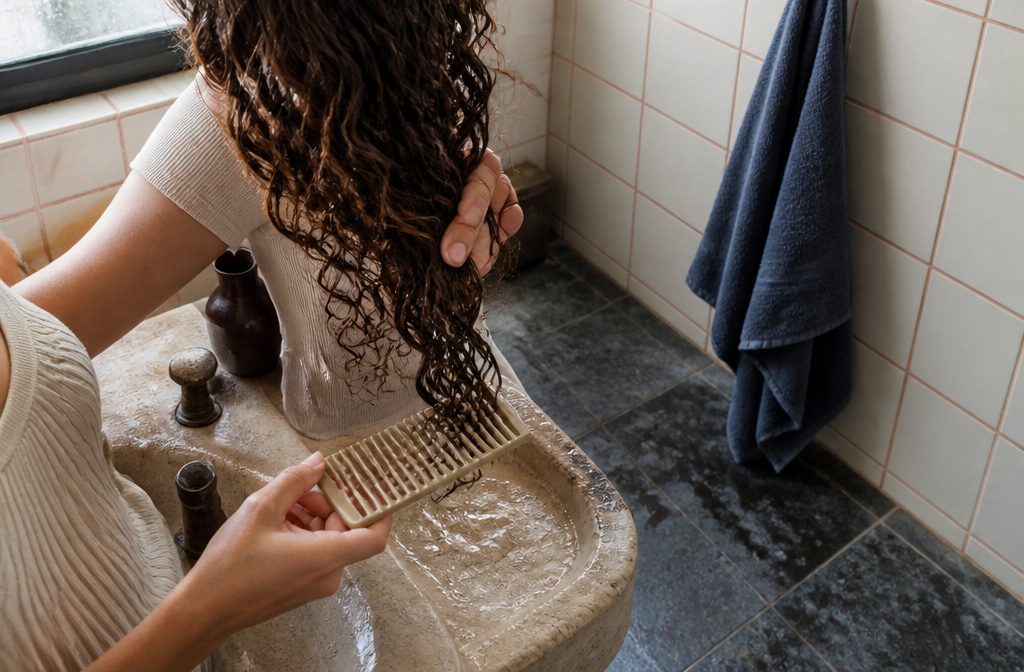
A curly hair routine is the full sequence of cleansing, conditioning, styling and drying steps that keeps curls defined and moisturized between washes.
The catch: most people wash too often or detangle dry hair, which snaps curls and adds frizz. Lorraine Massey’s Curly Girl Method allows sulfate shampoo for one reset wash at the start, then never again.
Choose Products and Wash Schedule
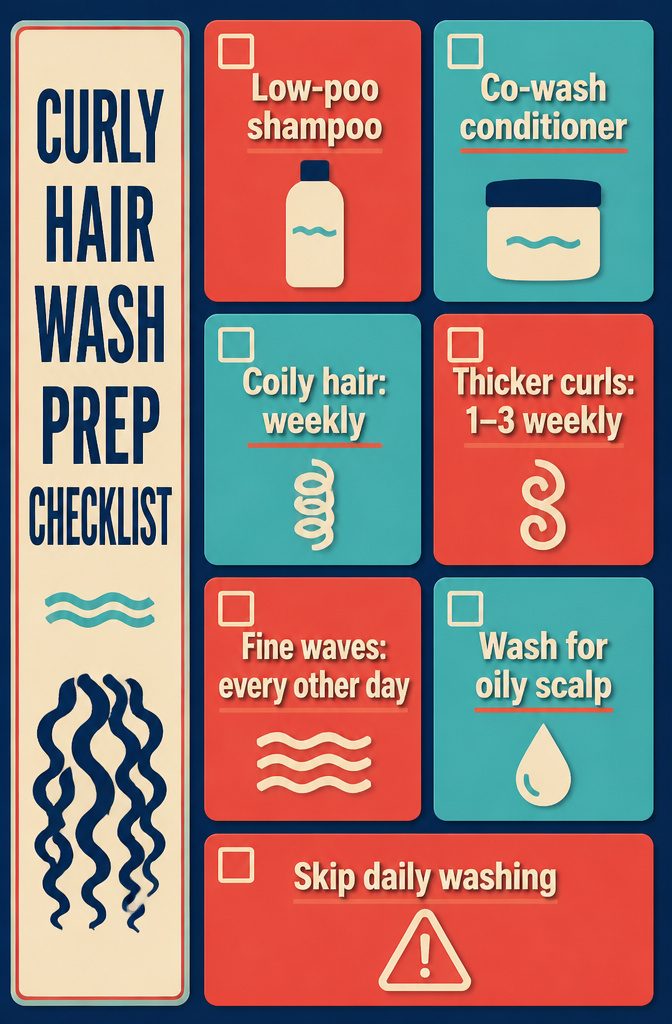
Low-poo means sulfate-free shampoo: gentle detergents that lift scalp oil and buildup without stripping, best for waves and flat curls that get greasy fast.
Co-wash means cleansing with conditioner instead. If your hair feels squeaky after rinsing, the cleanser is too harsh.
Cosmopolitan gives the cleanest schedule I’ve found:
If you have coilier hair, try co-washing once a week; if you have thicker, coarser curls or waves, try cleansing 1-3 times a week; and if you have fine, oil-prone waves or curls, you can cleanse every other day if needed.
Daily washing is the one pattern to skip, and an oily scalp or visible buildup is your cue to wash.
Start With a Reset Wash
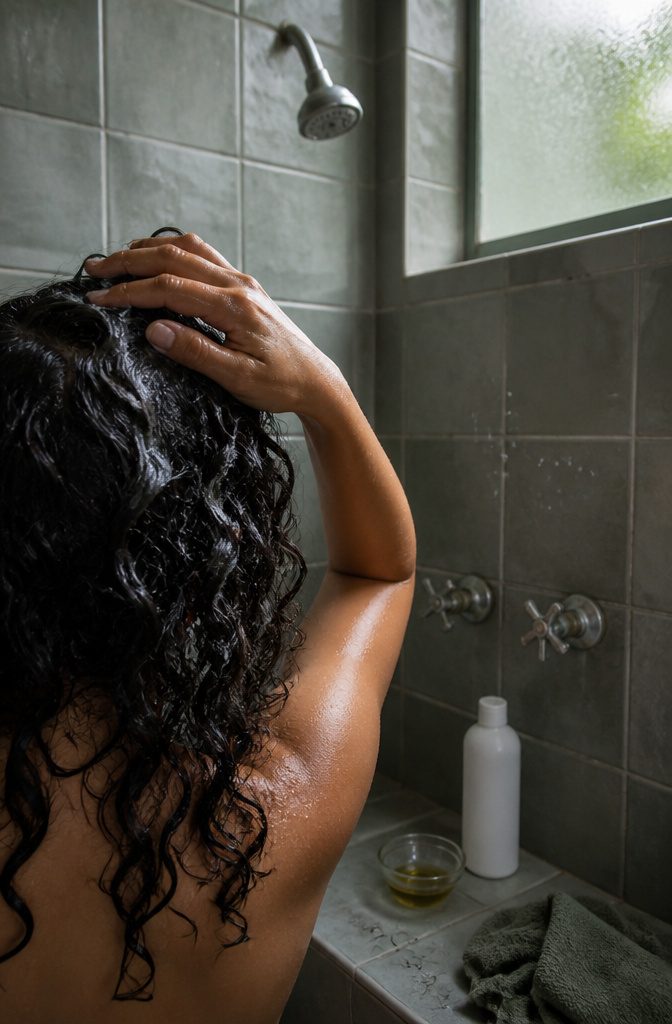
Silicones show up in 90 percent of hair products that coat hair, and wax builds up the same way, so a curly hair routine starts with one sulfate-based clarifying wash.
Lorraine Massey, who created the Curly Girl Method, allows a sulfate shampoo here and nowhere else.
I treat it as a starting step, not a regular one. Repeat it only after you accidentally use a product with silicone or wax in it, then go back to sulfate-free shampoo.
A pre-shampoo treatment, like a hair mask or conditioning oil, can go on before a wash. Rinse it out after 20 to 30 minutes, and keep it to a couple of times a month.
Cleanse the Scalp for 60 Seconds
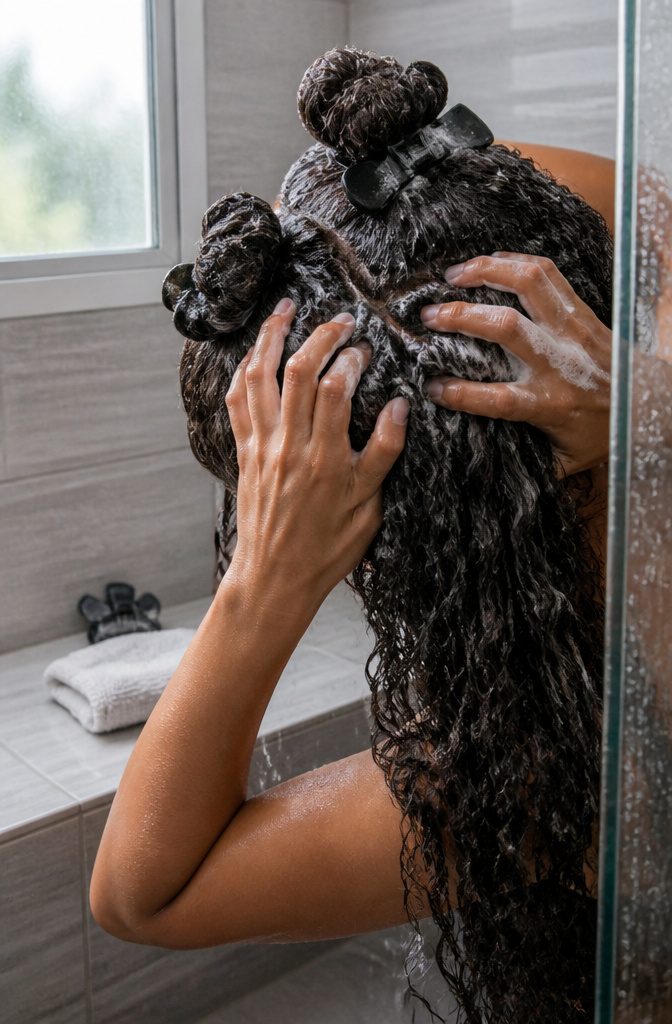
Cleanser belongs on the scalp and roots, not the lengths. Work it in with your fingertips instead of your nails, and keep massaging for at least 60 seconds.
That is longer than it sounds, so count it out for the first few washes. Gentle pressure is enough to clean the scalp, and hard rubbing only tangles curls.
On long or thick hair, I clip it into a few sections before the water hits and cleanse one at a time. Smaller sections keep the hair from piling into one big knot.
Leave the lengths alone. The suds that run down while you rinse clean them well enough, and it keeps dry curls from getting scrubbed.
Condition and Detangle
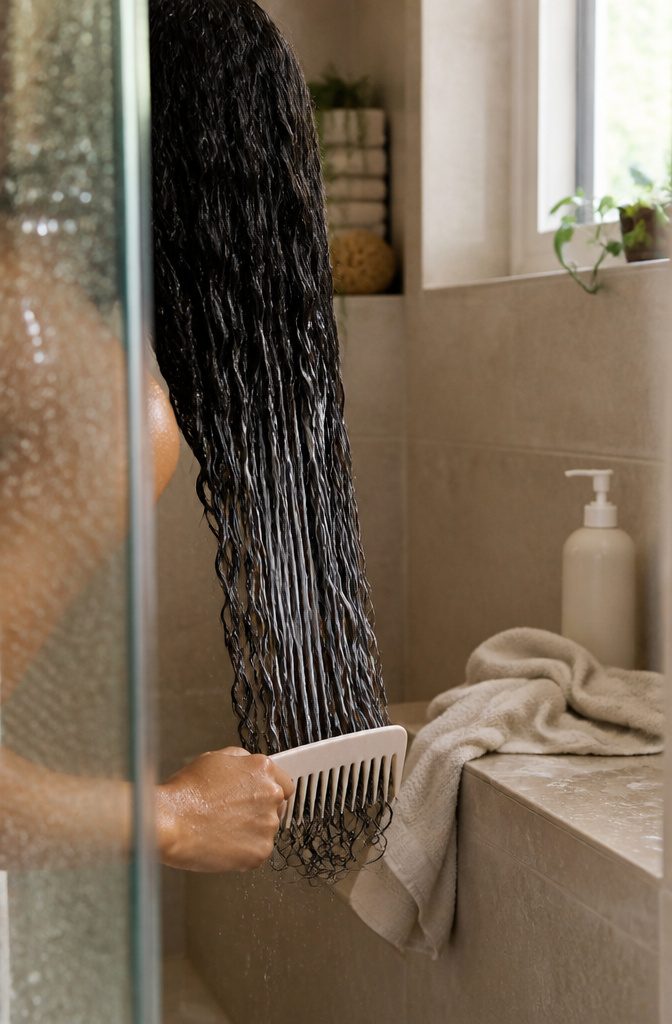
Detangle while the conditioner is still coating your hair, using your fingers or a wide-tooth comb. Start at the ends and work up toward the roots, which cuts down on pulling and breakage.
How much of your hair gets conditioner is a real choice. Lengths and ends only is the lighter route; a large handful through the bottom half, until strands are fully saturated, gives more slip.
I lean toward the saturated version for tangle-prone curls. Many people squish to condish at this step, and it works with either approach.
Comb only in the shower for the first six weeks, then reassess. Fine, snag-prone hair can be too fragile for wet detangling, so dry-brush right before you step in.
Add Leave-In Moisture
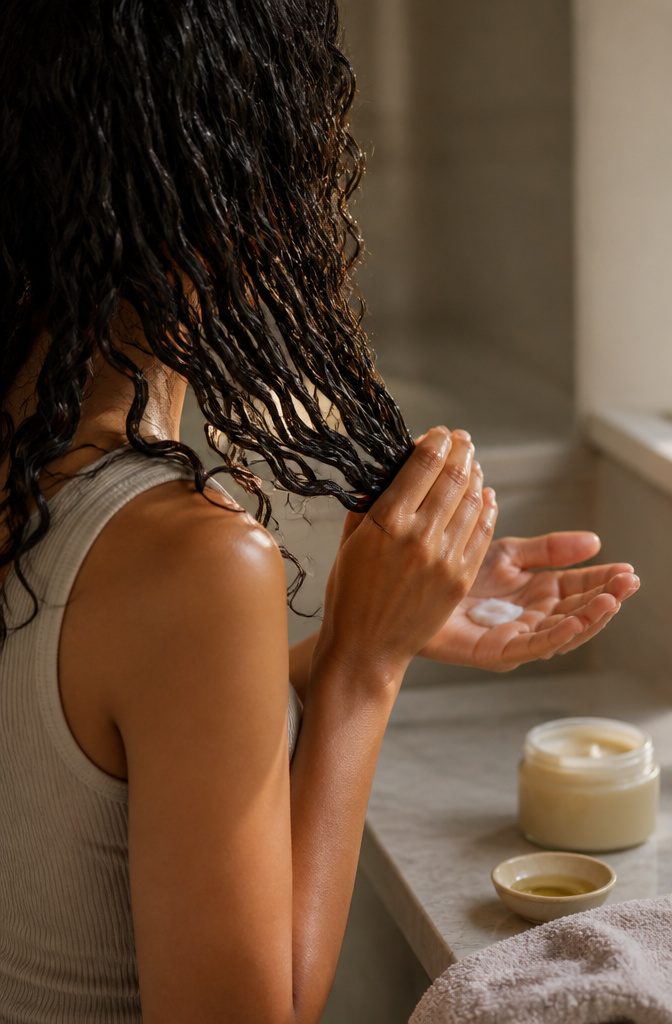
Leave-in conditioner is optional, and whether you reach for it depends on how dry your curls feel after rinsing.
If your hair often feels parched even after conditioning, apply a small amount to damp hair, focusing on the lengths and ends rather than the roots.
A quarter-sized amount of curl cream is the benchmark; more than that weighs curls down and leaves them looking greasy instead of defined.
Ingredients matter here. A leave-in or mask with argan oil, glycerin or coconut oil adds back hydration without coating the hair.
These work well in a weekly hair mask or oil treatment, which you massage onto the scalp to improve circulation and nourish the roots.
If oil feels too heavy on your scalp, a deep-conditioning mask does the same work. Once a week is enough to counter the drying effects of products and styling tools without overdoing moisture.
Apply Curl Styler
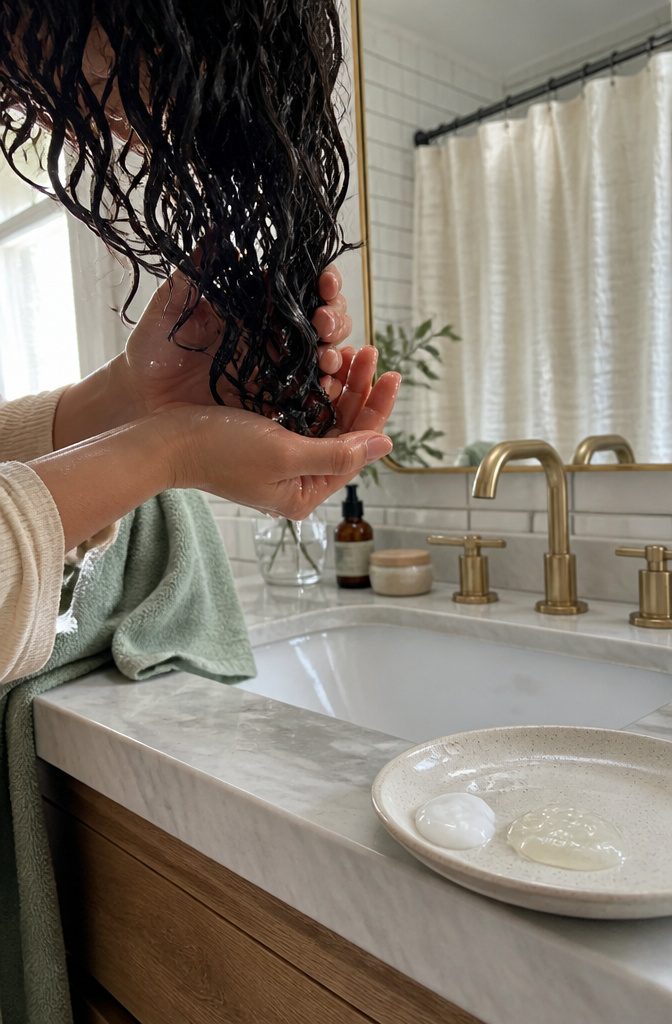
Work your styler in while hair is still dripping, not after plopping or towel-wrapping. The water dilutes the product and spreads it evenly, so gel glides on instead of clumping.
For layering, I like a quarter-size dollop of curl cream first, then a quarter-size dollop of gel over it. Rub each between your palms, cup a section of curls, and scrunch upward.
Flipping upside down at the waist, raking everything forward, and squishing in palmfuls of gel gives finer hair extra volume and pushes curls to clump.
If a few curls still look loose, twist them around a finger to define each one.
Test one method at least three times before switching, changing the amount and how wet your hair is each round.
Dry Gently
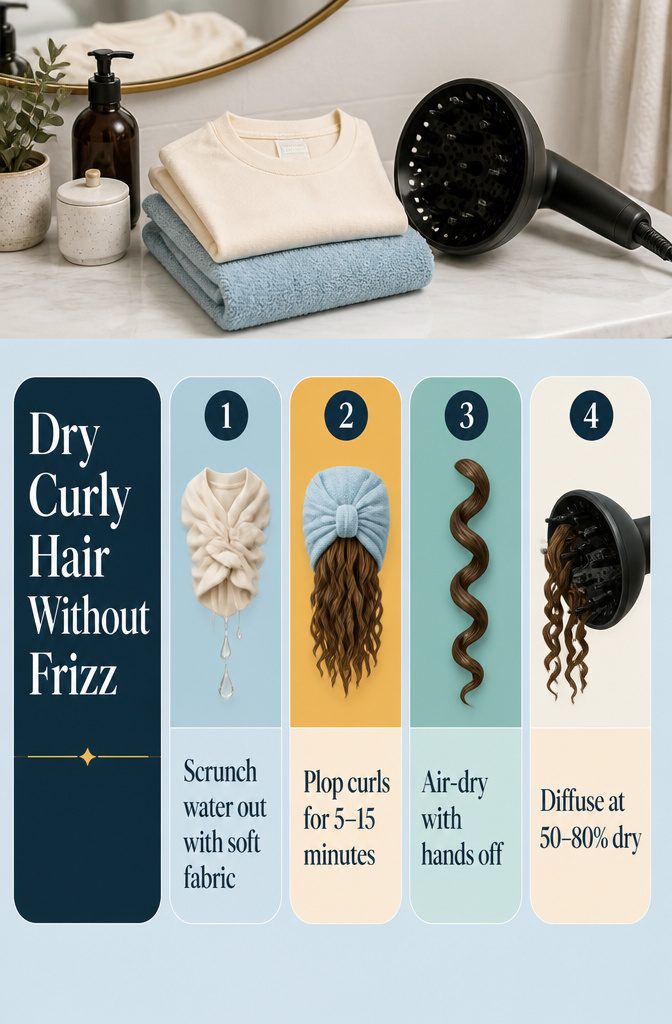
- Cup your curls and scrunch the water out with a cotton T-shirt or microfiber towel. Rubbing makes frizz, so squeeze upward instead.
- If you’d rather plop, flip your wet hair onto the center of the shirt, lift the bottom edge over your head, and tie the sleeves around it. Leave it 5–15 minutes.
- Air-dry with your hands off. After a drenched wash, I’d plan on roughly 3–4 hours.
- To cut that time, let your hair air-dry until it’s 50 to 80 percent dry, then finish with a diffuser on low heat. Moving the diffuser around less keeps the curl pattern intact.
Scrunch Out the Cast
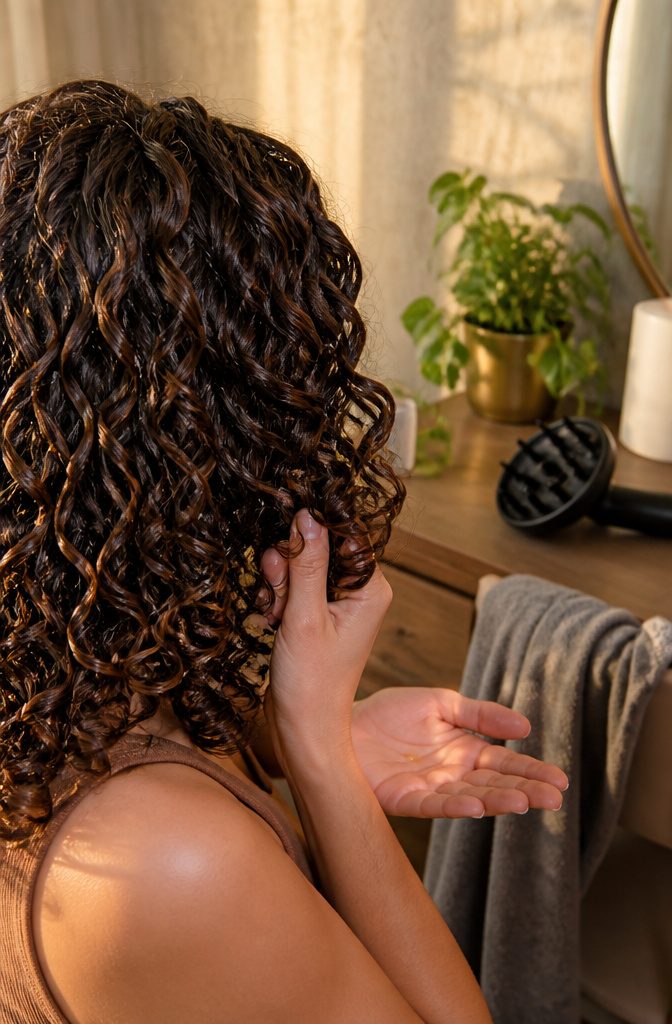
Hair that is 100 percent dry is the only hair ready to scrunch.
Until then the gel cast is still setting the pattern, and a wet or damp cast breaks apart into frizz. So keep your hands off until every curl is dry, whether you air-dried or used a diffuser on low heat.
Once the cast feels hard and crunchy, cup sections in your palms and gently scrunch upward.
The crispness gives way to soft, defined curls. Work in small handfuls and skip the brush or fingers raked through.
A drop of oil or serum is optional.
Warm it between your palms and smooth it over the lengths and ends of dry hair. Too much looks greasy and weighs curls down, so if they already feel soft, skip it.
Refresh Between Washes
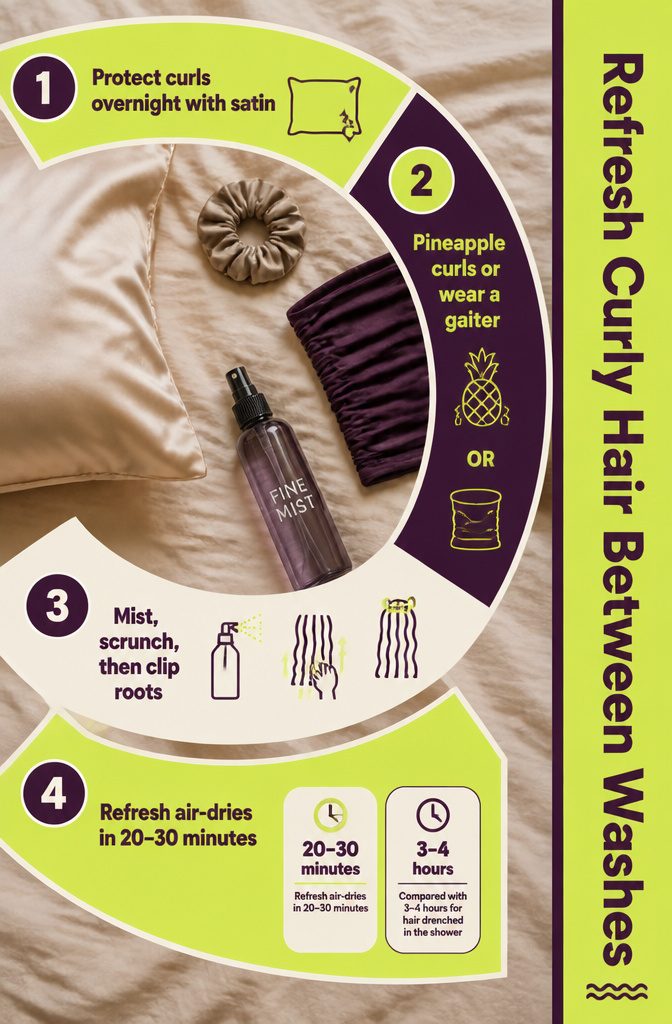
Sleep sets up the next day’s curls. A satin or silk pillowcase cuts the friction that cotton creates, and a loose pineapple ponytail or loose braid keeps you from lying on your curls.
A satin bonnet or stretchy gaiter does the same job, and I prefer the gaiter. Flip your head upside down while pulling it on so the curls stay lifted.
On day 2 or 3, mist flattened sections with a fine-mist spray bottle, scrunch upward, and clip the roots while you do your makeup.
A refresh air-dries in 20–30 minutes, compared with 3–4 hours for hair drenched in the shower. Treat it as maintenance between washes, not a step in every wash day.
Match the Routine to Your Hair
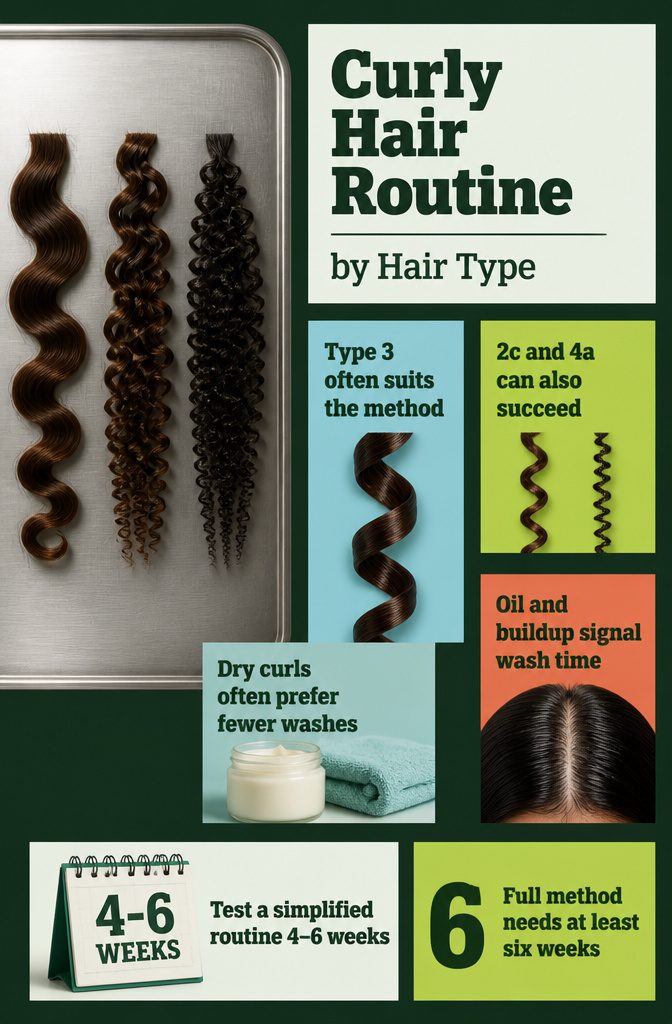
Your hair decides the routine, not the other way around.
Type-3 curls tend to see the best results from the Curly Girl Method, though plenty of people with 2c and 4a hair have had success. Straighter or more coily textures can experiment, but outcomes vary.
Give any new routine four to six weeks on a simplified setup, or at least six weeks if you commit to the full Curly Girl Method.
That window covers the learning curve and the transition phase, when your hair adjusts and you figure out which products actually work. You’ll have bad hair days before you crack the code.
A few things will shift your approach:
- How often your scalp produces oil. If your scalp becomes oily or you notice product buildup, it’s time to wash. If it stays clean and your curls still feel comfortable, wait longer.
- Your hair type and texture. Dry curly hair usually prefers washing less often. An oily scalp may need more frequent washing.
- How your hair responds to products. Try different schedules and see what works, because there is no set number of days that everyone should follow.
Keep Hair Moisturized
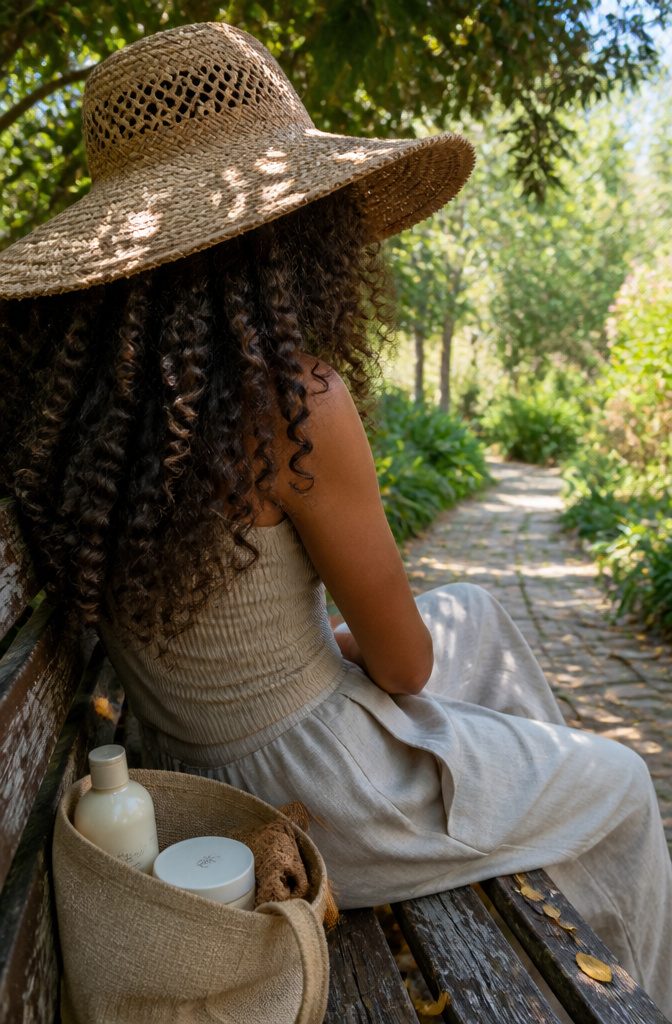
Dry curls frizz, tangle and snap, so moisture protection runs all week. I look for glycerin, argan oil, or cetyl and stearyl alcohol on the label of a conditioner or leave-in.
A mask or conditioning oil before shampooing, a couple of times a month, softens the hair shaft so later products absorb deeper. In strong sun, a wide-brimmed hat blocks the ultraviolet rays that dry curls out.
Dandruff shampoo can dry hair, so keep it on the scalp, leave it 2–10 minutes or whatever the label says, then use a moisturizing shampoo on the rest.
Stubborn flakes are a job for a dermatologist. Trim every six to eight weeks to keep curls healthy and bouncy.
Handle Curls Gently
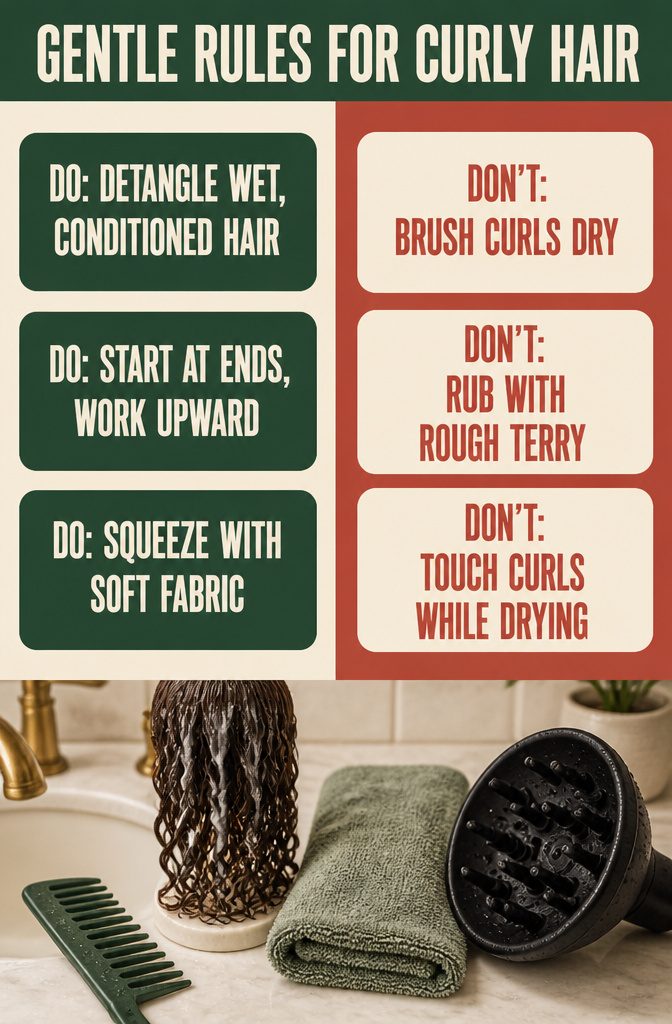
Four handling rules run through every step of the routine, and I wouldn’t bend any of them.
- Detangle only while your hair is wet and coated in conditioner, using your fingers or a wide-tooth comb.
- Start at the ends and work up toward the roots. Working from the bottom reduces pulling and breakage.
- Skip the brush on dry hair entirely.
- Squeeze water out with a microfiber towel or a soft cotton T-shirt. Rubbing with a rough terry towel adds friction, which means more frizz and disturbed curls.
- Dry with a diffuser on low heat, or air-dry. Either way, keep your hands out of your hair until it’s dry so the curls hold their shape.
Frequently Asked Questions
How often should I wash my hair with the Curly Girl Method?
Wash frequency depends on your hair texture and scalp. Coilier hair does well with once a week, thicker curls or waves with 1–3 times a week, and fine or oil-prone hair every other day if needed.
Daily washing is the one pattern to skip, and visible buildup or an oily scalp tells you it’s time.
What is the Curly Girl Method step by step?
Start with a reset wash using sulfate shampoo, then switch to sulfate-free cleanser or co-wash for regular washes.
Condition and detangle in the shower, apply leave-in if your hair feels dry, work in curl cream and gel while hair is dripping wet, dry gently with a T-shirt or diffuser, and scrunch out the cast once fully dry.
Between washes, refresh with water and clips.
How long does it take the Curly Girl Method to work?
Give it 4–6 weeks minimum, or a full 6 weeks if you commit to the complete method.
That window covers the learning curve and the transition phase while your hair adjusts and you figure out which products deliver results. Expect bad hair days before you crack the code.
What is the correct order of products for curly hair?
Shampoo, then conditioner in the shower. On damp hair after rinsing, apply leave-in conditioner if your curls feel dry, then layer curl cream and gel while hair is still dripping.
Once hair is fully dry, add a drop of oil or serum to the lengths and ends if needed.





