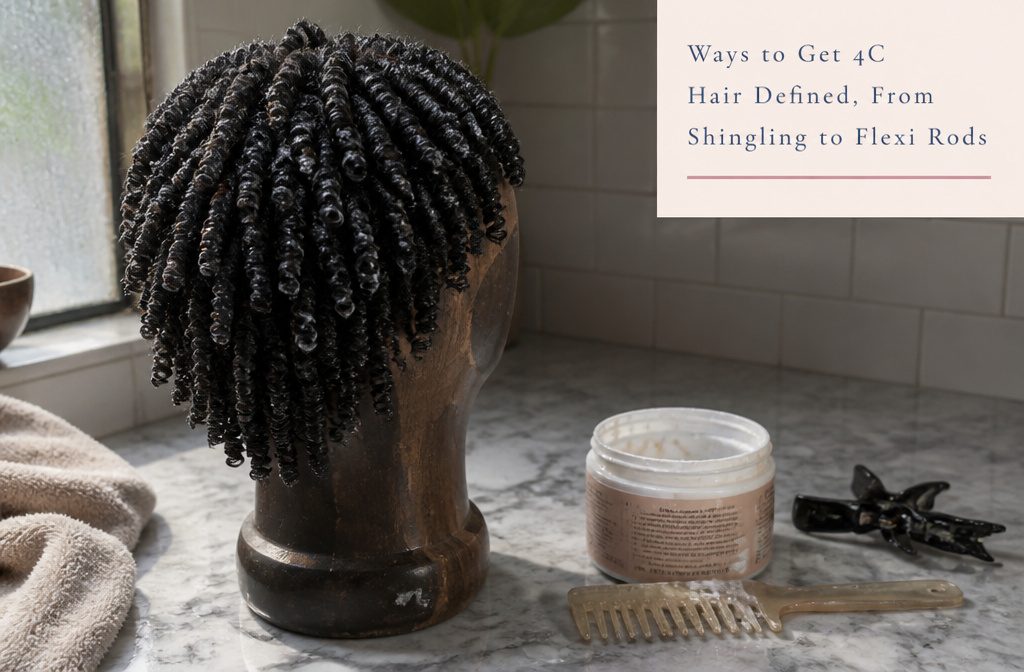
4C hair gets its sharpest definition from shingling or finger coils, both of which shape each section individually while the hair is wet and product-coated.
The cost is time: shingling takes around 20 minutes, and finger coils take longer still, since you twist every section around your finger one at a time.
Faster methods like wash-and-gos or curl activators give softer definition in minutes, but they won’t hold the same crisp separation that coiling by hand delivers.
1. Wash-and-Go
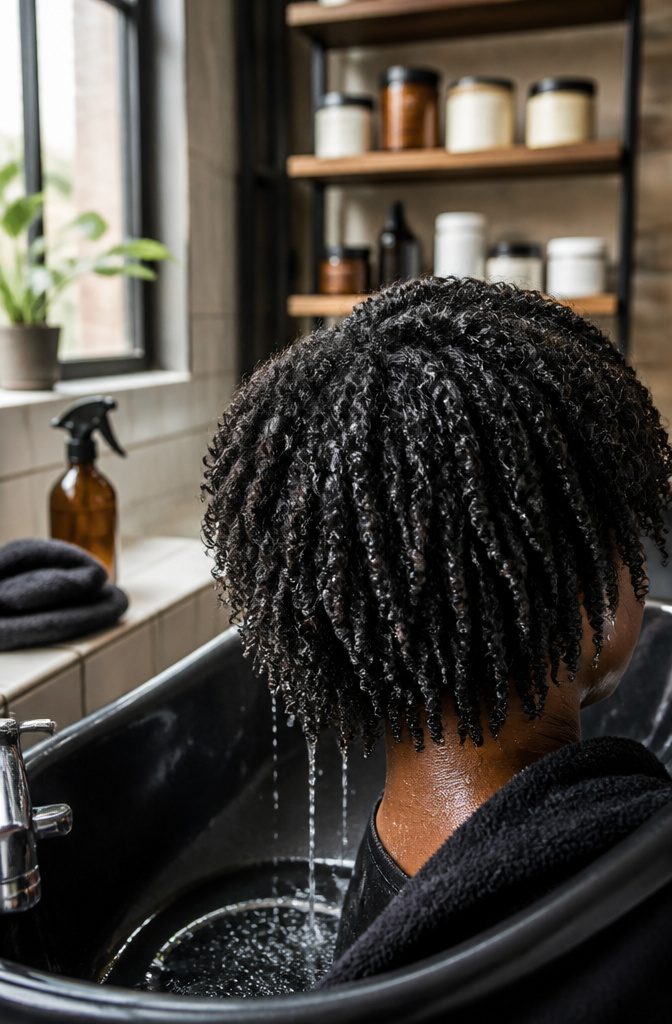
The wash-and-go starts simple: shampoo, condition, detangle on soaking-wet hair, then apply leave-in and gel while water is still running through it. What you get is clumping at the ends, less frizz, and curl separation rather than a cloud.
The smaller you section the hair, the tighter the definition reads. 4C coils shrink up to 75% of their length, so expect the finished style to sit much shorter than it feels when you’re working product through it.
If you’ve tried the maximum hydration method, that regimen was built for wash-and-go styles. It takes more time upfront, but you get softer, more manageable coils that hold their shape without re-twisting every night.
2. Maximum Hydration Method
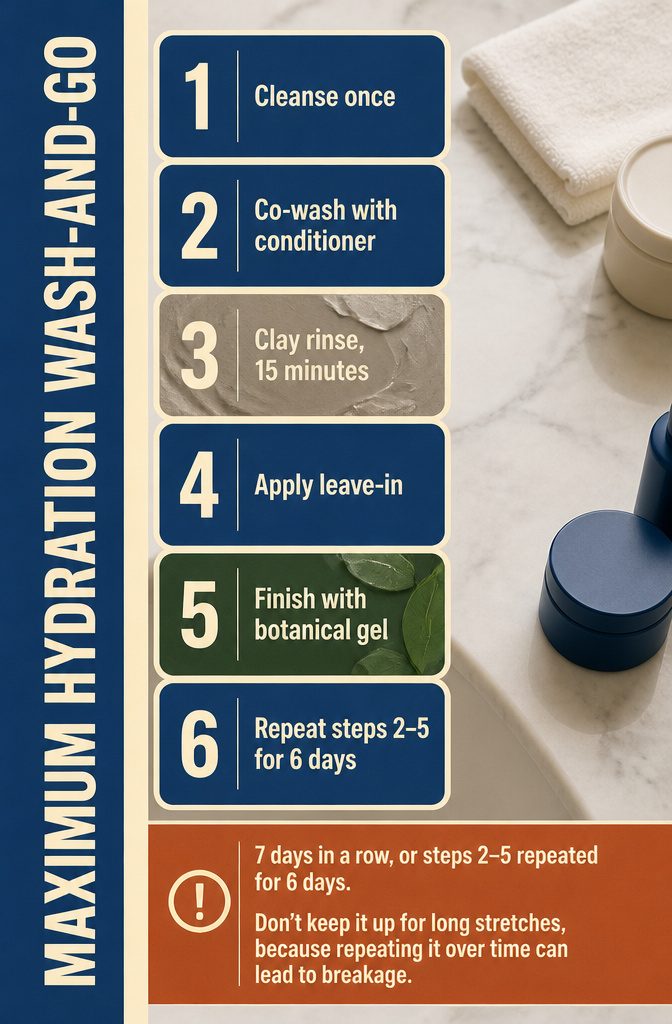
- Cleanse your hair once to start from a clean base.
- Co-wash with conditioner in place of shampoo.
- Do a clay rinse: smooth on a Bentonite clay paste, leave it about 15 minutes, then rinse it out. Clay absorbs, conditions and clarifies, and any clay works.
- Work a leave-in through your hair.
- Finish with a botanical gel.
- Repeat steps 2–5 for 6 days.
The method is described two ways: 7 days in a row, or steps 2–5 repeated for 6 days. I’d follow the second, since the cleanse in step 1 only needs to happen once.
It builds the definition a wash-and-go depends on. Don’t keep it up for long stretches, because repeating it over time can lead to breakage.
3. Curl Activators and Creams
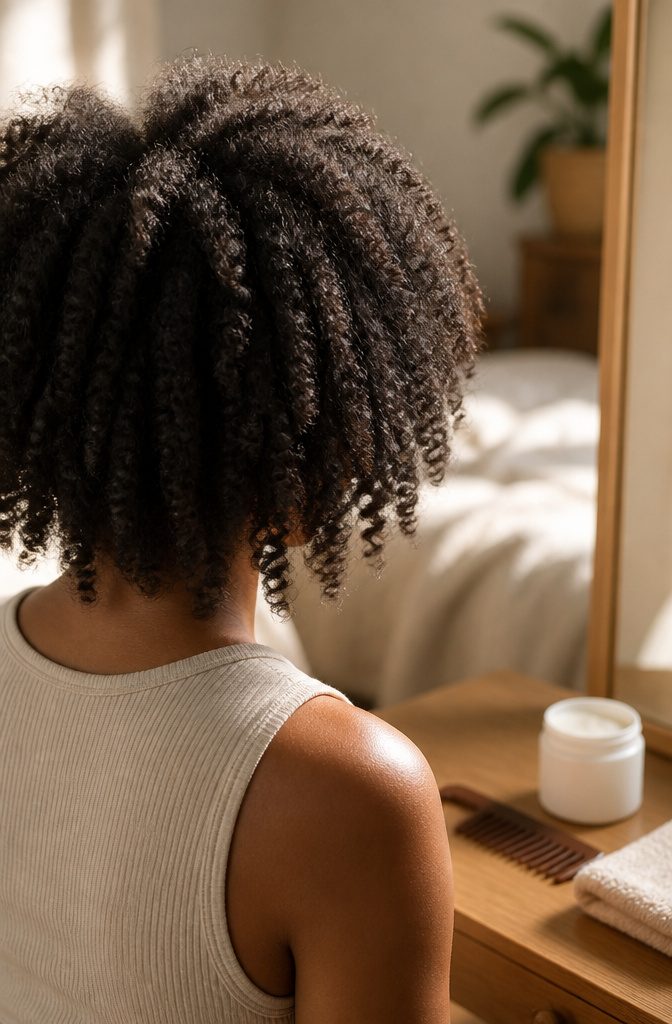
Curl Activators and Creams
Curl activators and creams are the fastest way to get definition on 4C hair, and they take minutes rather than the hour a full twist-out or rod set might ask for.
The hold is lighter than what you get from a gel or a full set, which means the definition softens through the day, but for second-day hair or a quick refresh that trade feels worth it.
You can work them through damp or dry hair, twirl small sections around your finger if you want tighter coils, or just rake and scrunch if you prefer a looser clump.
Products worth keeping on hand: Shea-Coco Natural Hair Style Cream, Miss Jessie’s Curly Buttercreme, and SheaMoisture Coconut & Hibiscus Curl & Style Milk.
I reach for a cream when I want something soft and easy to live in, not a crisp hold that stays put through spin class and a full workday.
4. Shingling
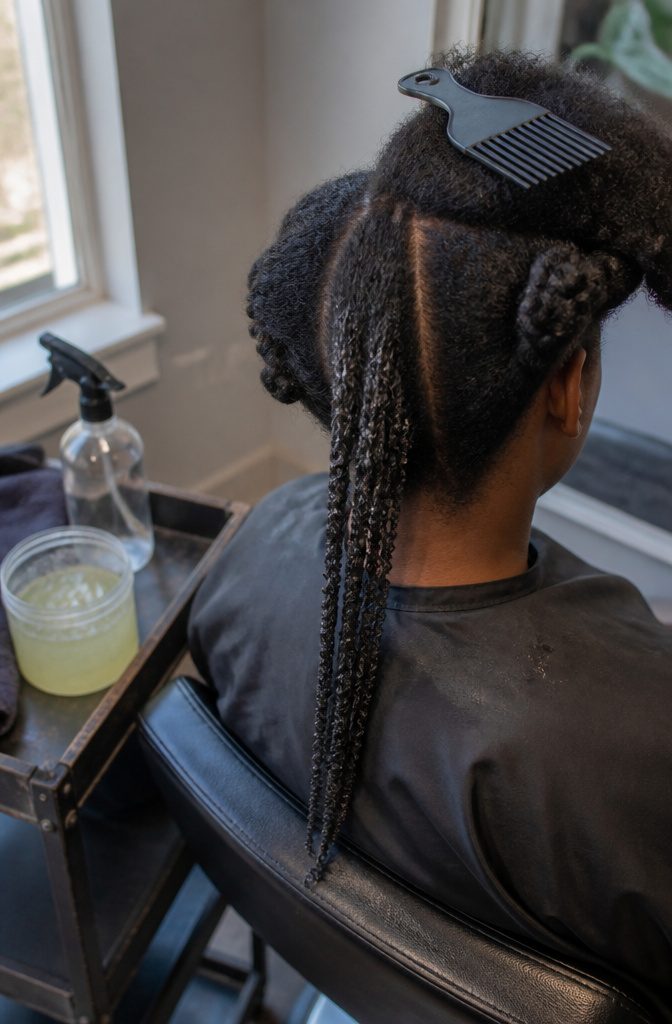
Shingling suits 4C better than looser patterns, and it’s the method I’d pick when definition matters more than speed.
Work on wet hair that already has leave-in through it. Take a small section, coat it with gel or curling cream, and smooth it from root to tip with your fingers, twisting the curl around one finger as you go.
Spray water whenever a section starts to dry, because the hair has to stay wet the whole time you shingle.
Plan on roughly 20 minutes, longer if your hair is long or dense.
You get strong definition with very little frizz, and the set can last up to a week. Once it’s dry, lift the roots with a pick or comb for volume.
5. Finger Coils
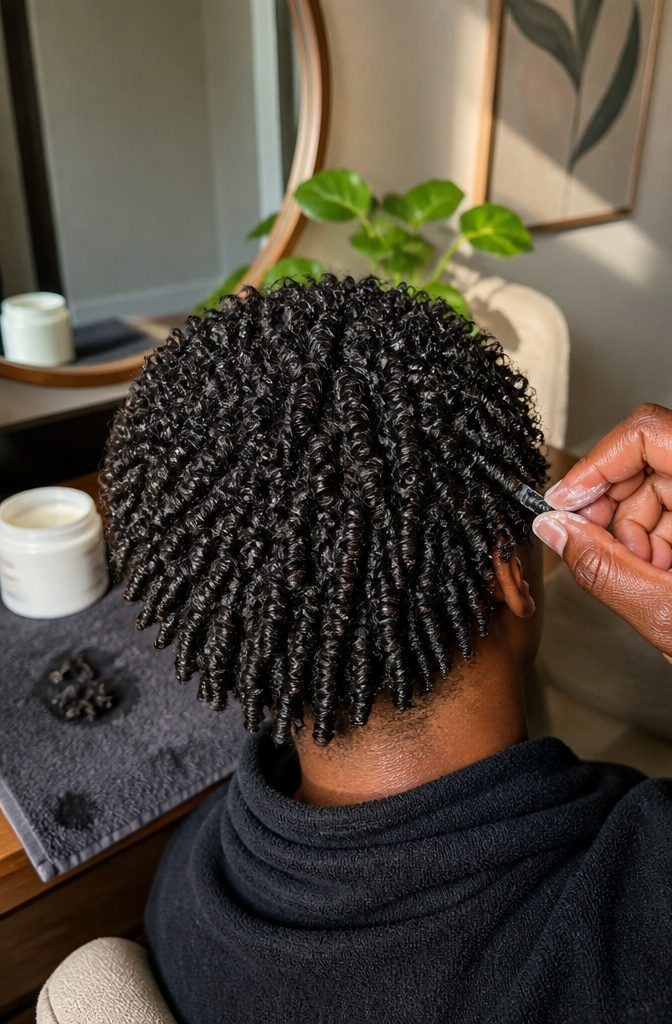
Finger coils are exactly what the name says: you take small sections of product-coated hair and twist them around your finger, one at a time, until every section has its own tight, clean spiral.
The method is simple enough for anyone to pull off, even if you just started working with your texture, and it trains your curl pattern while giving you uniform definition all over.
Time is the tradeoff. Coiling each section individually means you will spend longer on this than you would on a wash-and-go or a twist-out, so plan accordingly and settle in with patience.
You can start on wet or dry hair; dry hair stretches the coils and gives you more length.
Moisturize thoroughly, seal, then apply a curl cream like Eco styling gel or Cantu moisturizing curl activator to your fingers and distribute it evenly as you work through each section. Air dry, then style however you like.
6. Twist-Outs
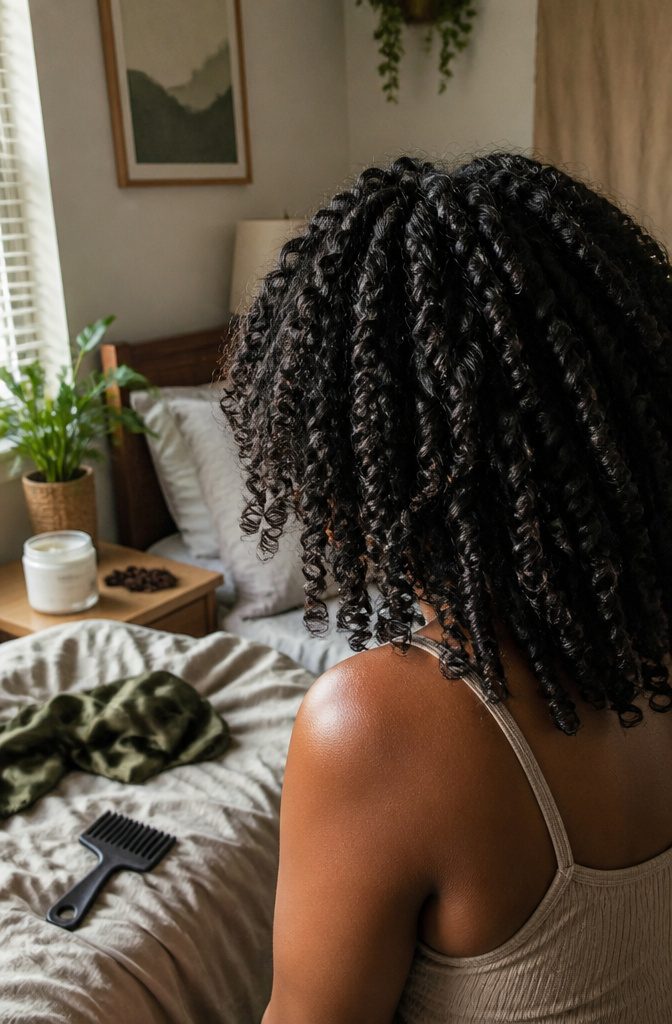
Coat each section with your gel or cream, twist it, and leave it until it is completely dry. Unravel only when fully dry, because opening damp twists is the quickest way to lose the definition you just built.
The three-strand version takes more patience and wins on definition: twist three sections, then finish with a two-strand twist. The result is lustrous and very defined, and I’d choose it over a plain two-strand set whenever the morning allows.
The same method can give tight ringlets, large curls or loose, chaotic waves, depending on how your hair sets.
Your twist-out doesn’t have to look like anyone else’s photo. Whatever pattern your hair makes is the one to work with.
7. Flat Twists
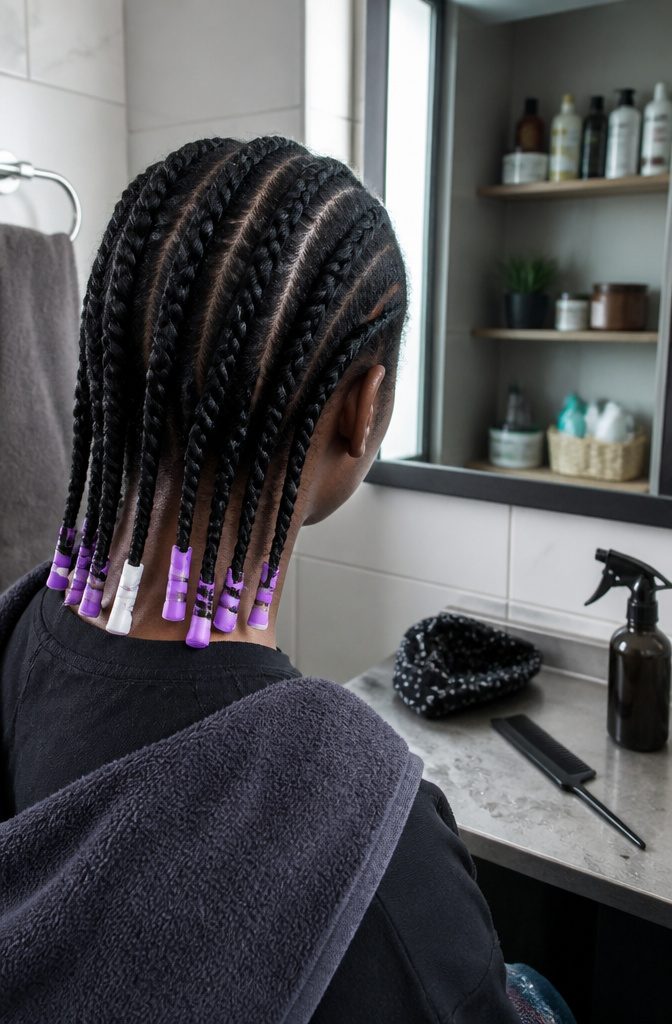
A flat twist is a two-strand twist that stays pressed to the scalp and picks up new hair from the part with every turn.
That gives you definition at the roots, which a twist-out started on loose, free-hanging hair doesn’t reach. Work on clean, damp hair and part with a rat tail comb.
Split each small section into two equal strands, twist them over and under, and feed in hair along the part as you go. Once the twist is long enough to leave the scalp, secure it.
I finish the ends on perm rods and let everything dry overnight under a silk scarf. Expect a learning curve, because the technique takes patience and practice.
8. Braid-Outs
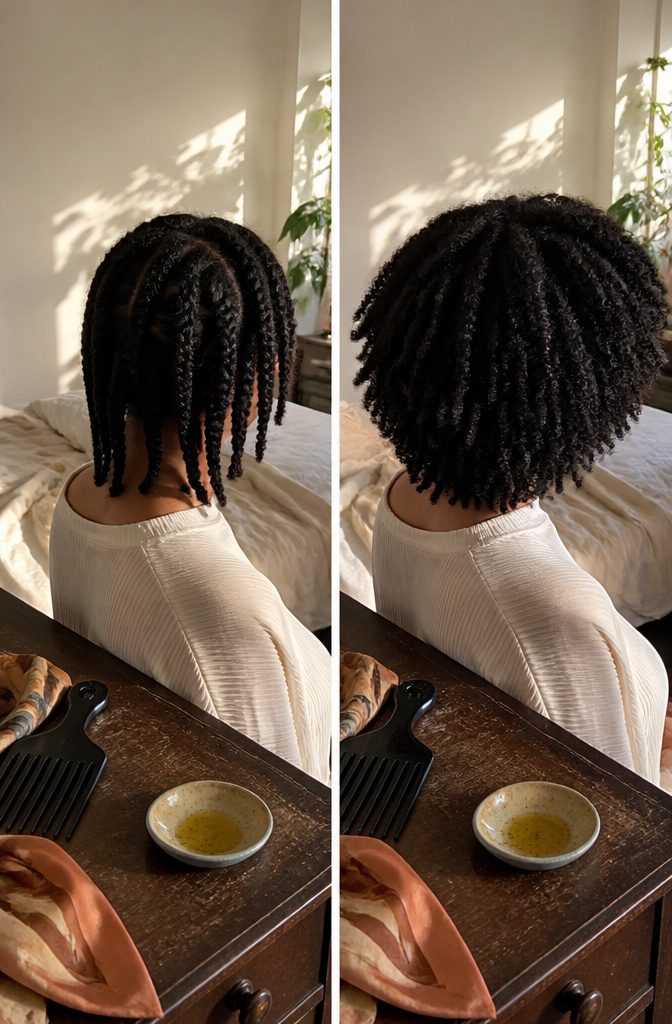
Braid-outs give more volume and length than twist-outs, while twist-outs give more definition. If you want crisp, separated clumps, twist.
If you want a fuller, longer-looking shape, I’d braid. Start with freshly washed hair, split it into four sections, and work in oil and a curling cream.
Spray each small section with water and detangle it with a wide-tooth comb before braiding. Free-hanging plaits are the simpler route, and cornrows are the other, if your braiding is steady.
Cover with a silk scarf and let everything dry overnight. Oil your fingers before unraveling, then use an Afro pick at the roots for volume.
9. Braid-and-Curl
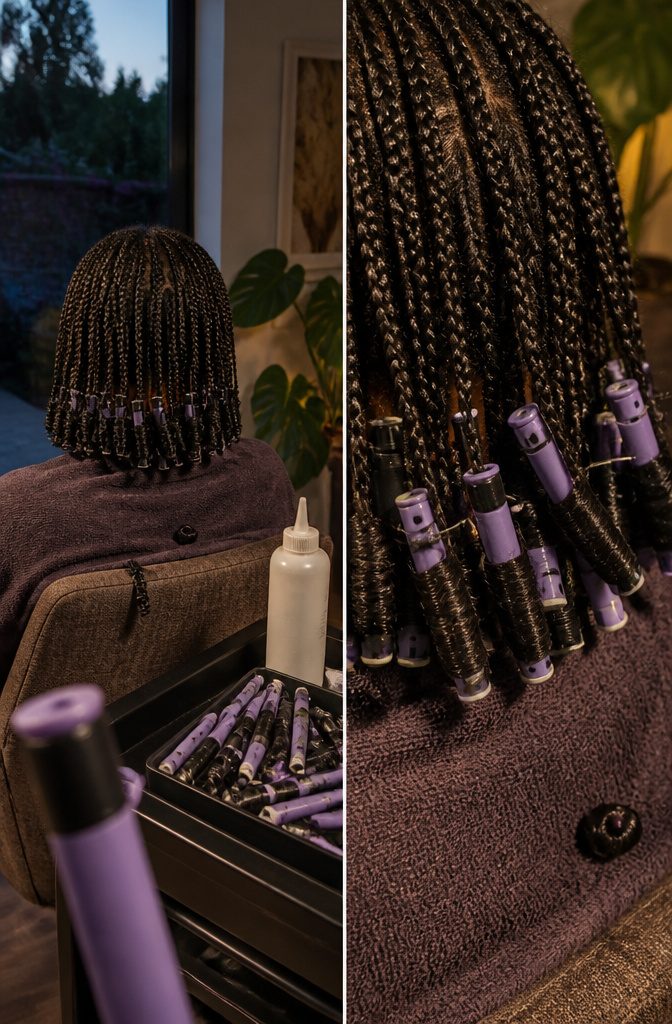
Wrapping each braid is what separates this from a plain braid-out. Instead of letting the braids hang, you coil every one into a curl, so the hair dries in that shape.
Start with leave-in conditioner on wet hair, add a moisture-rich styling product for texture and hold, then braid into numerous small sections.
Winding the braid ends around perm rods gives a rounder, curled finish, which I’d choose if your ends tend to fall flat.
Let everything dry completely before unraveling.
Then part each curled section 2–3 times and stop there, since more handling loosens the definition. Setup takes a long time, but the ends come out more defined and less frizzy.
10. Bantu Knot-Outs
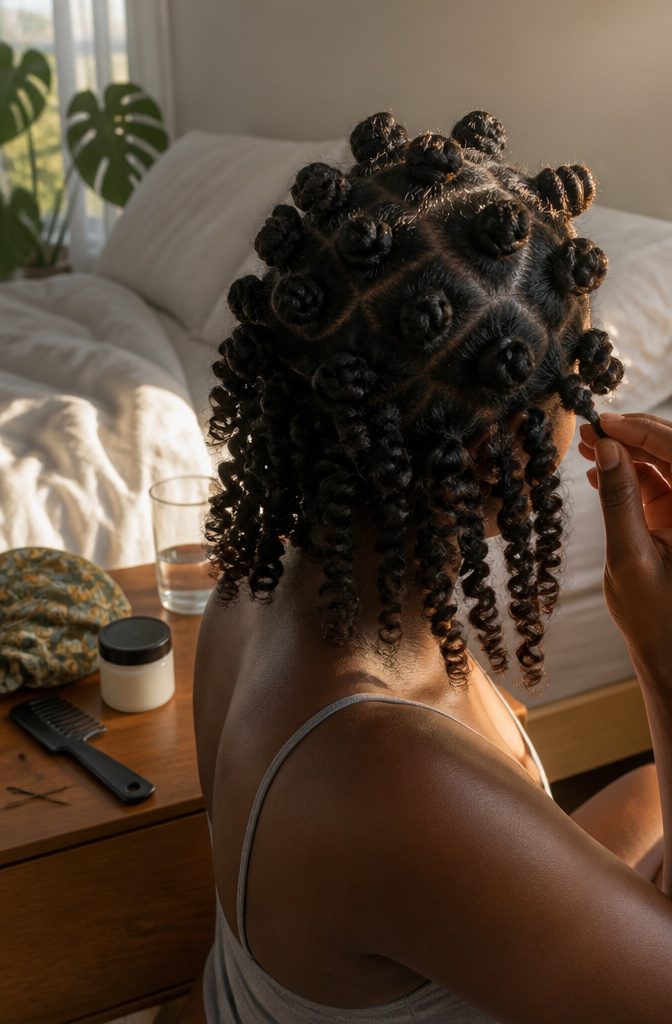
Section size follows hair length: smaller sections for shorter hair, larger sections for longer hair. Start with damp, detangled hair and part it with a rat tail comb.
Work a little setting lotion or gel through each section, then twist it and coil it around itself at the base. Tuck the ends against your scalp and secure each knot with a pin or elastic.
Patience decides whether this works. Wrap your head in a scarf and leave the knots overnight until they’re completely dry.
I’d never take them down early, because damp knots won’t hold their shape. In the morning, unravel each one, split it into smaller curls, and lift the roots gently with a comb for volume.
11. Straw Sets
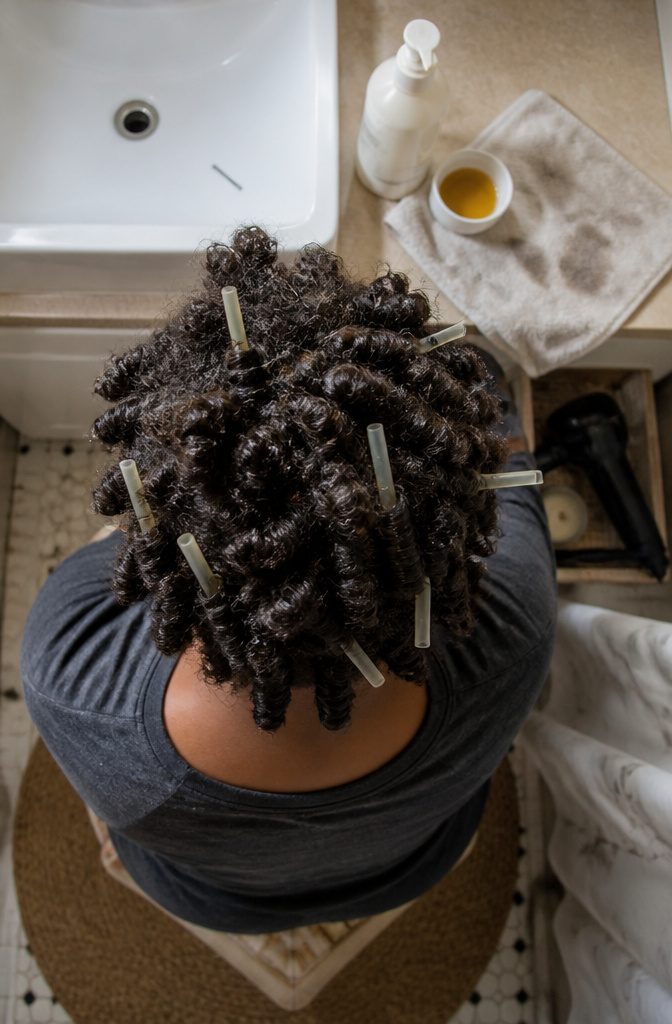
A straw set takes one pack of straws and one pack of bobby pins.
Start with freshly washed, conditioned and moisturized hair, since it sets best wet. Split it into sections to suit the look you want, wind each section around a straw in a tight spiral, and pin it with a bobby pin.
Let the hair dry naturally or under a dryer, then pull the straws and pins only once the curls are fully formed. Finish with a spray of leave-in conditioner or a little oil.
I’d pick this for anyone who wants a low-maintenance set.
It works on short and long hair, costs little, and doesn’t damage natural hair. The curls also last longer and look better as they age.
12. Flexi Rods
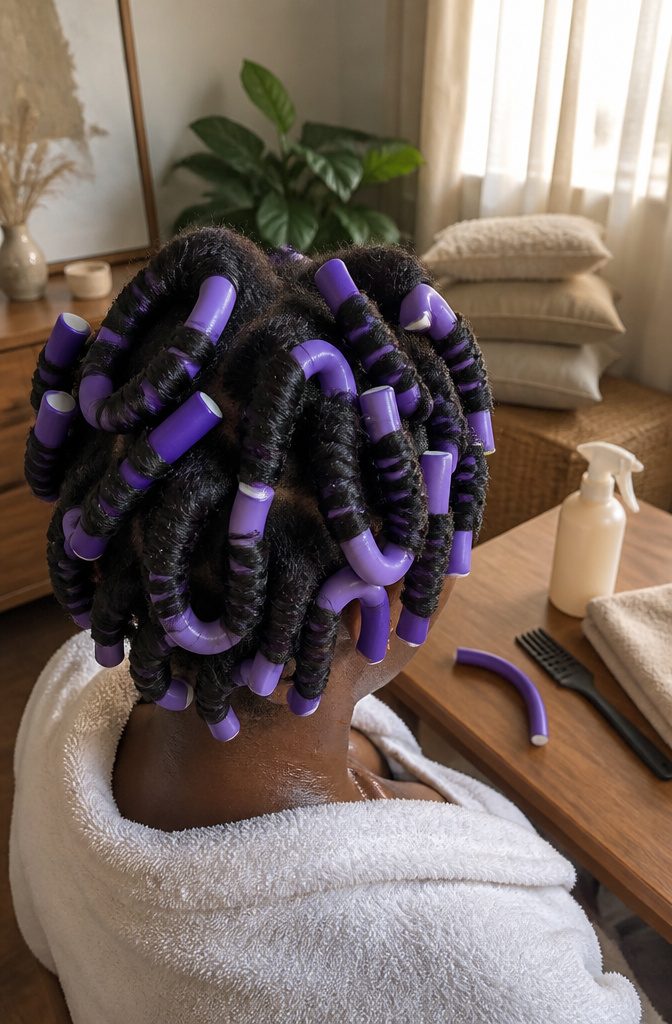
A thicker rod gives a larger curl and a thinner rod gives a tighter one, so I’d pick the size before anything else.
No product fixes a rod that’s wrong for the look you want. Flexi rods work on wet or dry 3B–4C hair.
Start with detangled sections and mist each one lightly, since the hair shouldn’t come off soaking. Smooth on leave-in conditioner or setting lotion, wrap the section around the rod, and bend the ends inward.
Damp hair gives more definition but shrinks and takes longer to dry. Dry hair stays longer with less definition.
If definition is the goal, I’d go damp and give it the time. Air dry or use a hairdryer, then take the rods out only once your hair is completely dry.
13. Perm-Rod Sets
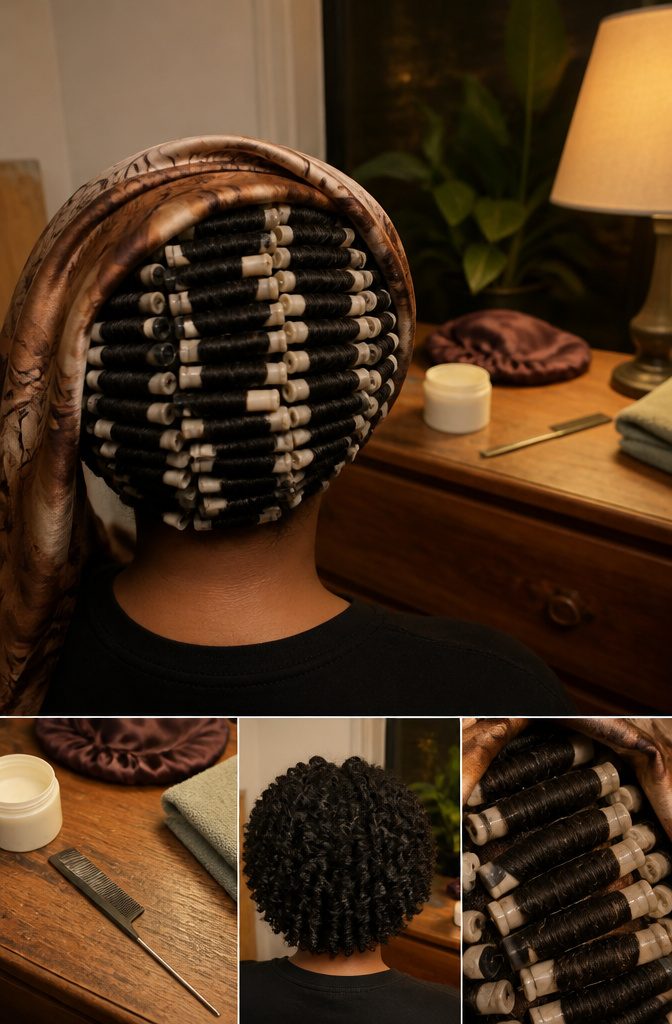
Perm rods give 4C hair some of the smoothest curls of any set, and the prep is simple.
Start with dry, detangled hair and part it into small sections with a rat tail comb. Work mousse or curl defining cream evenly through one section, wrap it tightly around a rod, and repeat until the whole head is covered.
Drying decides the result.
Every rod needs to be completely dry before you unwind it, because even slight dampness can leave the curls limp and uneven. Tie a bonnet or large silk scarf over the rods and let the set dry overnight.
If you’re short on time, an overhead dryer for 30 minutes to an hour works, depending on length and texture. I’d stay near the full hour for longer or denser hair.
14. Curlformers
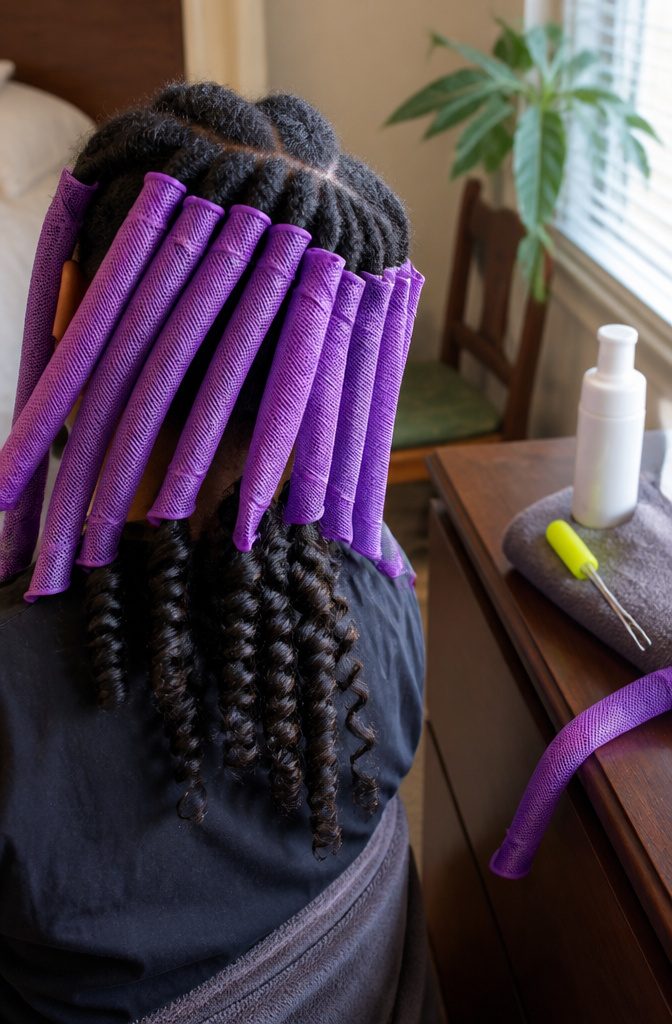
Curlformers leave 4C hair with a smoother, looser curl than most methods on this list, close to what a curling iron or wand gives you. That is a different result from a tight coil.
If you want to keep your natural tight pattern, skip this one, because the finished curl reads as a stretched, polished spiral. For anyone who wants that look, it’s one of the fastest ways to get definition.
Start with clean, detangled hair parted into sections, with mousse worked through each one.
Twist a small section at the root, catch it with the rod’s hook, and pull the rod through. Repeat across your head, let everything dry overnight, then pinch the top of each curlformer and pull it out.
15. Curling Wands
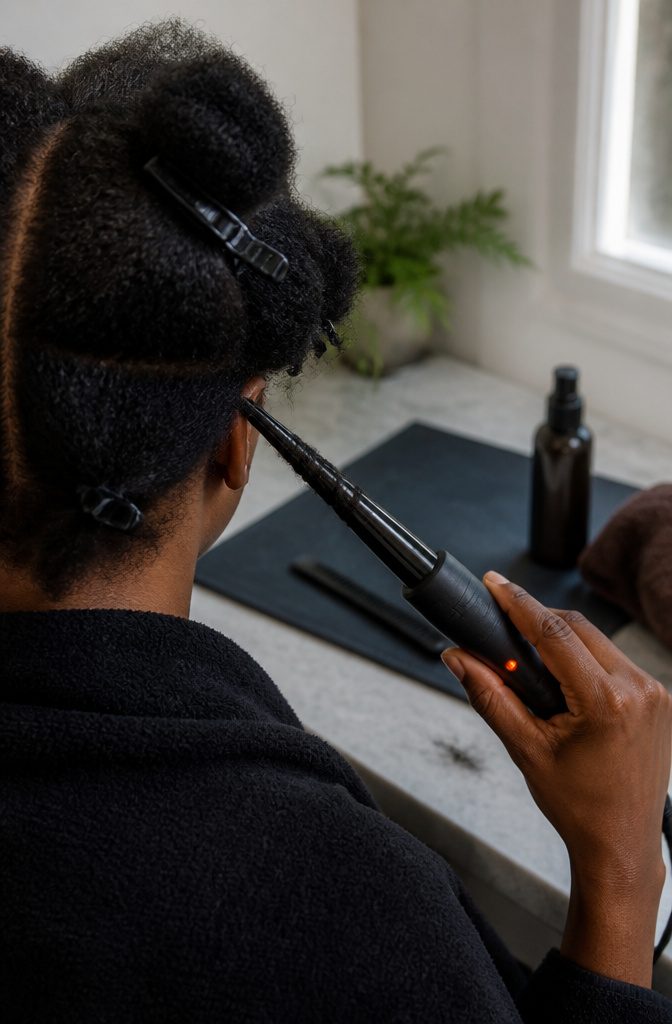
Wands are the only heat method on this list, and they are the fastest.
Wash and condition first, then part the hair into sections and detangle. Coat every section with heat protectant before the wand touches it.
Wrap a small section around the barrel, hold the ends, and keep it on the wand for about a minute before releasing. Repeat across the head.
The cost is real. 4C strands are fragile and prone to breakage, and heat protectant lowers the damage without removing it.
I’d treat the wand as an occasional-event tool, not a weekly routine. Hair that is already dry or thin from bleaching or color should skip it.
Moisture Before Definition
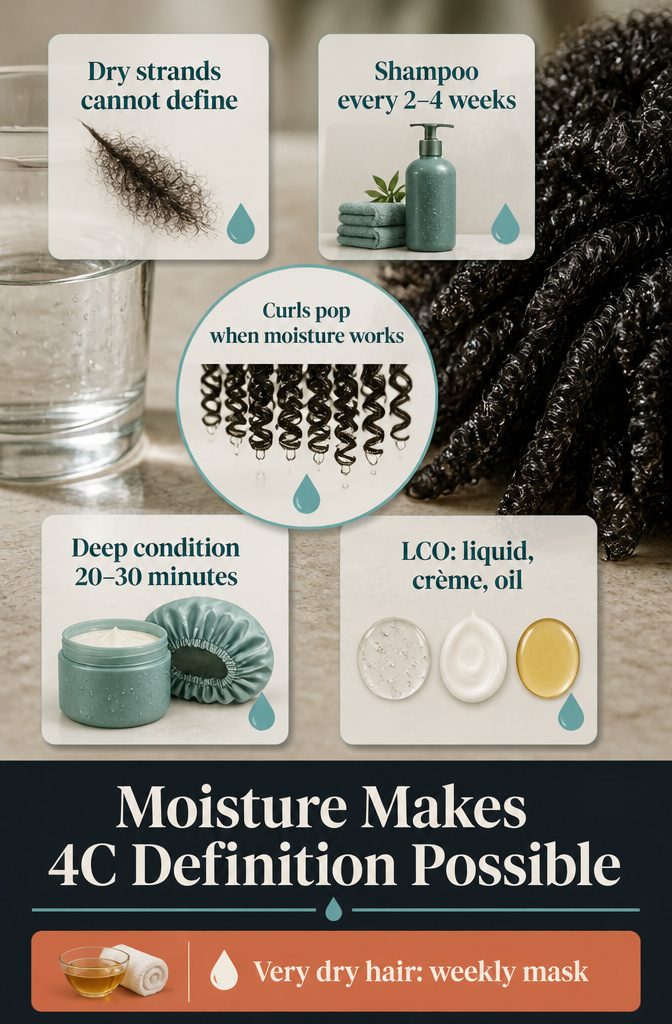
Dry or damaged 4C hair lacks the flexibility to form curls, so no gel or cream can define it until the strand is hydrated.
A quick test: watch your hair the moment water hits it. If curls pop up, moisture is doing its job.
Shampoo only every 2 to 4 weeks with a gentle, sulfate-free formula, because over-washing strips the oils coils depend on. Deep condition every 2 weeks: apply after washing, cover with a shower cap or heating cap, and wait 20–30 minutes.
Very dry hair does better with a weekly mask or hot-oil treatment, and I’d choose weekly over biweekly there. Between washes, layer LCO: a liquid first, then a crème, then oil to seal it in.
Gel, Cream and Leave-In
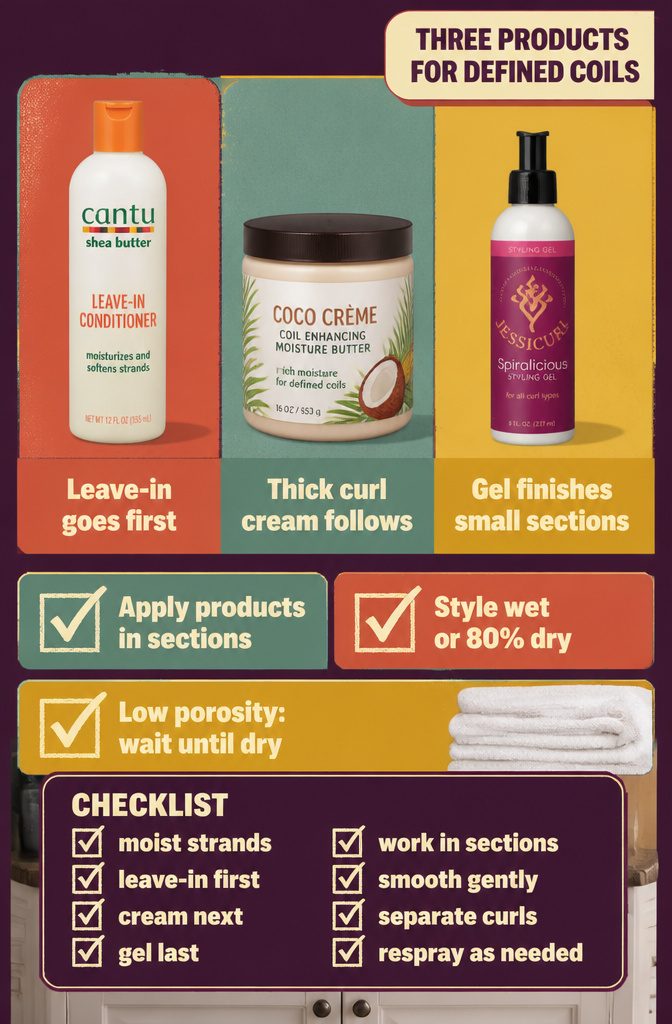
Layer the three products in this order, and apply each in sections so hair doesn’t go crunchy:
- Cantu Shea Butter Leave-In Conditioner goes on first, while strands are still moist enough to absorb it.
- A thick curl cream or pudding, such as Coco Creme Coil Enhancing Moisture Butter, comes next and carries most of the moisture.
- Jessicurl Spiralicious Styling Gel finishes it, smoothed over small sections with your fingers to separate each curl.
- On timing, you can style on wet hair and respray whenever strands dry out, or wait until hair is at least 80% dry. Water-saturated low-porosity hair suits wet styling poorly, so I’d wait if that’s you. Everyone else can start wet.
Detangle Gently
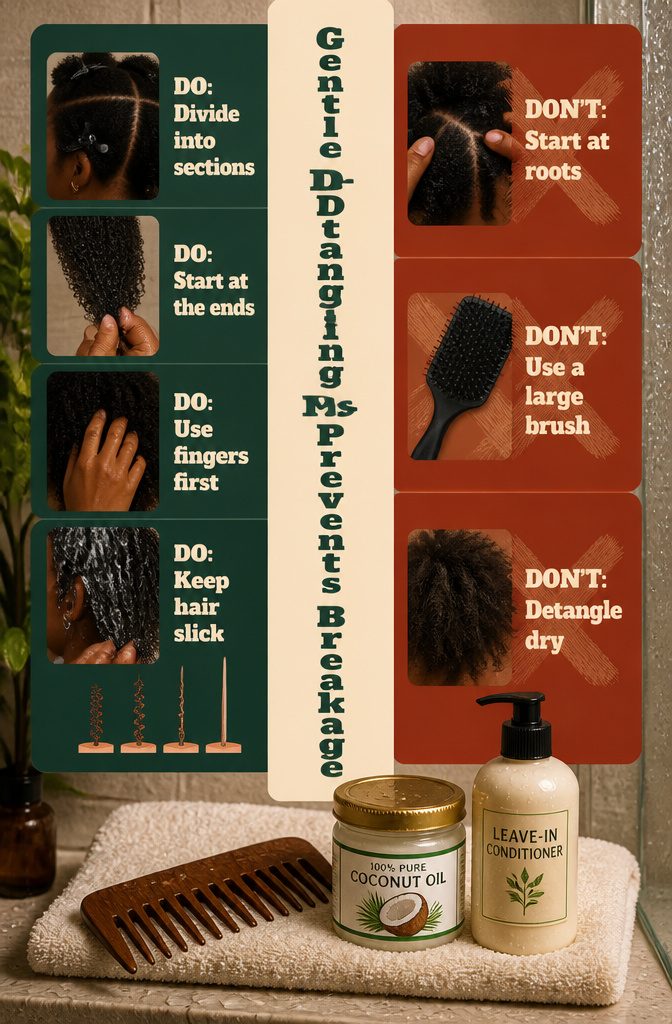
4C hair breaks easily, and most of that breakage happens during detangling.
Divide it into sections first. A large brush pulls out several strands at once, while a small section lets you work one knot at a time.
Start at the ends and move up toward the roots, so you never shove a tangle down onto a longer stretch of hair.
I reach for fingers first, then a wide-tooth comb for whatever is left.
Either way, keep the hair slick with coconut oil or a leave-in conditioner the whole time. Combing through a generous layer of conditioner in the shower works just as well.
Protective and Low-Manipulation Styles
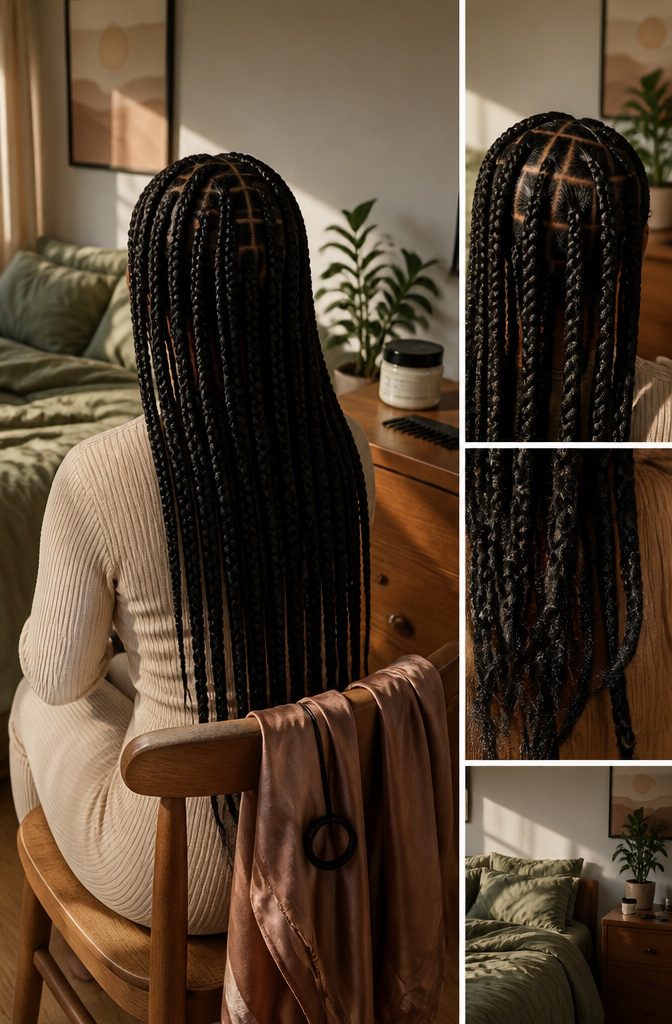
Twists and braids keep definition in place with less daily handling, which matters when you want a style that holds for weeks without reworking every section each morning.
Two-strand twists lock in moisture and stretch at the same time, and you can wear them as they are or unravel them later for a twist-out.
Bantu knots give you tight coils at the root and defined spirals through the length when you take them down.
Knotless braids last around six weeks and put less tension on the scalp than feed-in methods that start with a knot at the base.
Jumbo box braids move faster because you are working with only eight to 10 sections across the whole head, and the width means each braid finishes in minutes rather than the finer work that smaller plaits demand.
Frequently Asked Questions
How do I define my 4C curls?
Start with moisturized hair and apply curl-specific products like leave-in conditioner, curl cream, and gel while strands are still damp.
Try twist-outs, braid-outs, or finger coils for structured definition, and always detangle gently with a wide-tooth comb or your fingers. Protect your curls at night with a silk or satin wrap to preserve the shape.
How do I deep condition 4C hair?
Wash your hair first, then apply a deep-conditioning cream and cover with a shower cap or heating cap for 20 to 30 minutes.
Rinse thoroughly and style as usual. Deep condition every 2 weeks, or weekly if your hair is very dry.
How do I detangle 4C hair?
Work in small sections, starting at the ends and moving toward the roots.
Use your fingers first, then a wide-tooth comb if needed, and keep hair slick with coconut oil or leave-in conditioner the whole time. Detangling in the shower with conditioner also works well.
What is considered a 4C hair type?
4C hair has very tight coils that form a Z shape on each strand, creating dense, compact curls.
It can shrink up to 75% of its length and looks like a thick fro from a distance, but close inspection reveals small, tight springs on every strand.
How do I tell if my hair is 4C or 4B?
4C curls are tighter, more prone to frizz, denser, and less bouncy than 4B curls. 4B has a visible zigzag pattern with slightly more definition, while 4C coils are so tight they often lack a visible curl pattern without manipulation.





