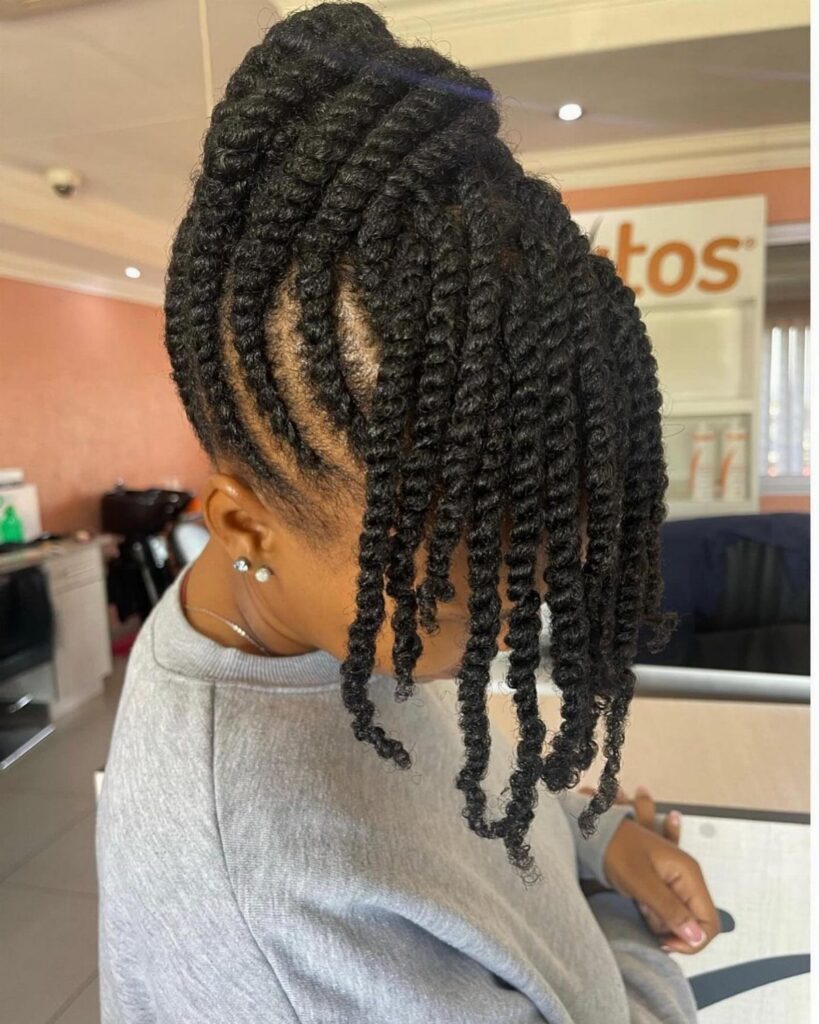
Natural hair holds styles that take 60 seconds and styles that take hours to install and stay in for weeks. Your schedule and how long you want to wear it narrow the field fast.
Styles like the half shaved fro or undercut with hair design need trims every 4 to 6 weeks to keep their shape, while Bantu knots or the flat twist-out give you 2 looks in one depending on when you unravel them.
1. High Puff
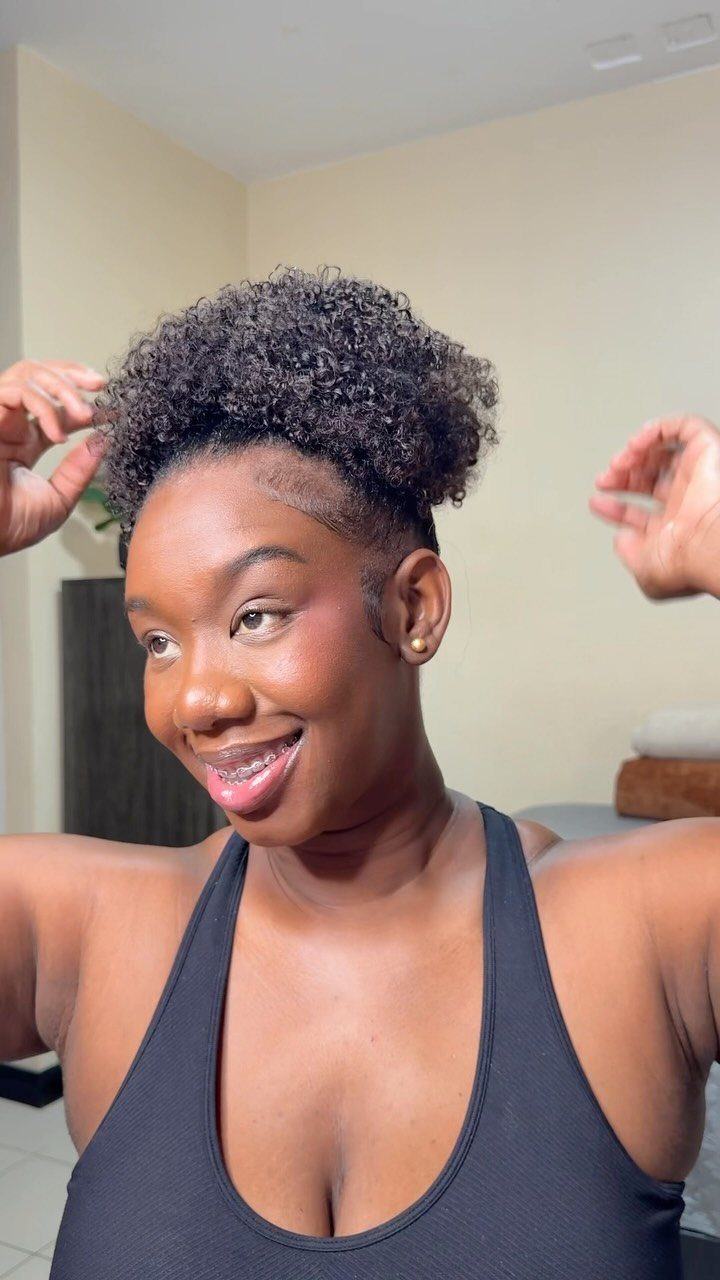
Pull all your hair to the crown and secure it with a hair tie or elastic band. The texture stays loose and visible instead of smoothed down.
This works across curl patterns and takes under a minute once your hair is stretched or moisturized. For more volume at the base, tease lightly before gathering or use a second band to lift the puff higher off your head.
2. Twisted Updo
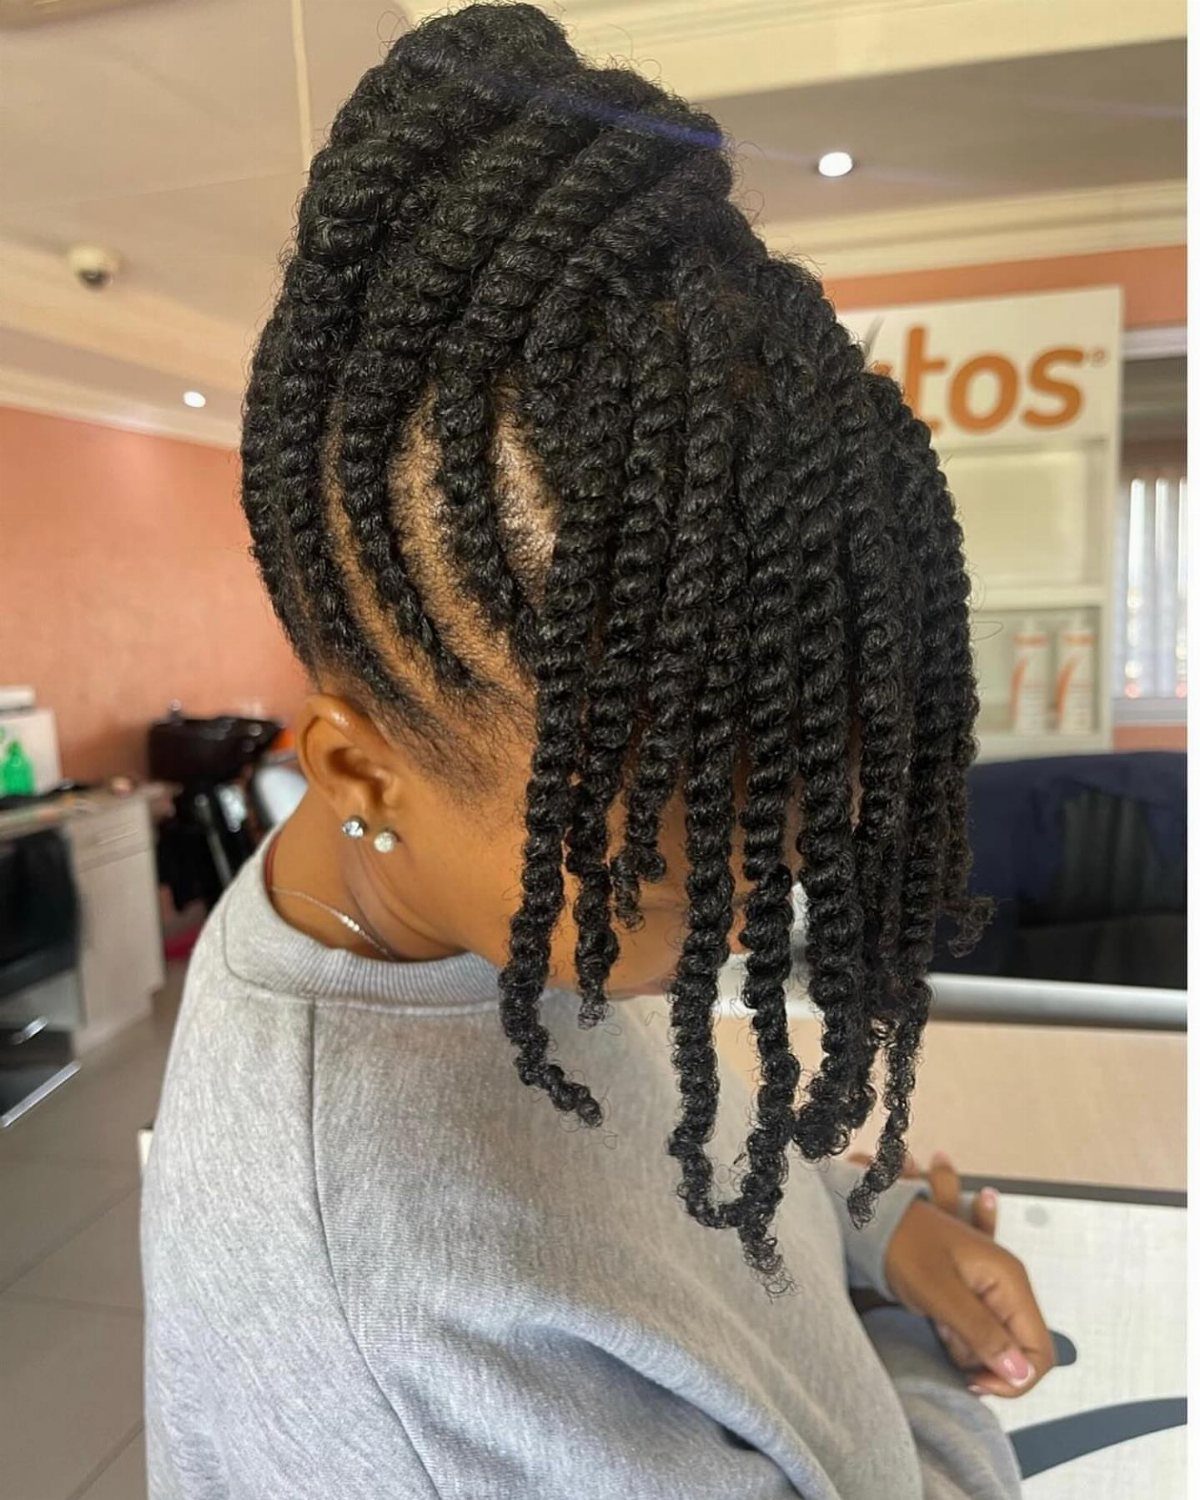
Flat twists start near the hairline or temples and curve upward, meeting at the crown where the ends are pinned or twisted into a bun. The pattern sits flush against the head, and the updo keeps length off your neck.
This style holds for days if you wrap it at night.
You can make the twists thicker for a faster setup or smaller for more detail. The updo portion can be tight and coiled or left looser depending on how much you let hang.
3. Knotted Pineapple Puff
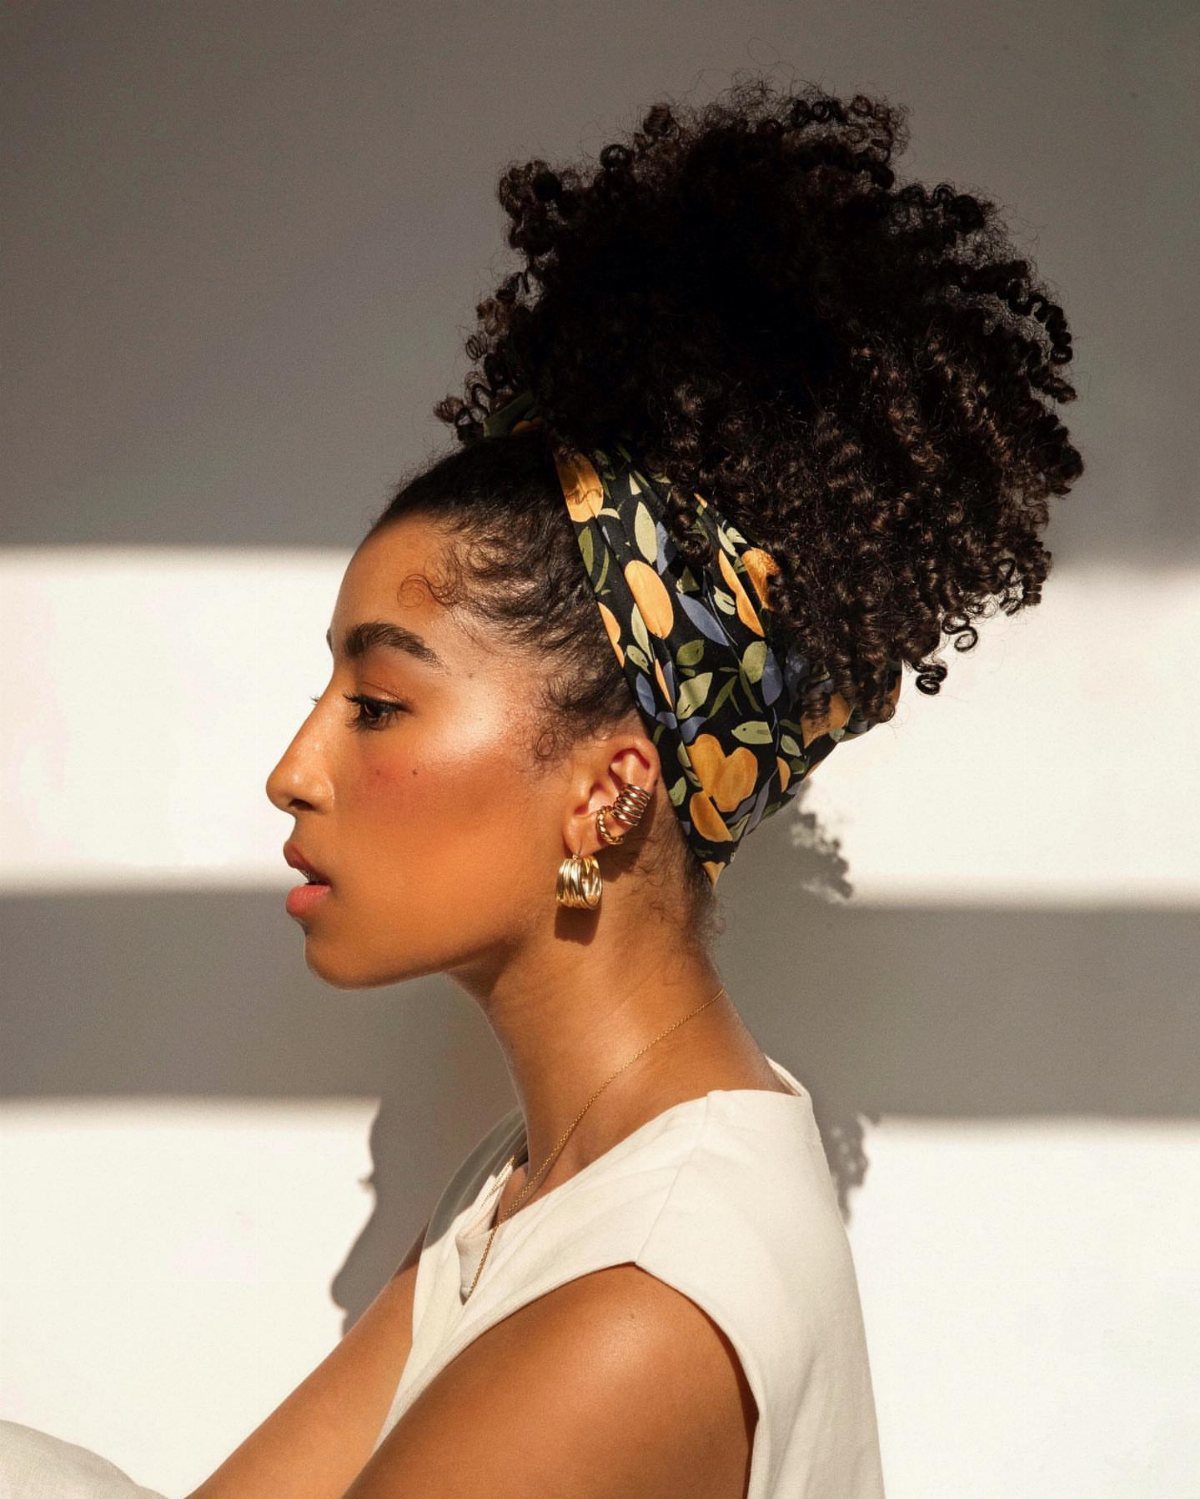
Gather your curls high and loose, then wrap a headscarf or bandana where the ponytail meets your head or across your hairline. The scarf adds color and holds flyaways without flattening the texture.
This version of a puff takes the same setup but gives you a way to tie in a print or match an outfit.
Knotting the scarf near your face or toward one ear changes the shape slightly, and you can adjust how much curl shows depending on where you position the fabric.
4. Curly Faux Hawk
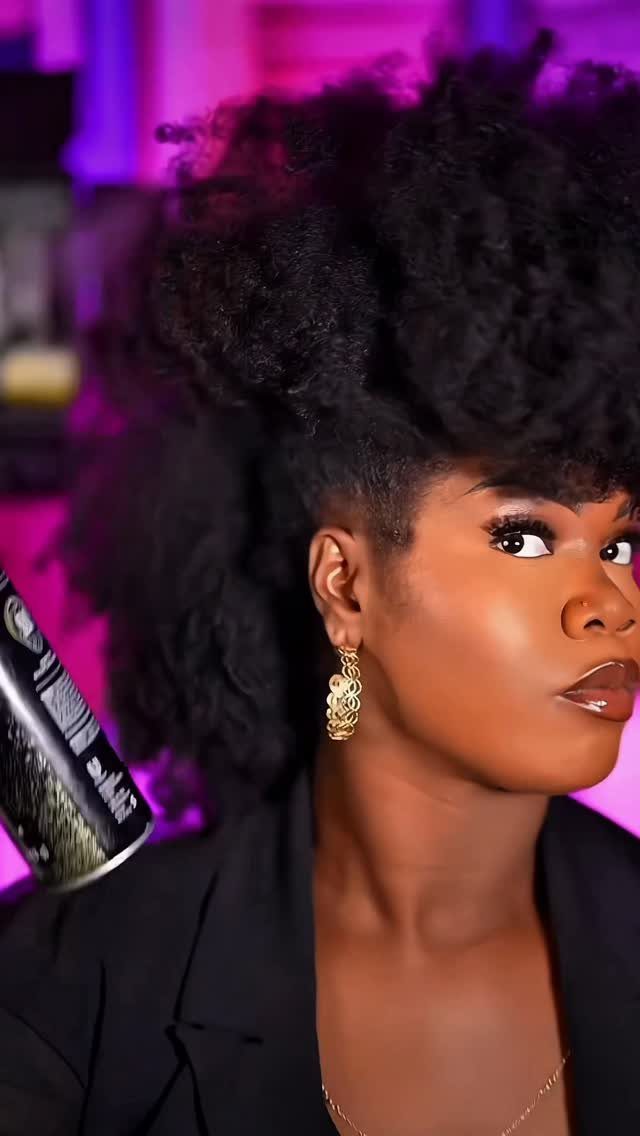
Section hair along both temples and pin it flat against your head, leaving the center strip free and full. Bobby pins and holding spray keep the sides smooth while the middle stands tall.
The faux hawk shape comes from pinning, not cutting, so you can wear it down the next day.
For more height, fluff the center curls with your fingers or a pick after pinning the sides. This style needs hair with enough length and texture to hold volume through the middle.
5. Bantu Knots
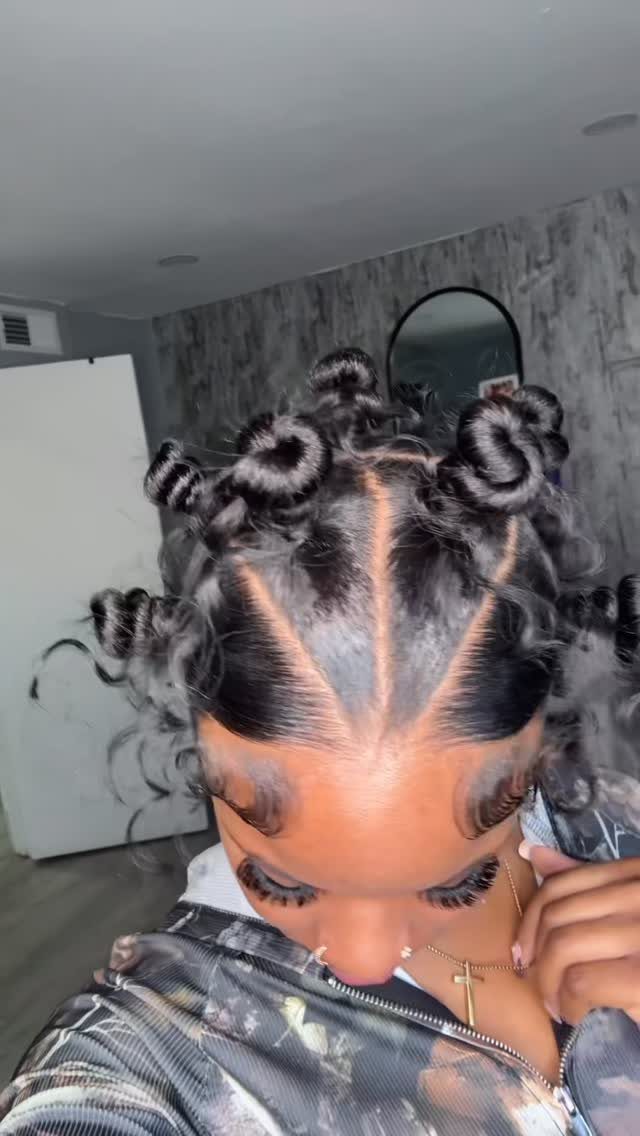
Section your hair into squares or triangles, twist each one tightly from root to end, then wrap the twist around itself to form a small bun. Secure each knot at the base with a pin or small elastic.
Bantu knots can be worn as the style itself or unraveled later for a defined curl pattern.
Smaller sections give you more knots and tighter curls when you take them down, larger sections finish faster and produce looser waves. Moisturize before twisting so the hair stays smooth and the knots hold their shape.
6. Side-Parted Afro
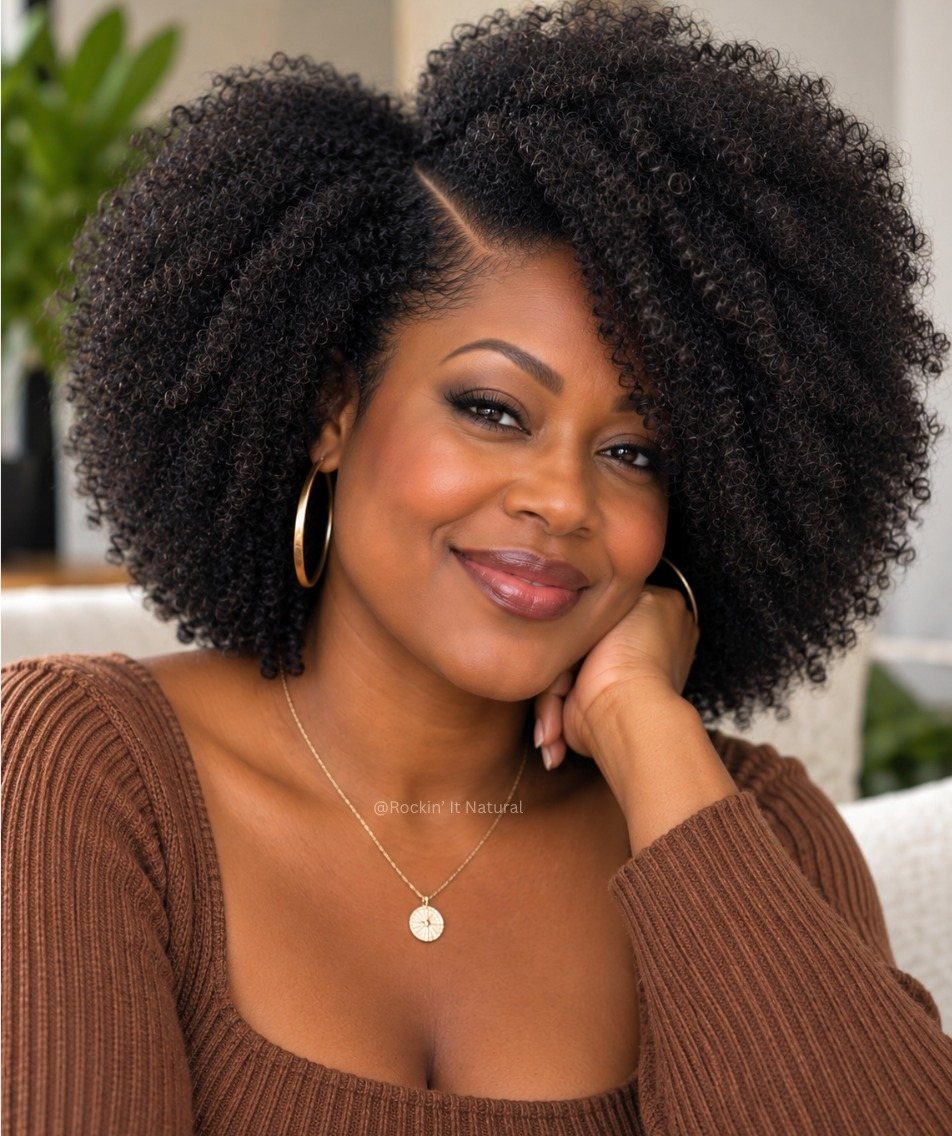
Part your hair deeply to one side and let the volume sit asymmetrically. One side stays fuller, the other shows more scalp, and the shape breaks up the roundness of a centered afro.
This works on any afro length but reads most clearly once you have enough texture to show the shift in weight.
You can pick out the fuller side for more height or leave it as it falls. The part can be sharp or soft depending on whether you comb it through or finger it in.
7. Didi Braids
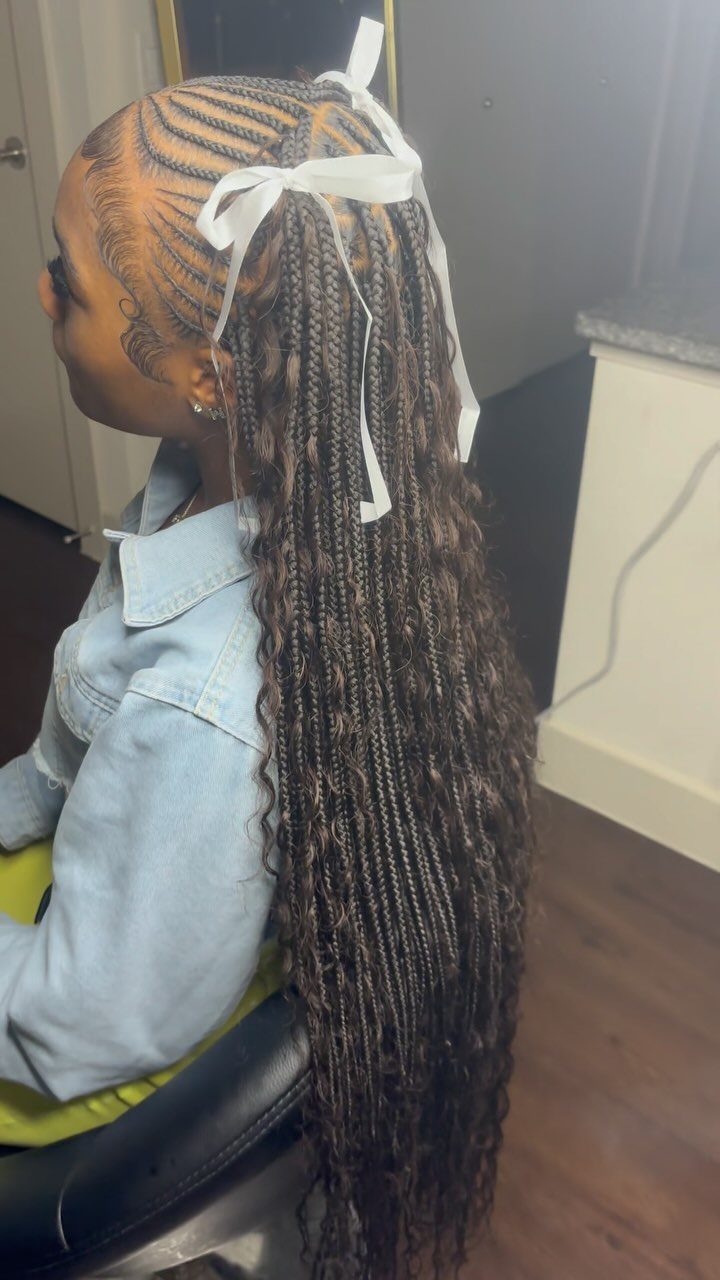
Cornrows start at the forehead and curve back, braided tightly against the scalp in raised lines. The sections can be wide or narrow, straight or curved, and the ends hang loose or get gathered into a ponytail.
The raised pattern comes from feeding hair over as you braid, which takes practice but gives you that stacked look. Add ribbons or beads at the ends if you want color without committing to dye.
8. Short Afro with Babylights
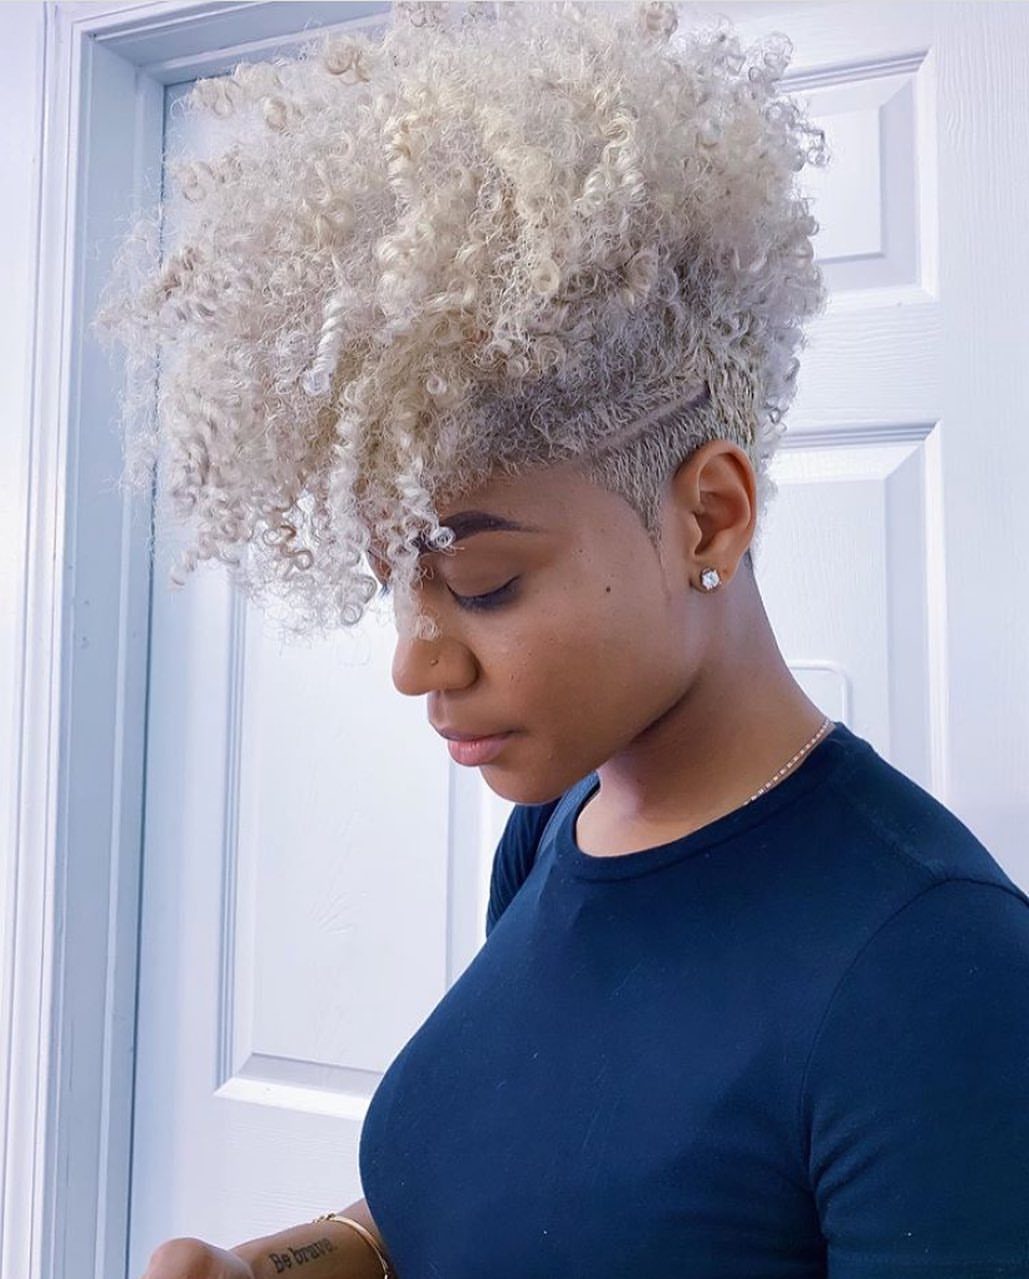
Fine blonde highlights sit throughout a short afro, lifting the natural color without covering it. The babylights stay subtle, a few shades lighter than your base, and catch light when you move.
This works best on short afros where the color has enough surface to catch light without overwhelming the shape.
Ask for foil placement near the crown and around your face, where the curl reflects the most light. Shaved or tapered sides keep the focus on the highlighted texture up top.
9. Flat Twist-Out Style
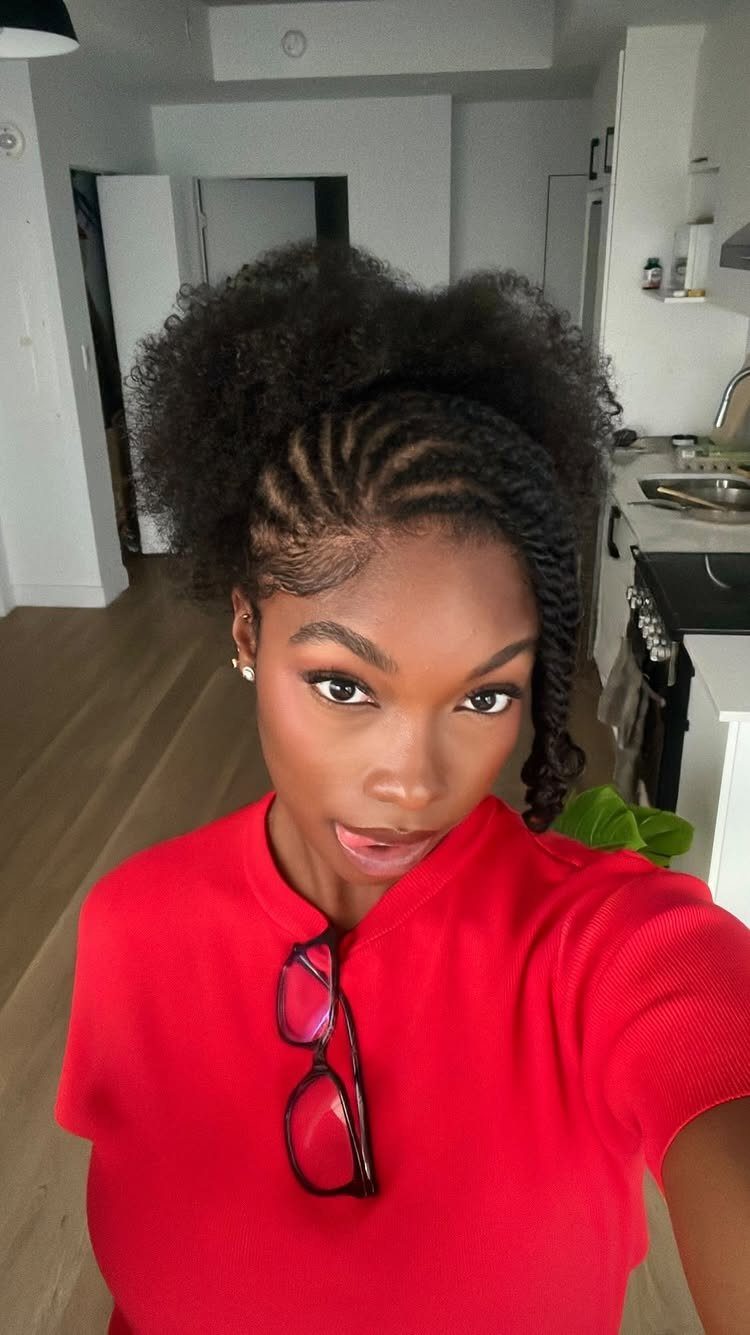
Flat twists along the front and sides frame your face, while the rest of your hair is twisted, left to set, then unraveled into a textured pattern. The front stays sleek, the back stays full.
Twist damp hair in sections, let it dry completely, then separate each twist with your fingers.
The flat twists can follow your hairline or angle back toward your crown, and you can leave them in or take those down too for uniform texture.
This gives you 2 styles in one depending on how long you keep the twists intact.
10. Jumbo Top Knot
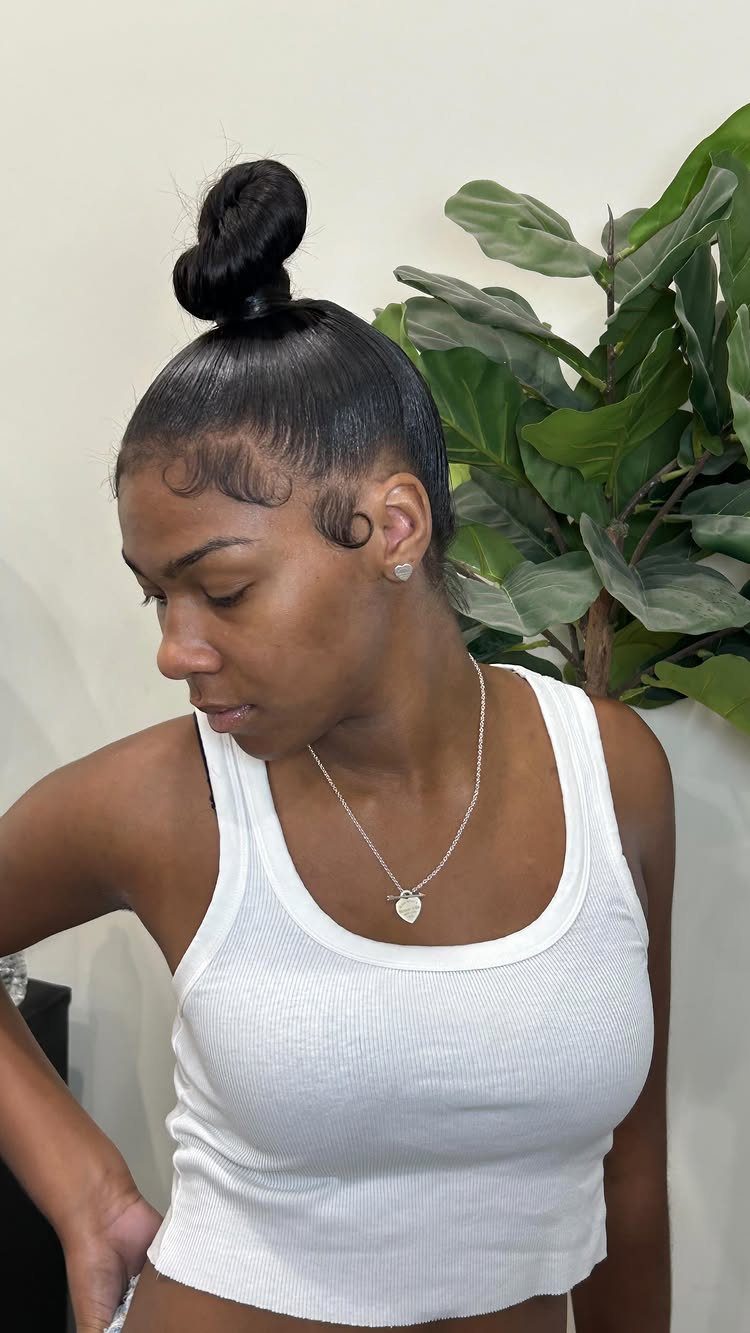
Gather all your hair at the crown and twist or coil it into a large bun that sits high and round. The knot stays loose enough to show texture but tight enough to hold through the day.
For more volume, stretch your hair first with a blow dryer or braid-out so the bun reads fuller.
Smooth your edges with gel or edge control if you want a clean finish at the hairline. This style works across lengths but needs enough hair to form a bun that balances the height.
11. Half Shaved Fro
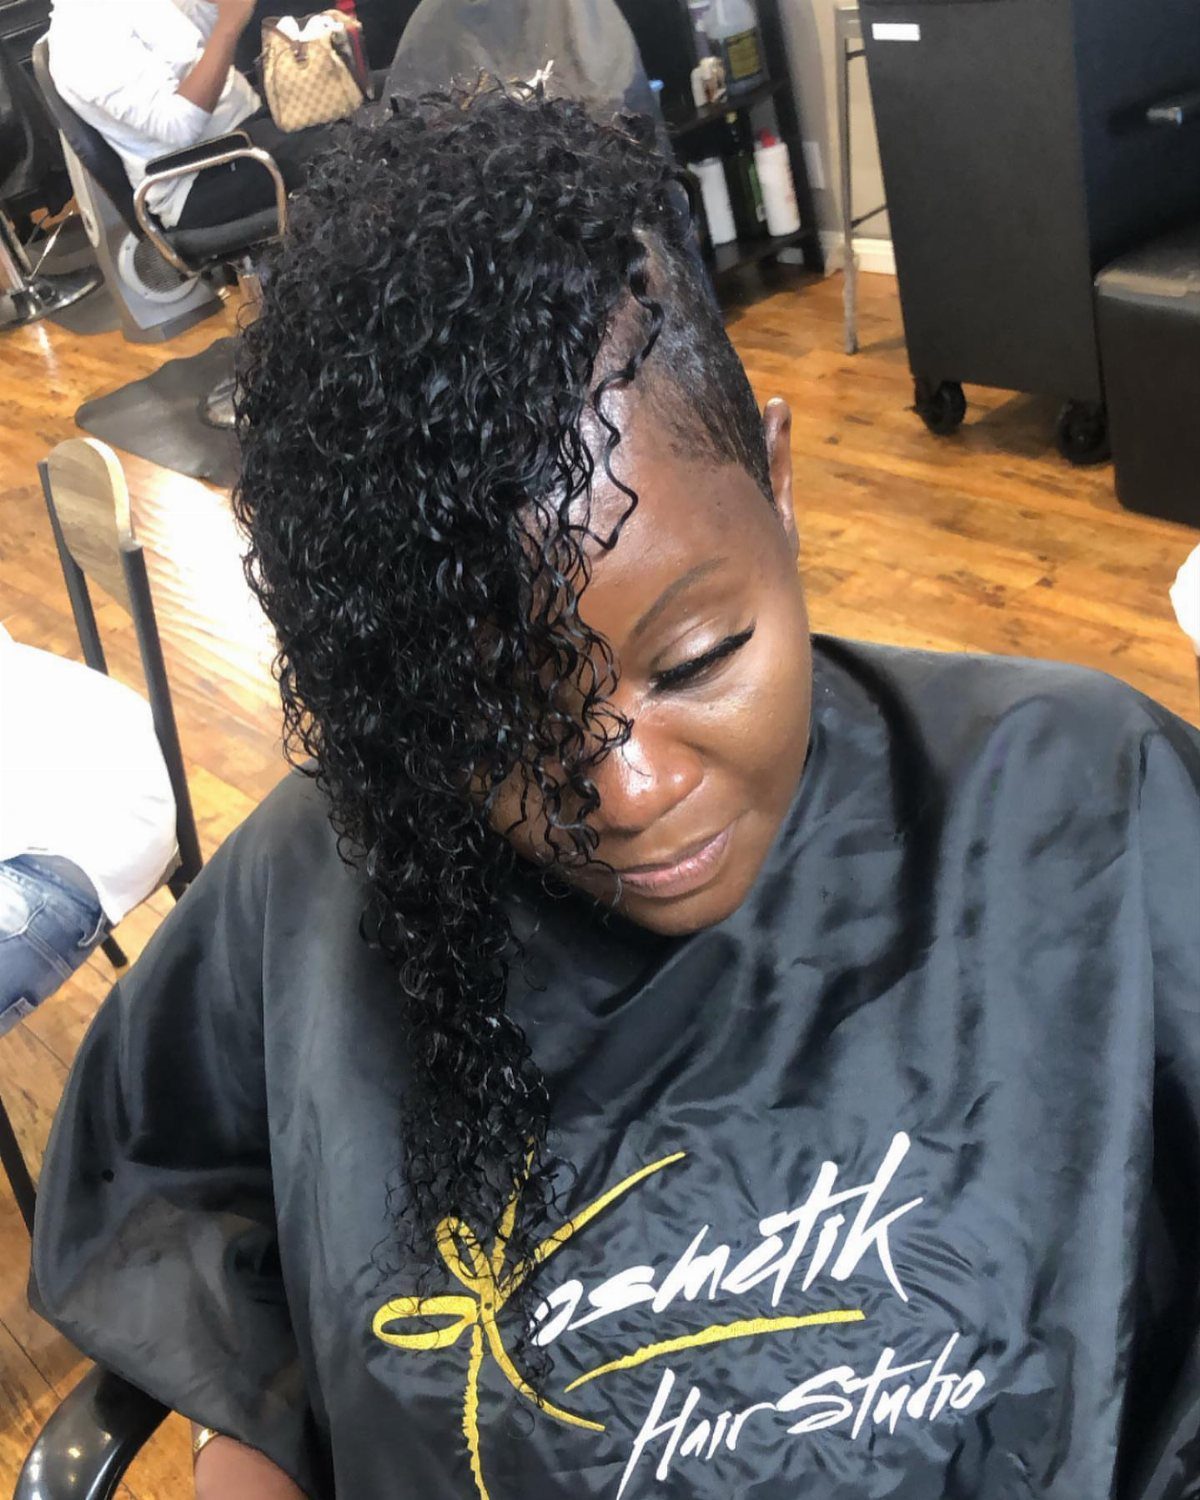
One side or the back is clipped short or shaved down, and the curls on top are left long and full. The contrast makes the texture look thicker and gives you an asymmetric shape that sits to one side.
This cut needs regular trims to keep the shaved portion clean.
You can sweep the curls over the shaved side or pin them back to show the difference. The longer your curls, the more dramatic the contrast reads.
12. Undercut with Hair Design
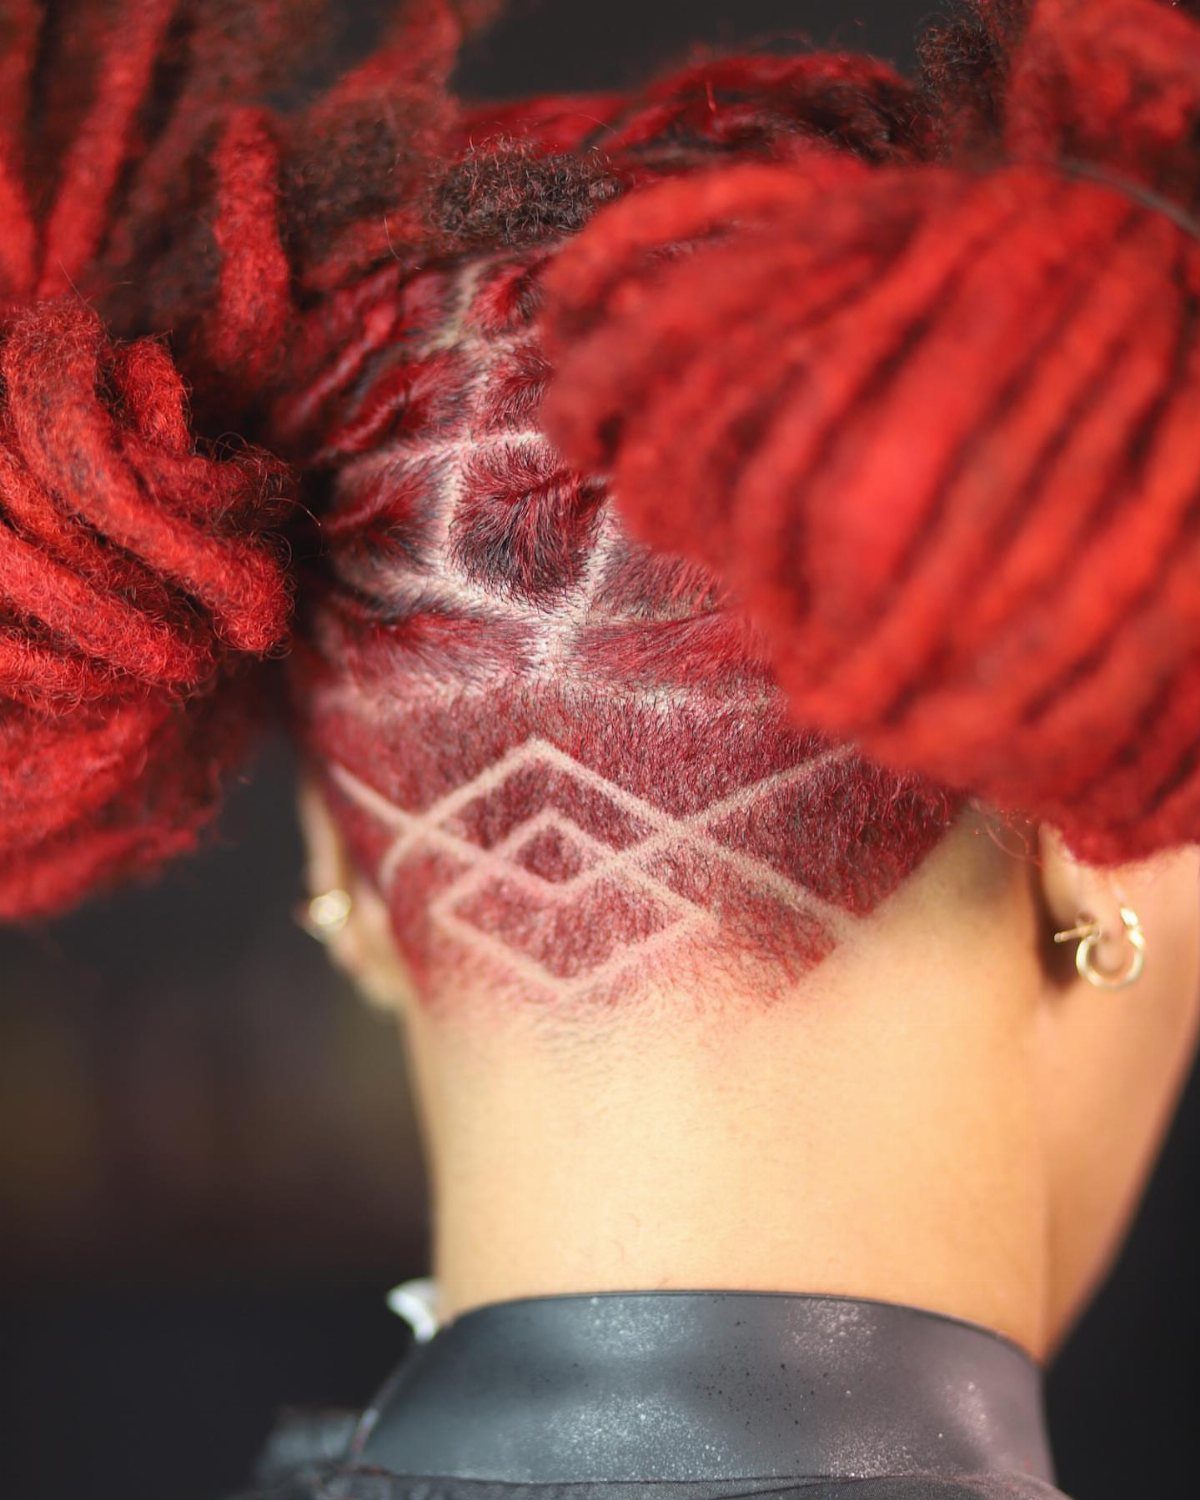
A section of hair near the nape or temple is shaved close, and a barber etches a pattern into the short growth using clippers.
The design can be geometric, curved, or abstract, and the rest of your hair covers it until you pull it up or to the side.
The design fades as your hair grows, so plan to refresh it if you want it sharp.
This pairs well with locs, twists, or any style that can be gathered to reveal the shaved portion. Choose a simple shape for your first time, more detail comes easier once you know how fast your hair grows back.
13. Curly Pixie Cut
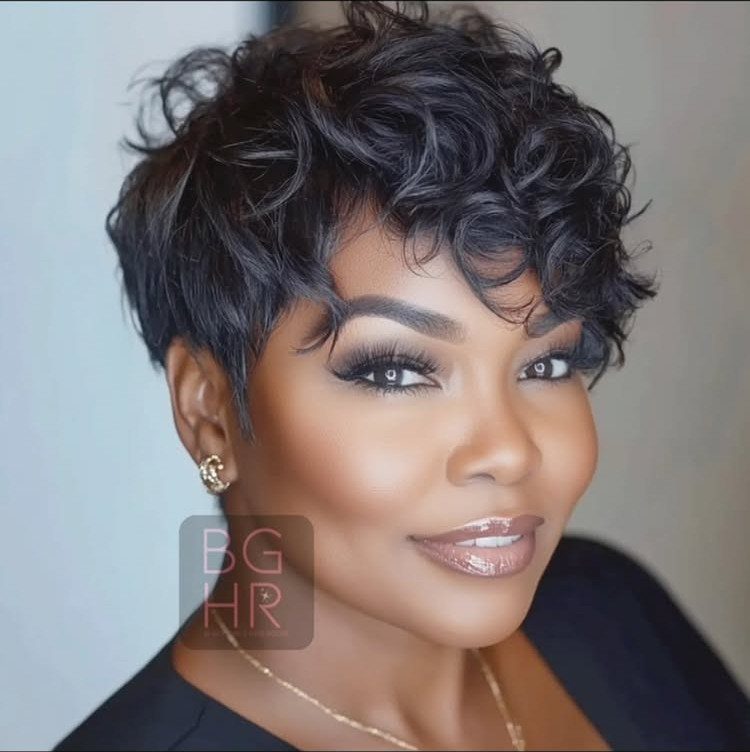
Curls sit close to the head and frame your face, cut short all around but left long enough to show curl definition. Gel or curl cream keeps each piece separated and shiny without weighing them down.
Book a trim every 4 to 6 weeks or the sides lose their taper and the whole thing starts looking boxy.
The shorter you go, the more often you’ll need a trim to maintain the silhouette. Works best when your curls have enough natural spring to hold shape without length pulling them down.
14. Two Curly Puffs
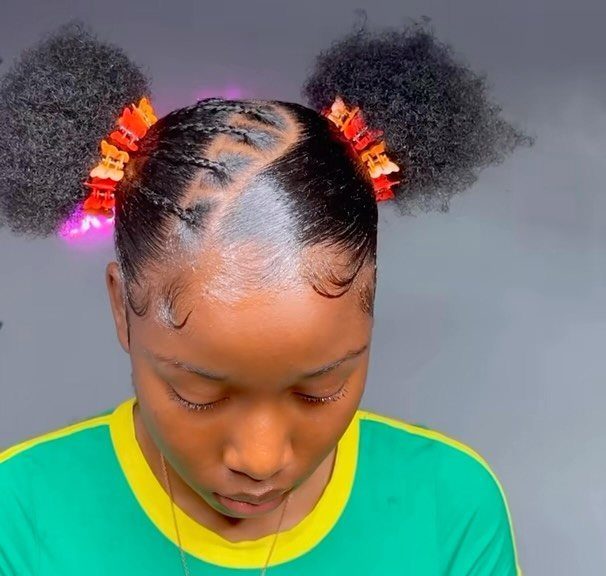
Part your hair down the middle or slightly off-center, gather each side high, and secure with elastics or clips.
The puffs sit symmetrical or staggered depending on where you place them, and the clips add color or hold flyaways in place.
Slick the parted sections with gel if you want them smooth, or leave them textured to match the puffs. This takes the same time as a single puff but gives you two points of volume instead of one centered mass.
15. Natural Mini Twists
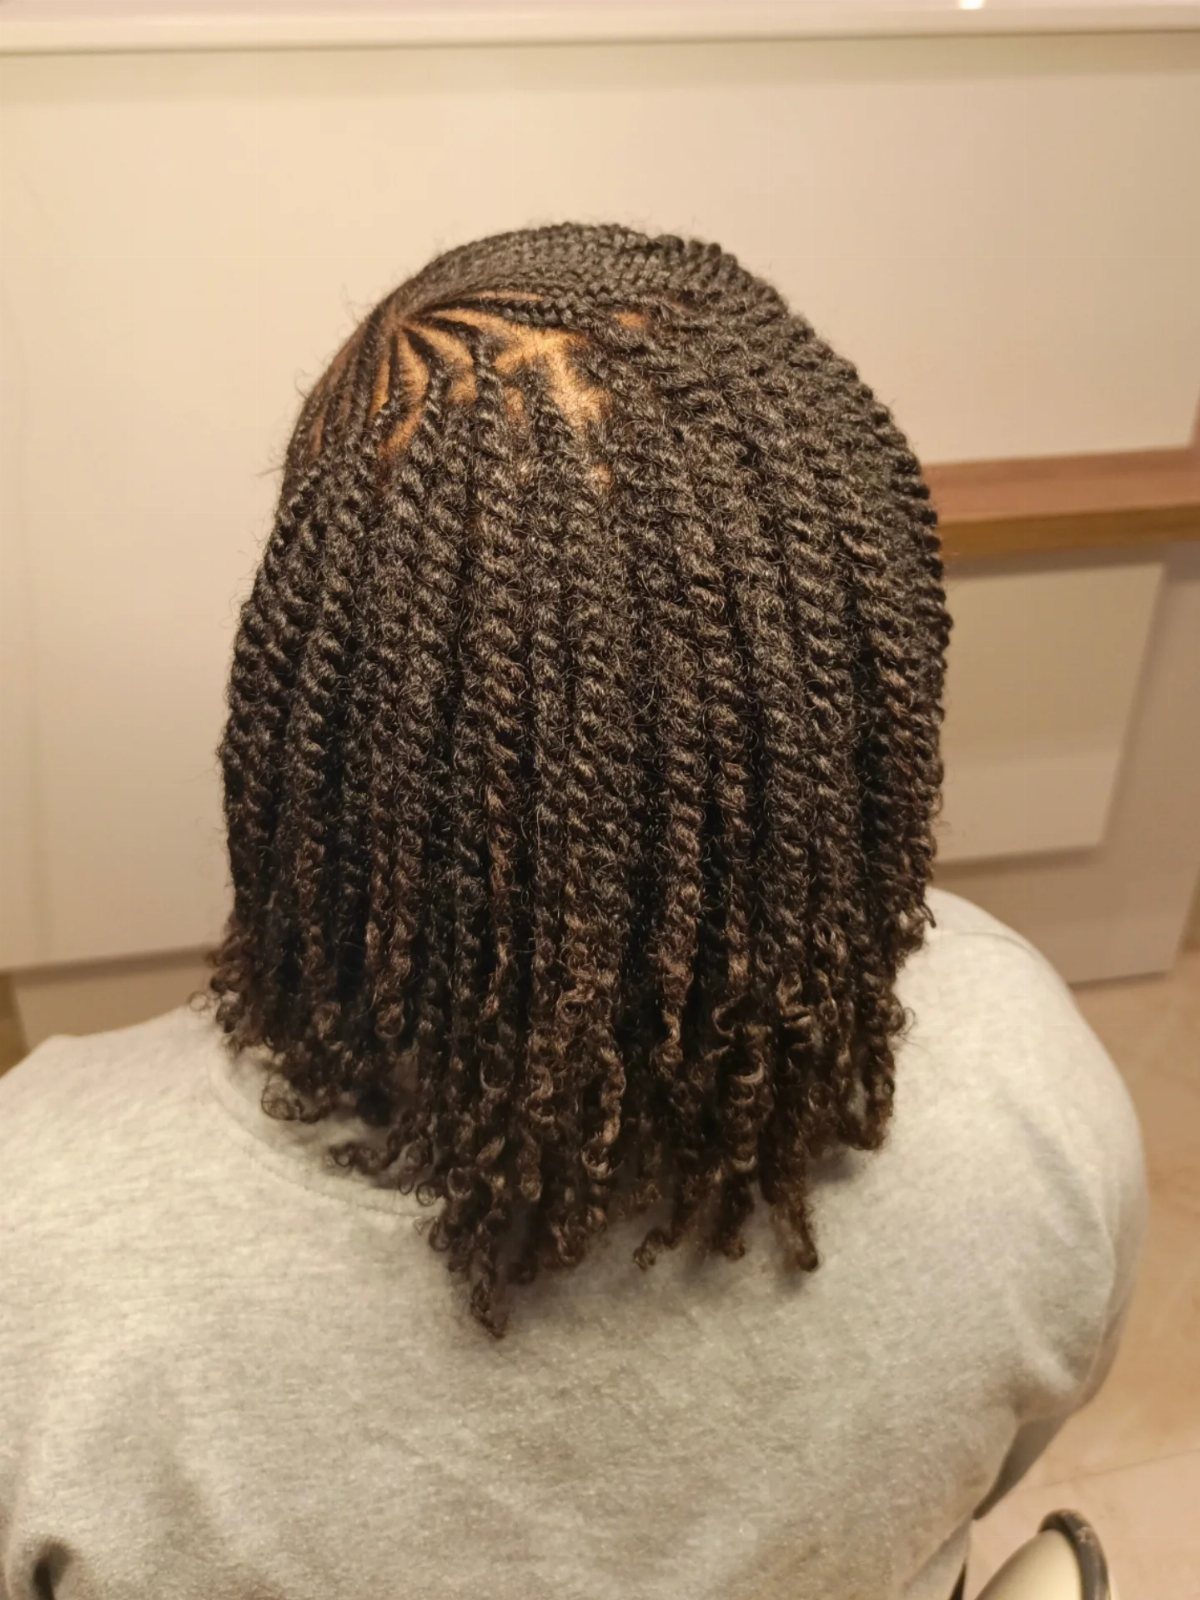
Work in small squares, twist root to tip, and move methodically so nothing gets skipped. The twists fall loose over your shoulders and stay in for weeks with proper care at night.
Smaller sections take longer to install but last longer and give you more styling options once they’re in.
You can pin them up, braid them together, or wear them down. Moisturize your scalp between the twists to keep it from drying out while the style is set.
Loose braids, soft blowouts, flexi rod sets, and mini twists are all styles you can easily fashion your long strands into. Most of them require little to no heat, so you don’t have to worry about damaging the hair you worked so hard to grow.
16. Diagonal Flat Twists
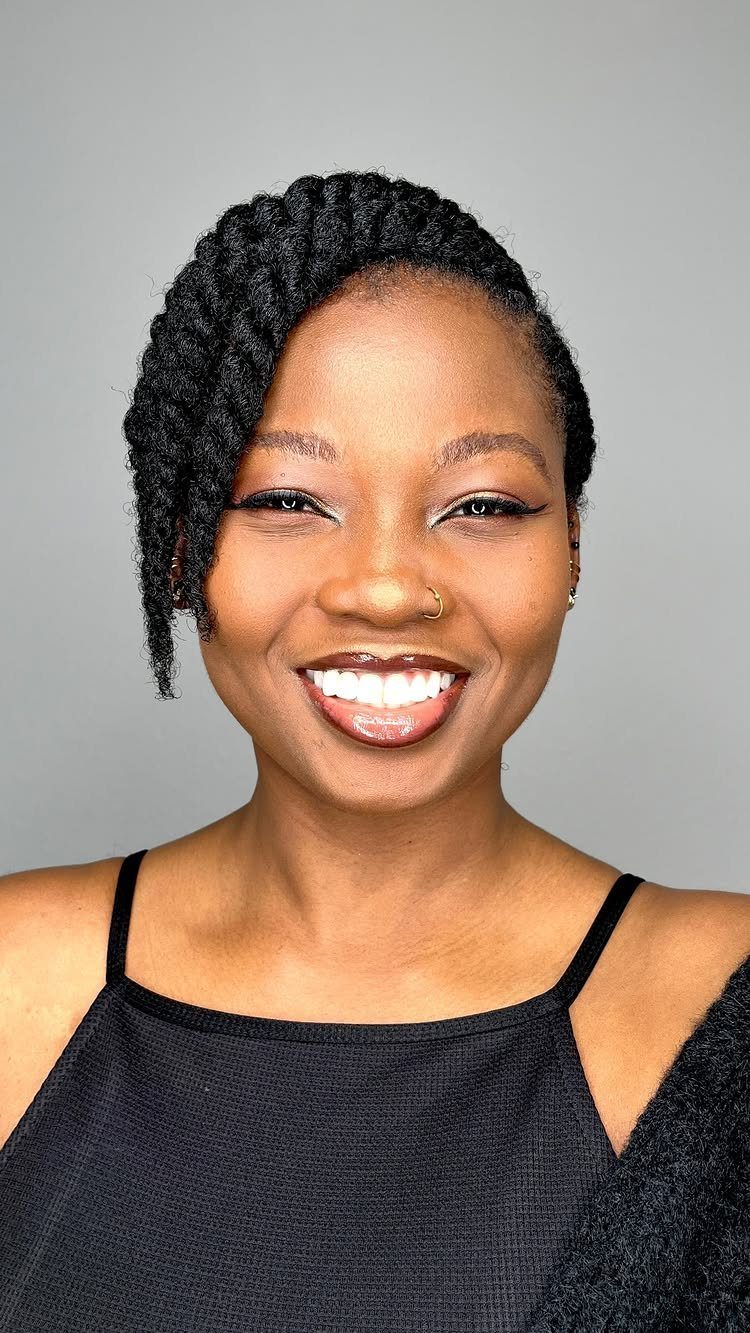
Flat twists angle across your head in parallel lines instead of running straight back, giving you a slanted pattern that shifts the direction of your style.
Each twist sits tight against the scalp and follows the diagonal path you set when you section.
The angle can be shallow or steep depending on how much you want the pattern to show.
This method covers your whole head or stops partway to let the back hang loose. Takes longer than straight-back twists because you’re adjusting tension as the angle curves around your head.
17. Short Natural Twists
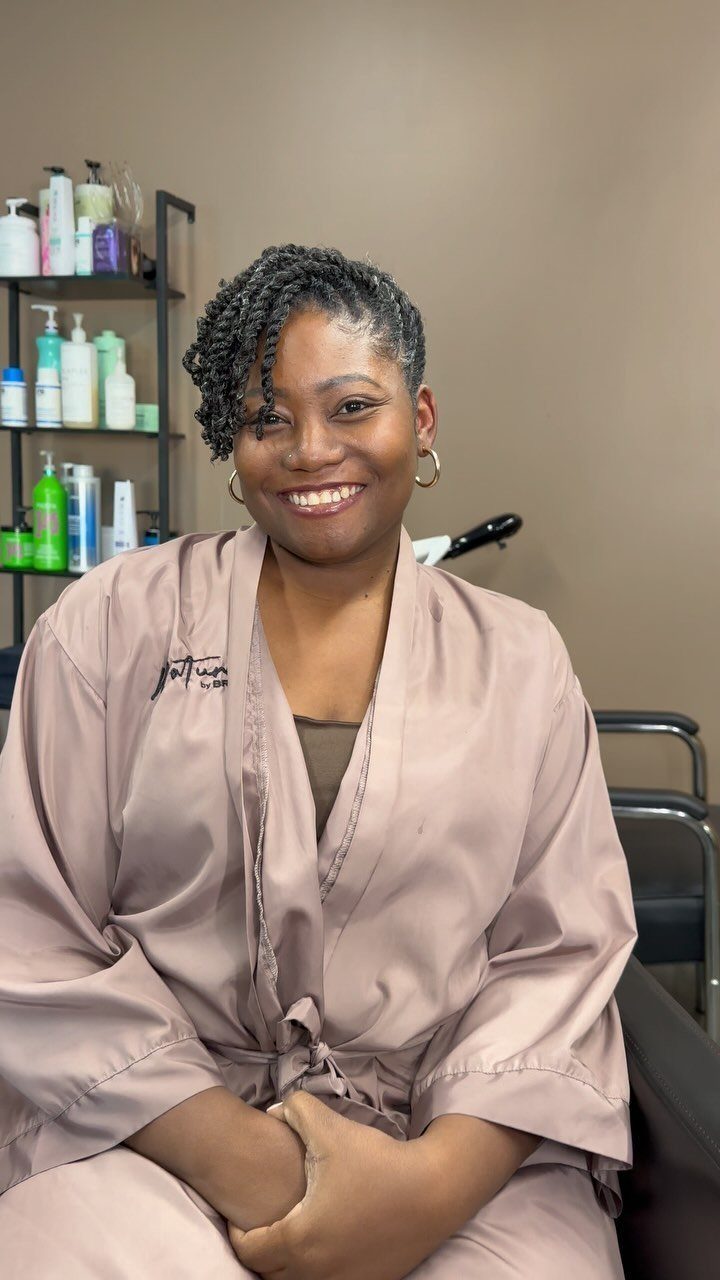
Twists are kept short, usually chin-length or above, and can be brushed or finger-styled forward across your forehead or to one side. The length makes them lighter and faster to install than shoulder-length twists.
Short twists dry quicker and put less tension on your scalp, which helps if you’re sensitive to weight from longer styles.
You can still gather them into a small bun or pin them back, but the main appeal is how fast they move and how little upkeep they need overnight.
18. Headband Twists
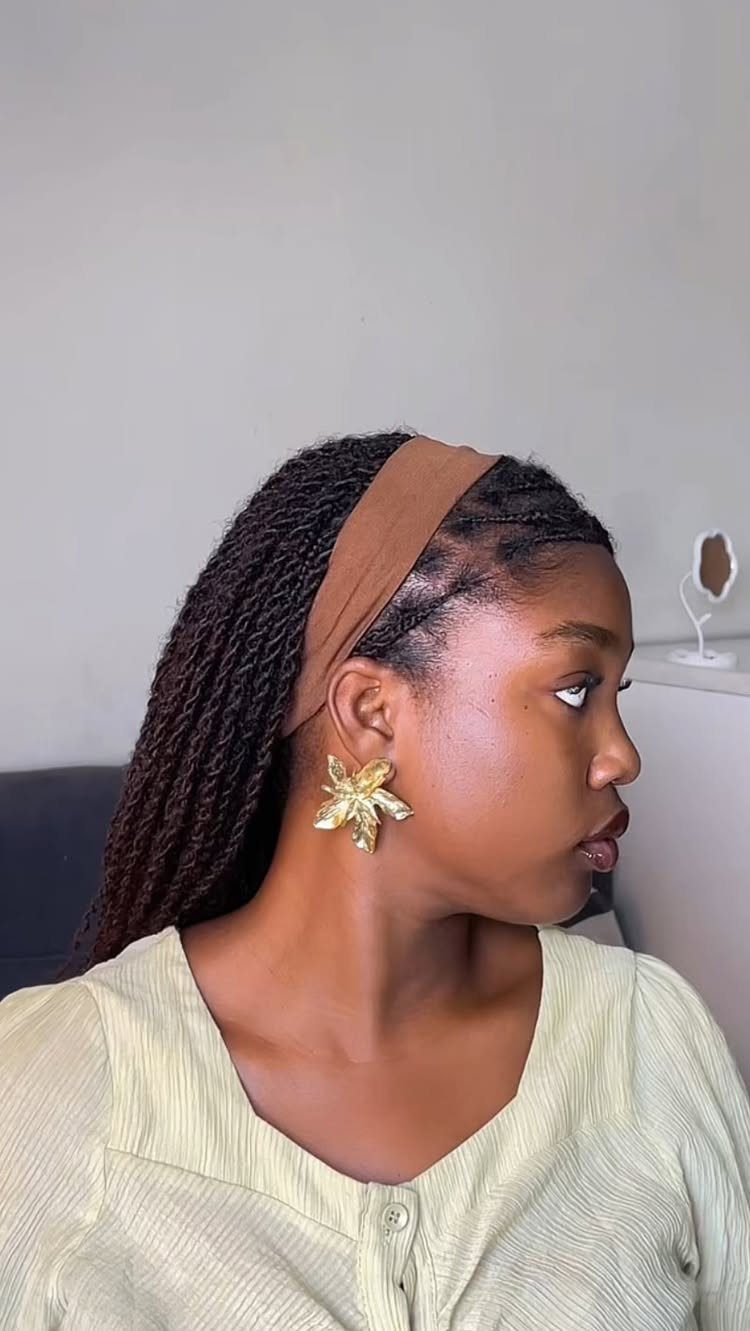
A wide fabric headband sits across your hairline or farther back on your crown, holding twists away from your face and adding a stripe of color or texture.
The headband can match your outfit or contrast with your hair, and it keeps your style secure without pins.
This works when your twists are long enough to drape over your shoulders but need something to control the front.
Swap the headband daily to change the look without restyling your hair, and choose one wide enough to stay put without sliding forward.
Frequently Asked Questions
What are some cute natural hairstyles?
High puffs, Bantu knots, 2 curly puffs, and knotted pineapple puffs are all quick, textured styles that work across curl patterns.
Twisted updos and jumbo top knots keep length off your neck while showing off your natural texture. For something bolder, try a curly faux hawk or a side-parted afro with asymmetric volume.
What are the most popular cropped hairstyles for your natural hair type, and why?
Curly pixie cuts, short afros with babylights, and half shaved fros are popular because they show curl definition without length weighing it down.
High puffs and twisted updos lock in moisture and cut down on breakage, which matters when you’re working with shorter length.
Faux hawks give you volume and shape without cutting all your hair, so you can pin it flat or let it loose the next day.





