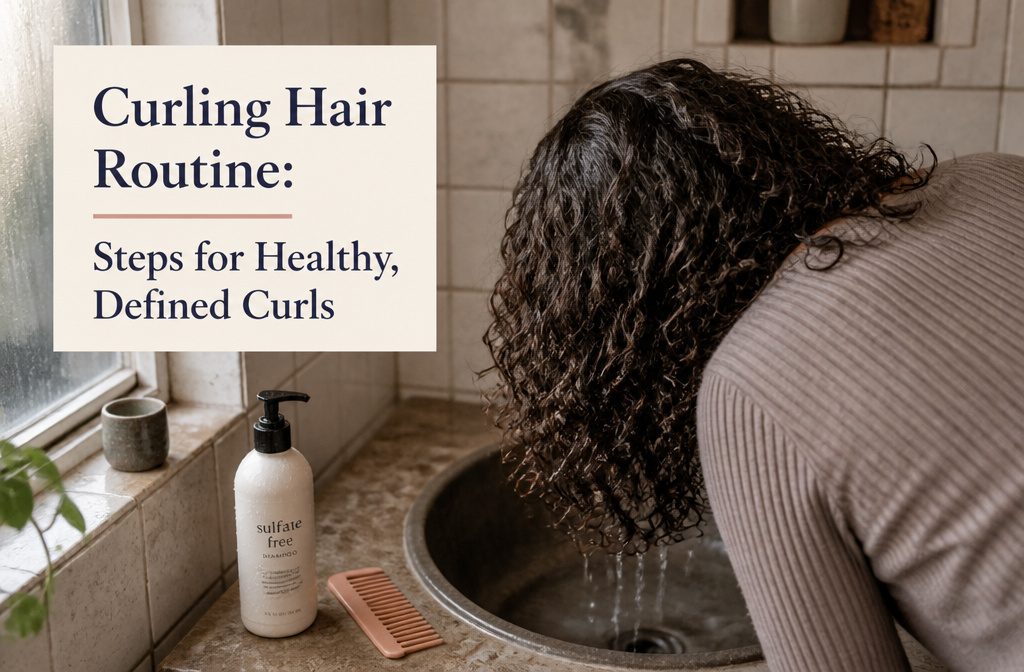
Curly hair needs less frequent washing than straight hair because natural oils can’t travel down the curl pattern, but washing too rarely lets product buildup block moisture and styling products stop working.
Most routines settle at once or twice a week with a sulfate-free shampoo, plus a clarifying wash about once a week to cut through gel, cream and oil residue.
1. Cleanse and Condition
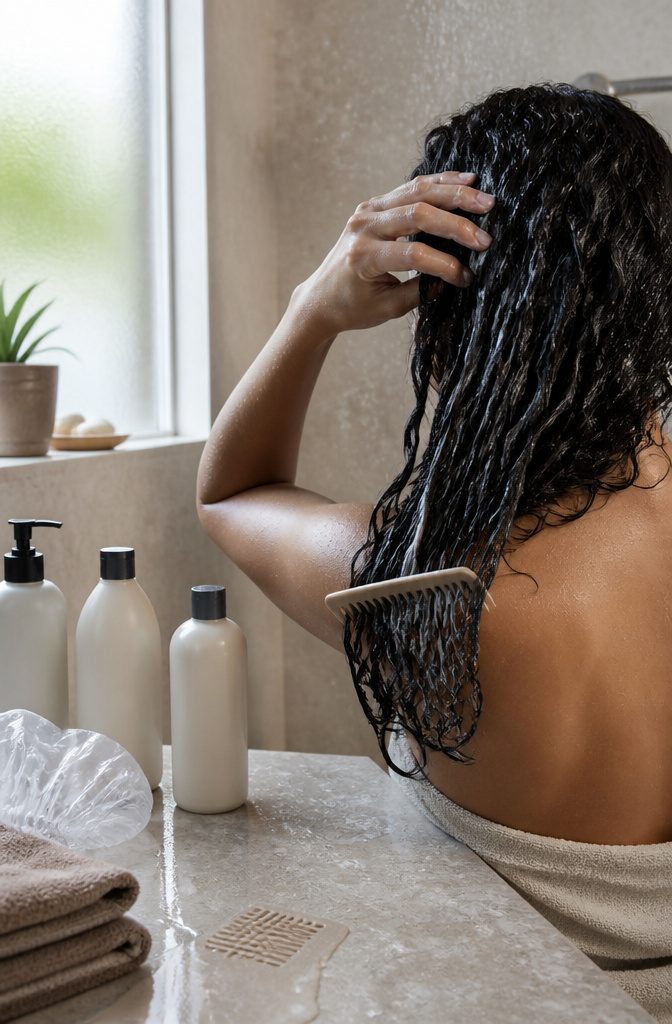
Curly hair dries out faster than straight hair because natural oils struggle to travel down the twists and turns, so washing too often strips away moisture you need.
I aim for once or twice a week with a sulfate-free shampoo, though women with coilier textures can stretch to every two to three weeks. On days between washes, a shower cap keeps hair dry while you bathe.
When you do shampoo, massage your scalp for at least 60 seconds to lift buildup without scrubbing so hard you rough up the cuticle.
Sulfate-free formulas clean without leaving hair squeaky, though if yours feels tight after rinsing, mix a few squirts of conditioner into the shampoo to soften the formula.
Condition generously from roots to ends, not just the bottom few inches, and detangle with a wide-tooth comb while conditioner is still in.
About once a week, swap in a clarifying shampoo to cut through gel, cream and oil buildup. Skip this step and styling products stop working the way they should, weighing curls down instead of lifting them.
2. Detangle While Wet
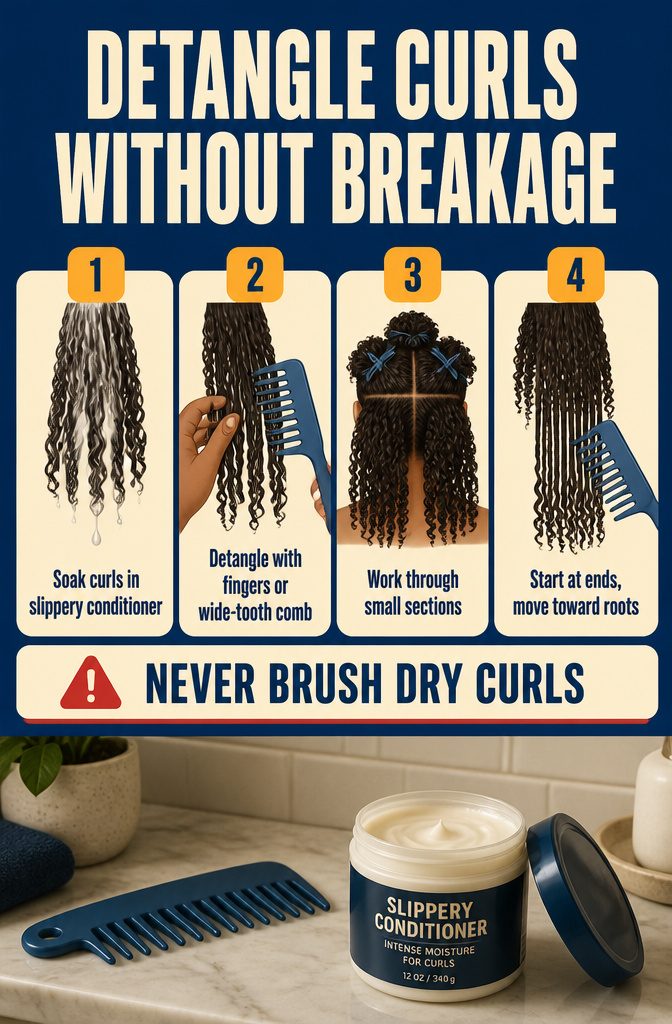
Detangle only when the hair is soaked in slippery conditioner, using your fingers, a wide-tooth comb, or a loop brush.
Never drag a regular brush through dry curls; it causes breakage and frizz. Work in sections, starting at the ends and moving up toward the roots so each knot loosens from the bottom.
Thin, fragile hair is the exception. It tends to snag when wet, so a gentle dry-brush just before the shower, followed by a comb-through with conditioner, may treat it better.
Tighter curls often want a comb in the shower and a curly hair brush later for twisting or braiding.
3. Apply Styling Products
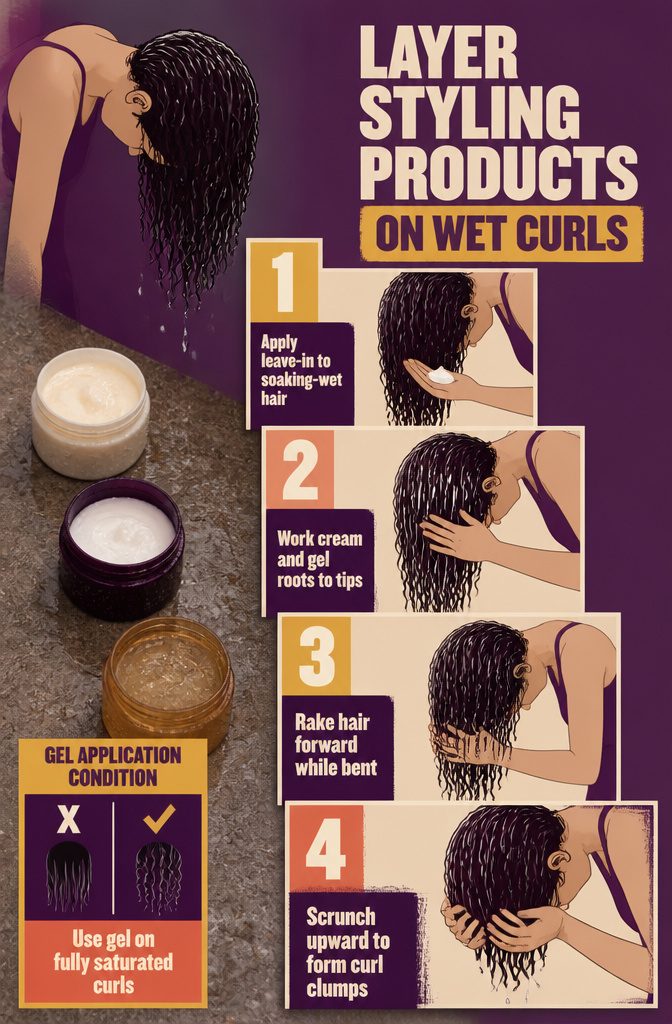
Leave-in conditioner goes on first, while hair is still soaking wet from the shower.
Use a small amount, because too much weighs curls down. Cream and gel follow, worked in from roots to tips.
Gel on damp or flat hair gives stringy results, so apply it to fully saturated hair. A palmful feels like a lot, and on sopping-wet hair it is the right amount.
Bend at the waist, rake your hair forward, and squish the gel in. Flipping upside down also adds volume on finer hair, and the water you leave in does the spreading:
The water in your hair will help dilute and distribute the gel, while all the cupping and scrunching will encourage major curl or wave formation.
Scrunch rather than smooth, and the curls clump.
4. Dry and Set Curls
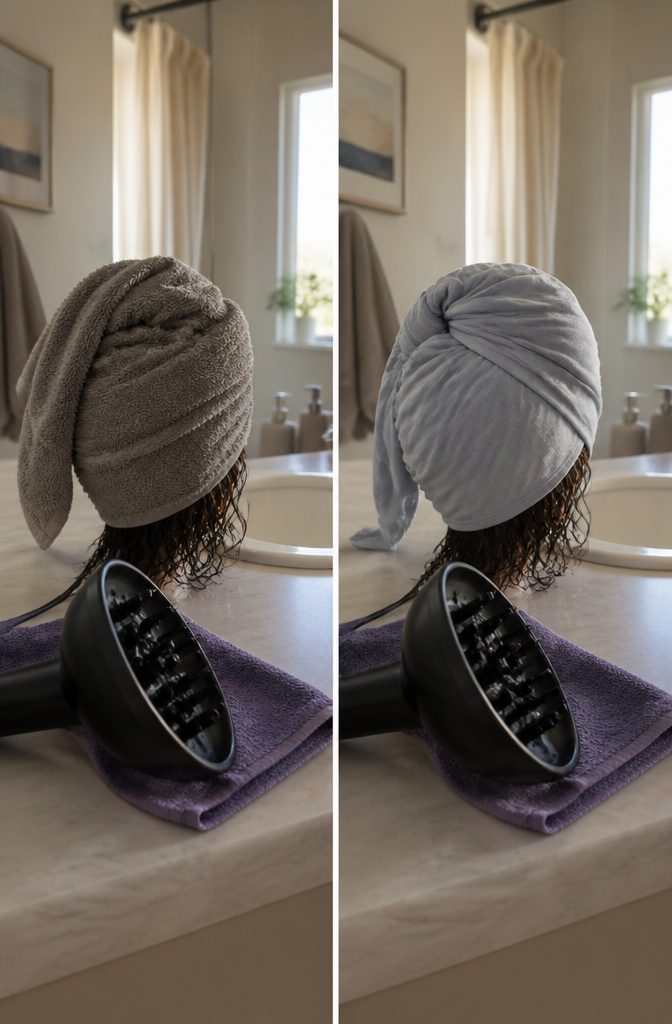
Rubbing with a regular terrycloth towel creates friction, breaks up your curl pattern and brings on frizz.
Use an old cotton T-shirt or a microfiber towel instead, and scrunch upward toward your scalp. To plop, lay the fabric flat, lower your wet hair onto it and wrap it into a turban for 5–15 minutes.
After that, air-dry or diffuse on low heat.
Air-drying takes about an hour, while diffusing takes about 15 minutes. On a workday I would pick the diffuser, since the time saved is real and low heat keeps frizz in check.
Either way, keep your hands out of your hair until it is fully dry. Every poke and finger-rake disrupts curls that are still setting.
5. Scrunch Out the Cast and Protect Overnight
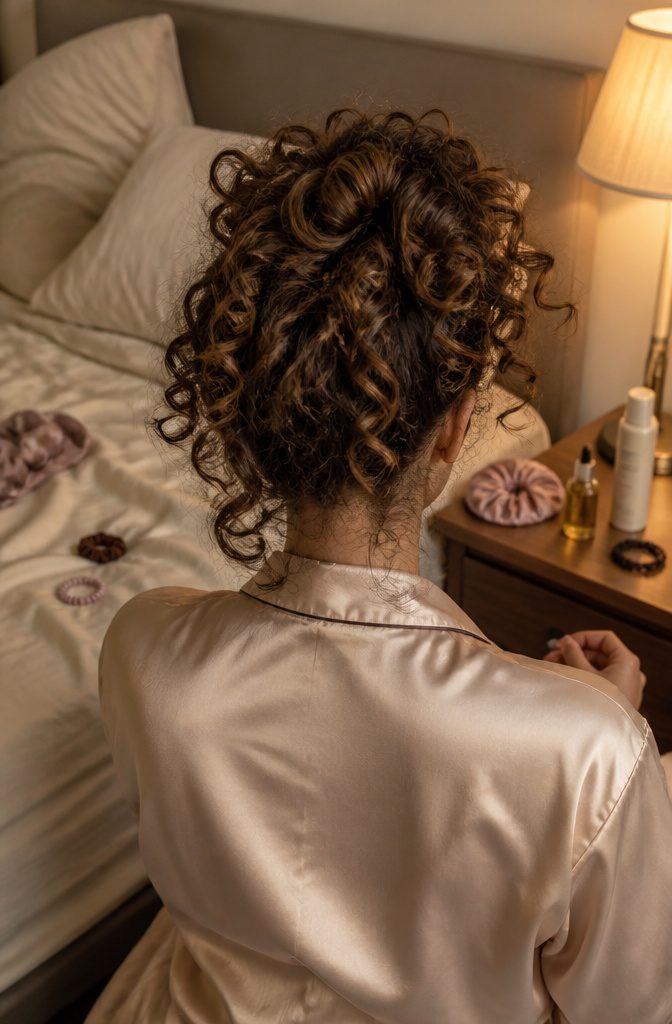
Wait until hair is 100 percent dry, then scrunch gently with your hands until the gel cast crumbles into soft curls. Scrunching early just breaks up clumps and invites frizz.
If curls still feel crunchy afterward, smooth a tiny bit of hair oil over the ends only. I’d skip extra hold product unless your curls fall flat by afternoon.
At night, gather your curls loosely on top of your head in a pineapple, or use a loose braid or another protective style.
Add a satin bonnet or pillowcase. A silk bonnet and a good leave-in stretch wash days, and by day three or four you can put a little dry shampoo at the roots.
Match the Routine to Your Hair
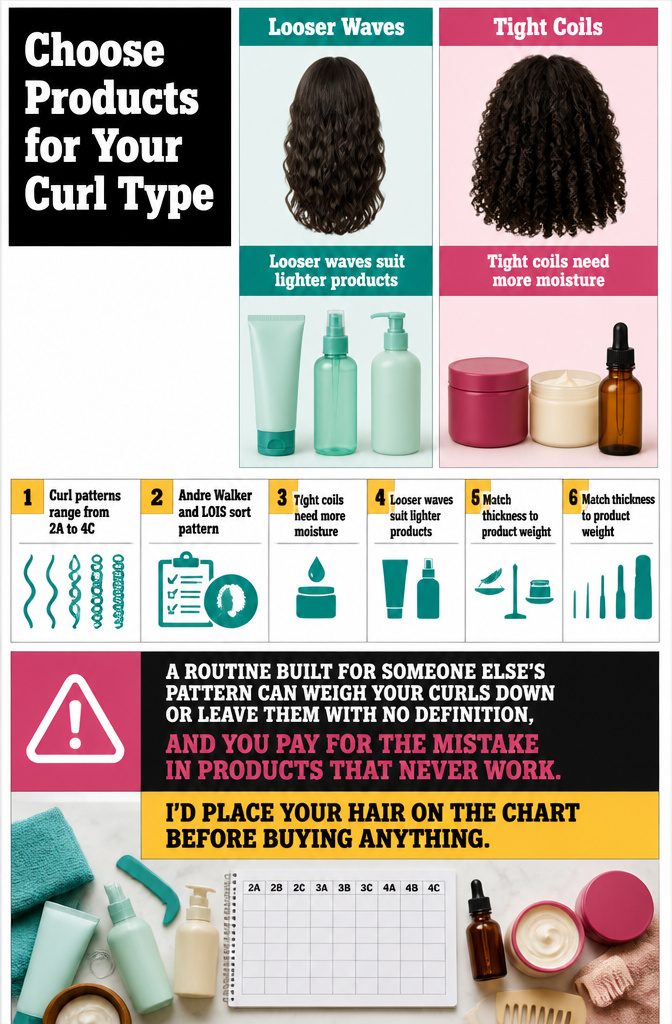
Curl patterns run from 2A to 4C, and where yours falls decides what goes in your cart. The Andre Walker Hair Typing System and the LOIS System both help you place it, sorting hair by curl pattern and thickness.
Tighter coils usually want more moisture and heavier styling products. Looser waves do better with lighter ones that leave the natural texture alone.
Thickness matters as much as pattern. Thin curly hair needs a lightweight conditioner, while thick, dry hair can take heavy natural oils.
A routine built for someone else’s pattern can weigh your curls down or leave them with no definition, and you pay for the mistake in products that never work. I’d place your hair on the chart before buying anything.
Why Moisture and Conditioning Matter
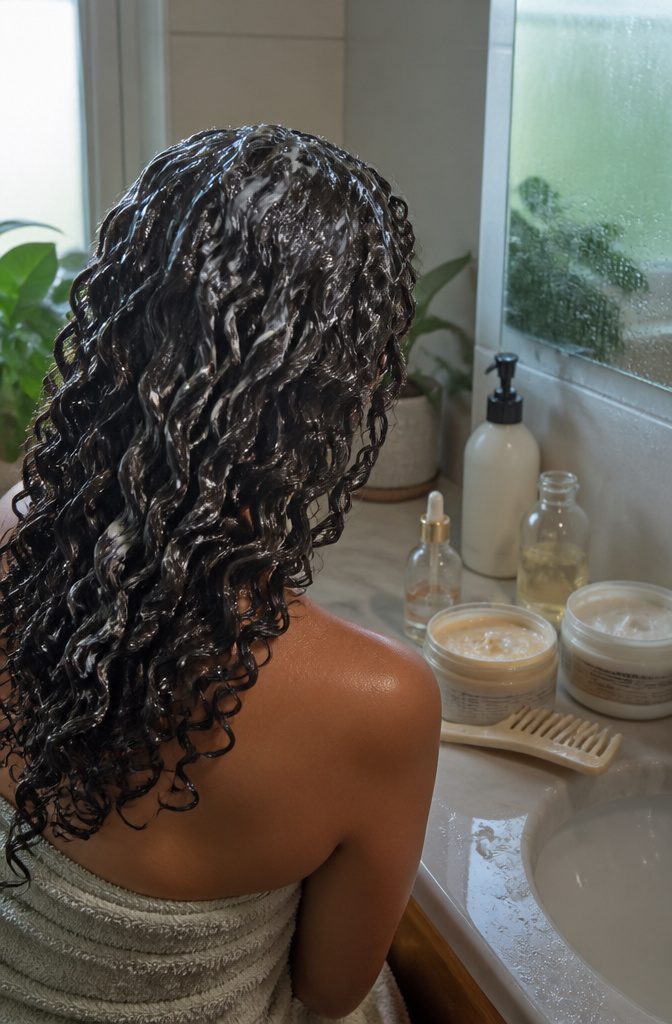
Curly and coily hair runs drier than straight hair, and that dryness makes it more fragile and prone to breakage.
Dehydrated curls rarely get bounce, shine, or definition, no matter which gel or technique you use. Moisture is what separates a defined curl from a frizzy, hard-to-manage one.
I look for a conditioner with argan oil, glycerin, or a fatty alcohol such as cetyl or stearyl alcohol.
Condition the whole head, not just the ends, then layer a leave-in or oil on top. Coarser coils can handle heavy, rich products, while fine waves get weighed down by the same formulas, so match the weight to your pattern.
Handle Gently to Reduce Frizz
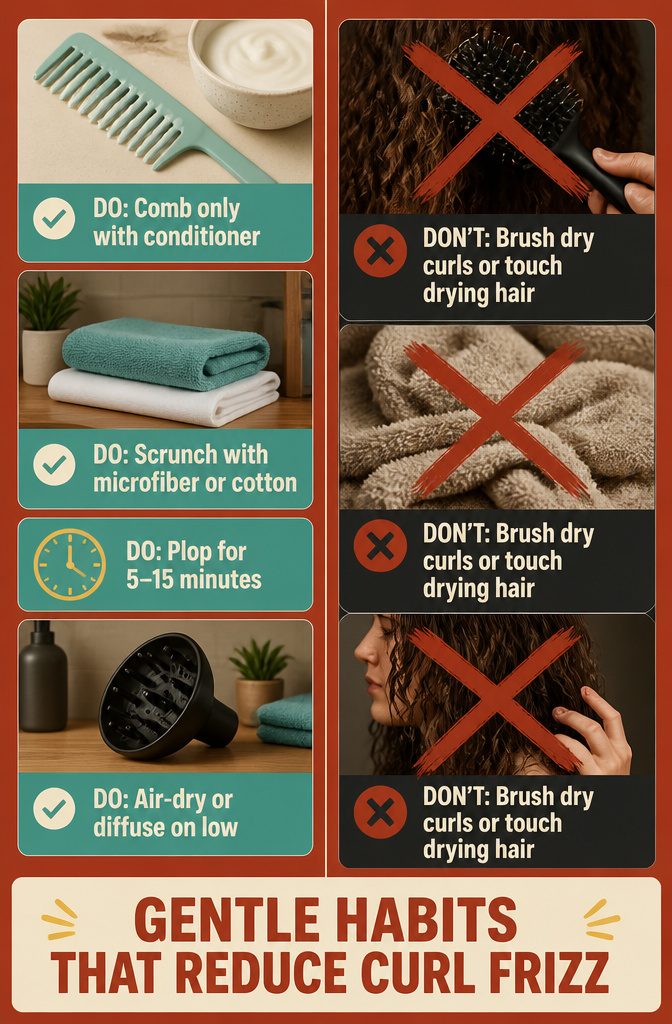
A regular brush dragged through dry curls snaps strands and raises frizz, and I’d retire it from wash day entirely. Detangle with a wide-tooth comb only while your hair is coated in slippery, creamy conditioner, which protects the cuticle.
Terrycloth roughs up the cuticle, and that means frizz and tangles.
Swap the bath towel for a microfiber towel or an old cotton T-shirt, then squeeze and scrunch upward toward your scalp instead of rubbing. If you plop, 5–15 minutes is the window.
Once your curls are drying, keep your hands out of them. Constant touching disrupts the curl pattern, so air-dry untouched or diffuse on low heat.
Deep Conditioning and Pre-Shampoo Treatments
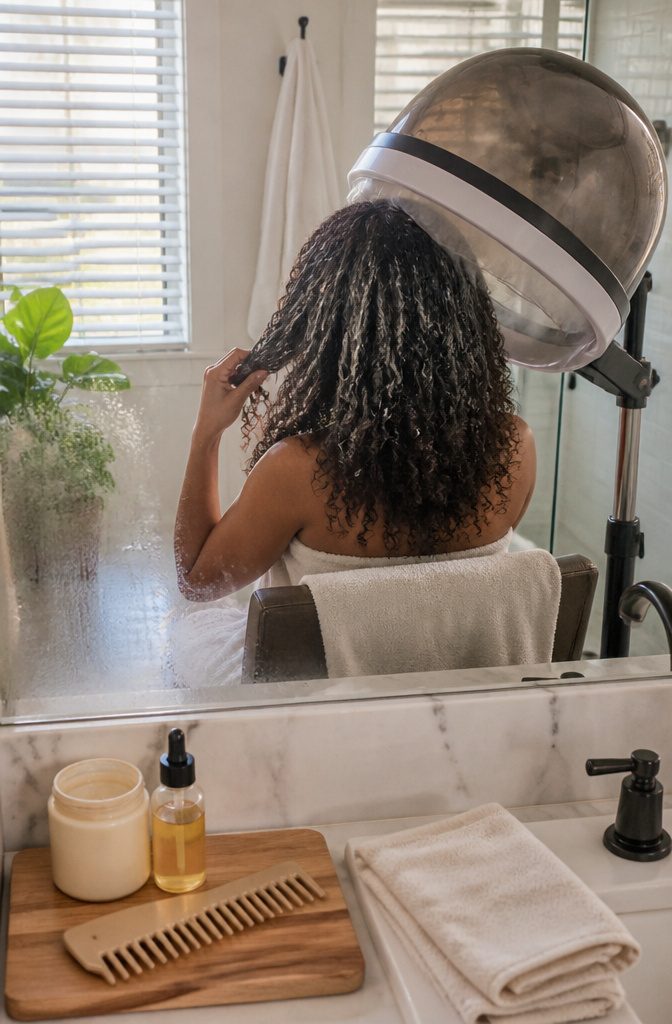
Deep condition weekly or every other week, and lean toward weekly as your texture gets tighter. Dry, dehydrated curls won’t show bounce, shine or definition no matter which gel follows.
After shampooing, work the mask through and sit under a dryer or steam for 15–20 minutes. Bumble and Bumble’s Hairdresser’s Invisible Oil 72 Hour Hydrating Hair Mask is a favorite for a boost of moisture or strength.
A pre-shampoo mask or conditioning oil a couple of times a month softens the hair shaft, so shampoo and conditioner absorb more deeply.
Fine, wavy hair is the exception. I’d skip the heavy treatments there, since they weigh it down.
Clarifying or Reset Washes
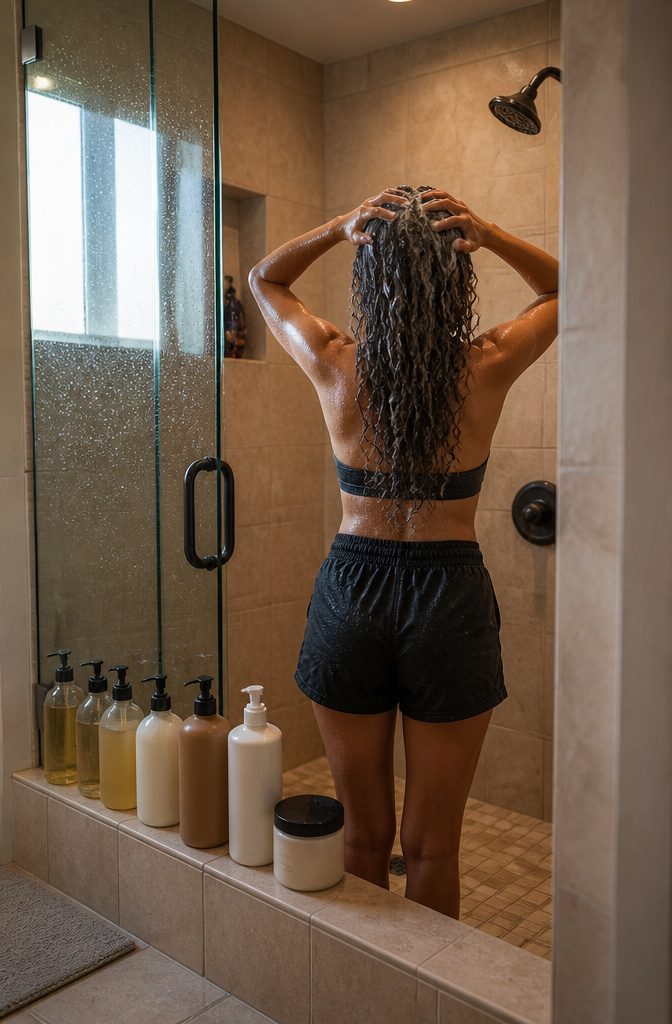
Silicone and wax coat the strand, and a sulfate-free shampoo won’t lift them. So the first wash of a new routine should be a sulfate-based clarifying shampoo, which leaves a clean base for everything that follows.
After that, sulfates are off the menu with one exception: if you accidentally use a product with silicones or waxes, reset again with the same bottle.
If you layer gels, creams or oils, a regular schedule works better than waiting for a mishap.
I like the pairing of Redken’s curl shampoo and conditioner for most washes with Kristin Ess’s clarifying shampoo about once a week to clear buildup.
Experiment and Adjust

No routine works perfectly the first time you try it.
The methods in the earlier steps give you a starting framework, but you’ll need to experiment with products, application techniques, and wash frequency to find what actually works for your curl pattern, porosity, and lifestyle.
Test deliberately rather than changing everything at once and losing track of what helped.
Try one application method at least three times before you move on to something else. Each time, vary how much product you use or how wet your hair is when you apply it.
That way you know whether the method itself doesn’t suit your hair or whether you just used too little gel the first round.
If you simplify your routine and stick with it for four to six weeks, you start seeing what your hair does consistently instead of what it does when you keep switching products mid-week.
The Curly Girl Method in particular can take at least six weeks to show real results, partly because of the learning curve and partly because your hair goes through a transition phase while it adjusts.
You’ll probably have bad hair days and want to quit.
Most people do. You’ll crack the combination that works for your texture once you give each test enough time to actually tell you something.
Product Buildup and Ingredients
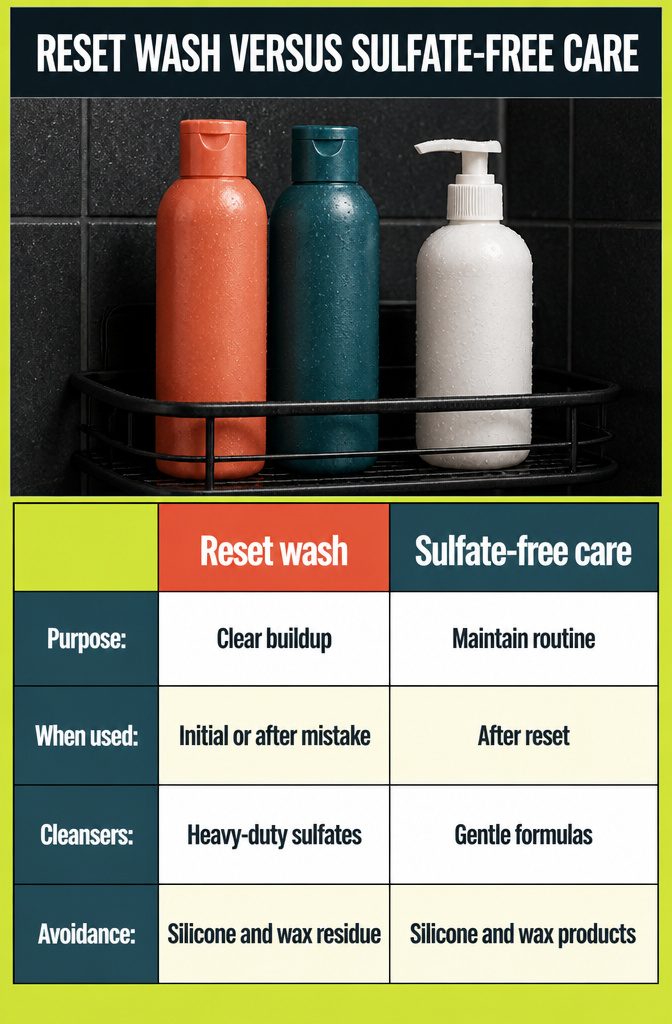
The Curly Girl Method pushes you to avoid silicones (found in 90 percent of hair products), waxes, mineral oils, harsh sulfates, and some alcohols.
Silicones coat the strand and can build up over wash cycles, and waxes and mineral oils sit the same way. Most need heavy-duty sulfates to strip them off, which is exactly what the method tells you not to use.
Not everyone agrees on where to draw the line. Some routines start with a sulfate shampoo specifically to clear silicone and wax buildup before switching to gentler formulas.
You repeat that reset wash any time you accidentally use a product with silicone or wax in it. After that, you stay sulfate-free and rely on approved conditioners and stylers that rinse clean.
Frequently Asked Questions
What order should I do my curly hair routine in?
Start with a sulfate-free shampoo, condition generously and detangle with a wide-tooth comb, apply leave-in conditioner followed by cream and gel to soaking-wet hair, dry with a microfiber towel or T-shirt (air-dry or diffuse on low heat), then scrunch out the gel cast once hair is completely dry.
This order keeps moisture locked in and curls defined without frizz.
How often should I wash my hair with the Curly Girl Method?
Wash once or twice a week with a sulfate-free shampoo for most curl types, though coilier textures can stretch to every 2 to 3 weeks.
Washing more often strips away the natural oils curly hair needs to stay hydrated. Use a shower cap on non-wash days to keep hair dry while bathing.
Can you brush your hair on the Curly Girl Method?
Never brush dry curls with a regular brush, as it causes breakage and frizz.
Detangle only when hair is soaked in conditioner, using fingers, a wide-tooth comb, or a loop brush, working from ends to roots. Thin, fragile hair may need a gentle dry-brush before the shower, but most curls detangle best when wet.
How do you dry your hair on the Curly Girl Method?
Scrunch upward with a microfiber towel or cotton T-shirt to remove excess water, then plop for 5 to 15 minutes by wrapping hair in the fabric turban-style.
After plopping, air-dry for about an hour or diffuse on low heat for 15 minutes, keeping hands out of your hair until it is fully dry.
What is hair plopping?
Lay a microfiber towel or cotton T-shirt flat, lower your wet hair onto it, then wrap the fabric around your head into a turban shape.
Leave it on for 5 to 15 minutes. Plopping helps curls hold their shape while drying and cuts down on frizz.
How long does it take the Curly Girl Method to work?
At least 6 weeks, including time to learn the routine and adjust to the transition phase. You will probably have bad hair days and want to quit before you crack the combination that works for your texture.
Test each method at least 3 times and stick with a simplified routine for 4 to 6 weeks before judging whether it suits your hair.
What if the Curly Girl Method isn’t working for me?
Simplify your routine and stick with it for 4 to 6 weeks so you see what your hair does consistently instead of reacting to one-off results.
Test one change at a time, varying product amount or wetness level, so you know what helped and what did not. If results still disappoint after 6 weeks, reassess whether your products match your curl pattern, porosity and thickness.
Should you brush hair after curling it?
No. Brushing breaks up the curl pattern and invites frizz, whether you are styling natural curls or heat-styled ones.
Keep your hands out of your hair while curls are setting, and once dry, scrunch gently with your hands or smooth a tiny bit of oil over the ends if needed.
How to get natural curls overnight?
Gather curls loosely on top of your head in a pineapple, use a loose braid, or choose another protective style before bed.
Add a satin bonnet or pillowcase to reduce friction and preserve curl definition. A silk bonnet and a good leave-in can stretch wash days to 3 or 4 days.





