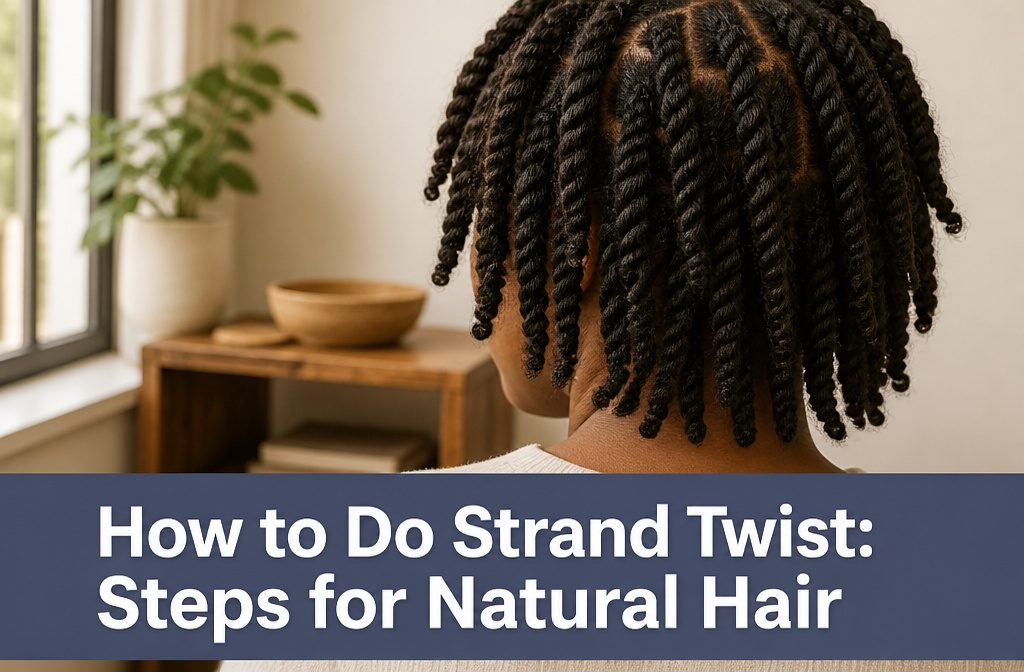
Medium twists on clean, damp hair balance definition against install time, last 1–3 weeks, and leave a twist-out that holds 3–7 days.
People go wrong before the first cross: twisting over knots locks them in, and twisting soaking-wet hair means slow drying and twists that unravel.
1. Start With Clean Hair
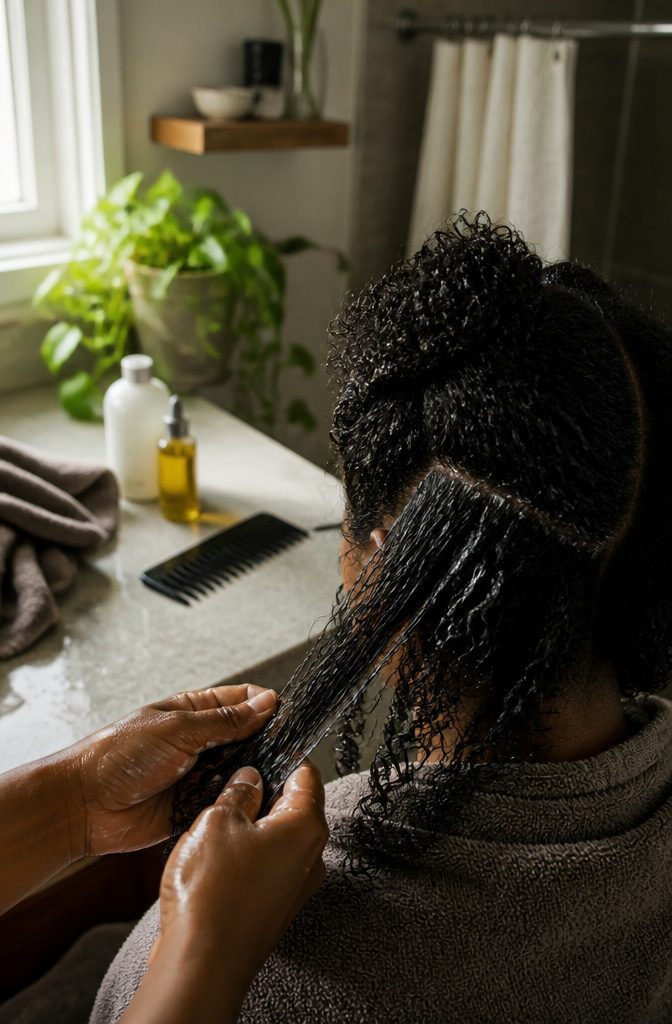
Twisting over knots locks them in, so wash, condition and detangle before the first twist. Work the tangles out while the conditioner is still in your hair, not after the twists are done.
Co-washing is the simplest way to start:
I always wash my hair with conditioner only. This helps keep the moisture locked in.
Conditioner alone is a fine cleanse for twist day. Follow it with leave-in conditioner, then a little oil to seal.
Blow-dry gently or let the hair air dry partway. Straight or relaxed hair should stay a bit damp, since smooth strands with sharp ends unravel easily.
2. Section the Hair
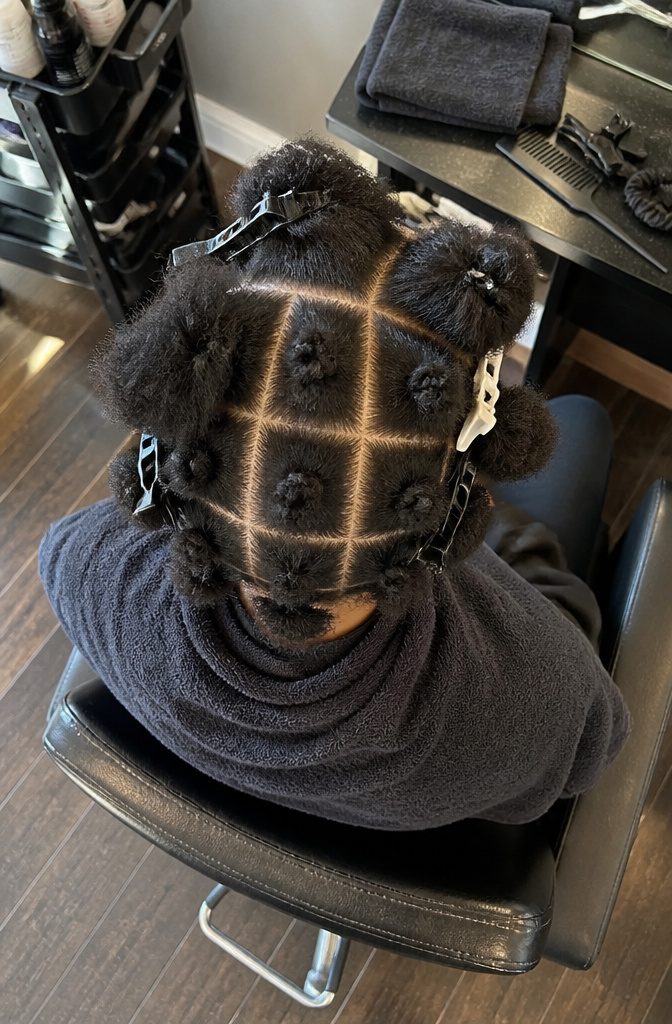
Split the hair into 4–8 larger working sections and clip each one out of the way, so you never end up chasing loose hair around your head.
A sectioning comb makes this easy: draw a line from ear to ear, then run vertical lines across it to make boxes.
Each box holds one twist. If you go with four sections, place the part where you want the twist-out to lay, because it will be hard to move once the twists are set.
Section size also sets the look.
Fewer, bigger boxes give chunky twists, and smaller, more numerous ones give more definition. I’d spend the extra minutes here, since sloppy sectioning shows up later as uneven twists.
3. Choose Twist Size
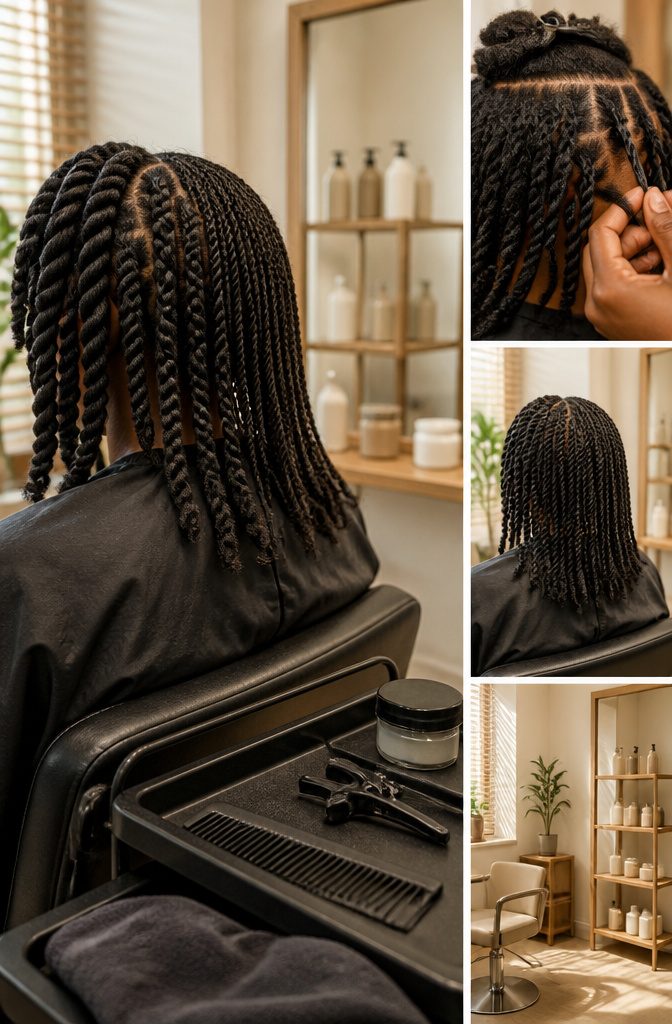
Twist size decides how much time you spend in the chair and how versatile the style becomes once you take it down.
Medium twists balance definition, fullness and install time, which makes them the best place to start if this is your first attempt.
Chunky twists move faster and give bigger, bolder twist-outs, but they come down sooner. Mini twists last longer and open up more styling options, but they require patience on install and takedown both.
| Twist size | Install speed | Fullness | Twist-out size | Longevity | Styling options |
|---|---|---|---|---|---|
| Chunky | Fastest | Less | Bigger | Shorter | Fewer |
| Medium | Moderate | Balanced | Moderate | Moderate | Moderate |
| Mini | Slowest | More | Tighter | Longer | More |
Whichever size you pick, twist each strand as tightly and as close to the other as you can manage. Tight, close twists unravel less easily and hold longer.
4. Moisturize Each Section
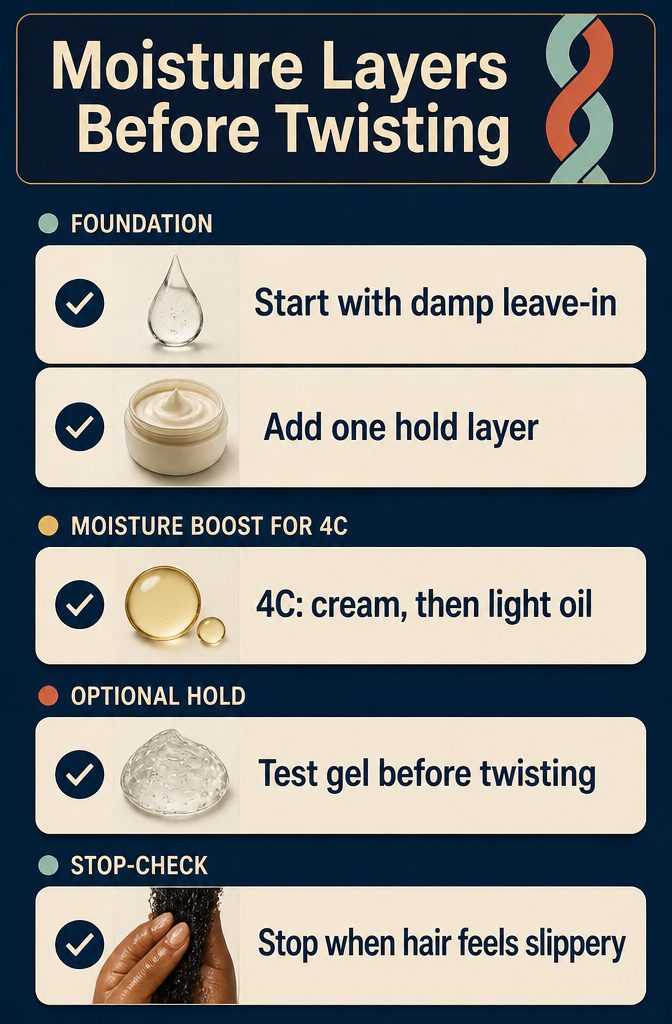
Hair should feel flexible before you twist it, and the number of products matters less than how the section feels in your fingers.
- Start with a leave-in or moisturizer on the damp section. Everything else sits on top of it.
- Add one layer of cream, mousse, twisting butter or gel, depending on how much hold you want.
- On 4C hair, use a moisturizing leave-in, then a thick styling cream with good slip, then a light oil like jojoba or argan to seal.
- Gel adds definition and smoother roots. Test it on one twist first, because some gels clump or flake as they dry.
- Don’t stack four products just because LOC or LCO says to. If the section already feels soft and slippery, start twisting.
5. Smooth and Detangle
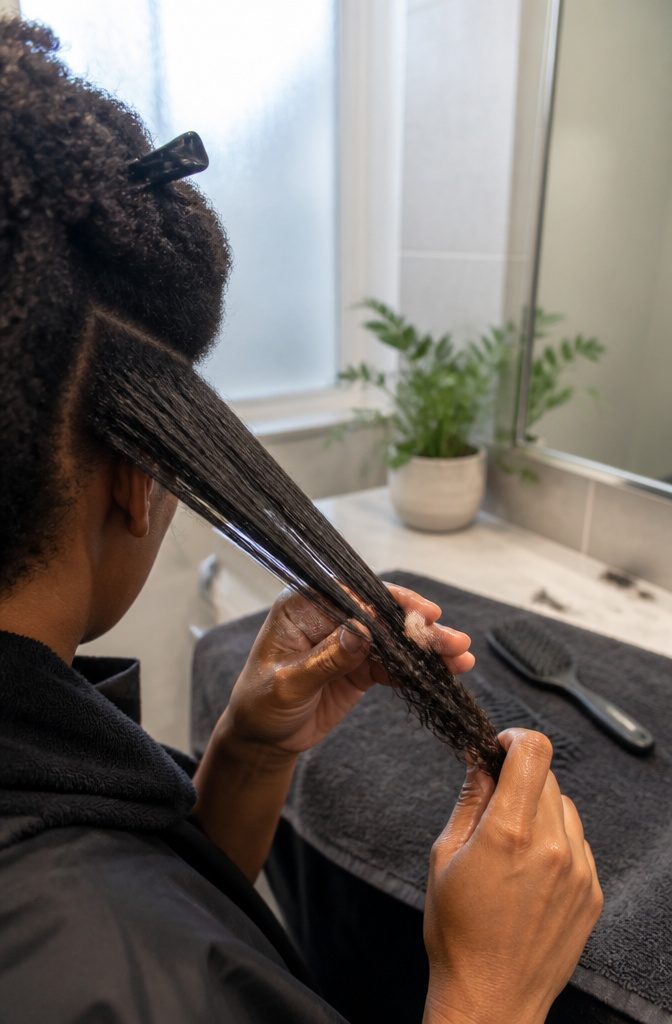
Run your fingers, a wide-tooth comb or a detangling brush through each clipped section before you twist anything.
Start with fingers and bring in the comb only where you feel resistance, working from the ends upward so you never drag a snag down the full length.
Give the ends the most time, since messy ends make an otherwise neat twist look unfinished.
A snag left in does not stay put. It knots up inside the twist, and at takedown it becomes the sore spot you have to pick apart.
Keep the hair damp, not dripping while you smooth. Soaked hair takes too long to dry and unravels more easily, and dry hair is harder to smooth.
6. Split Into Two Equal Pieces
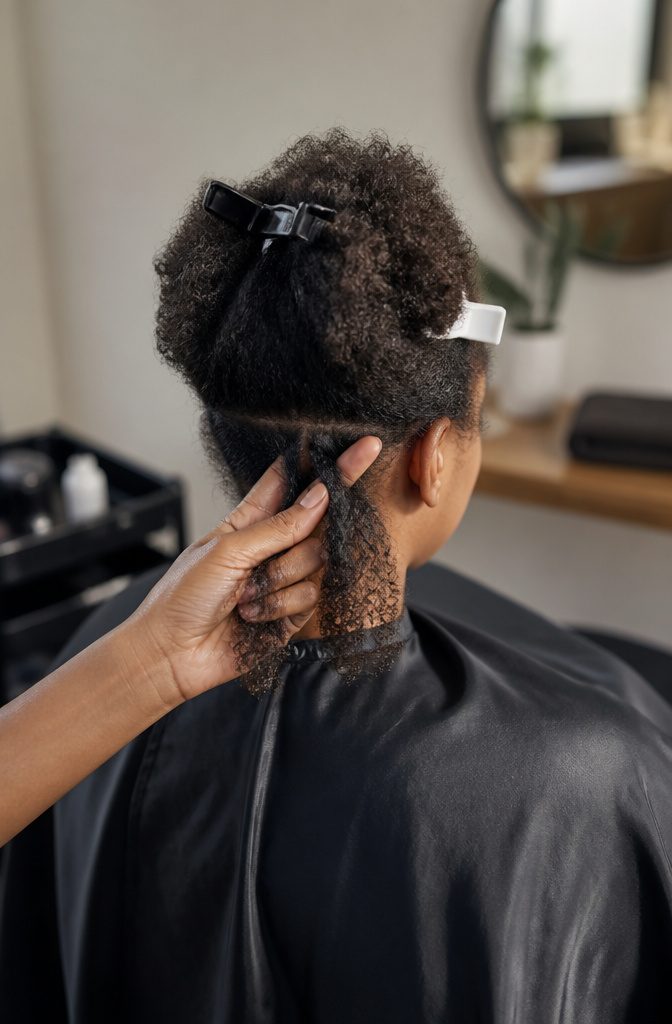
Uneven halves cause trouble later. If one piece carries noticeably more hair, you end up borrowing from it to feed the thinner one as you twist, and all that back-and-forth makes takedown slower and fussier.
Split each section into two pieces of matching thickness, then keep them apart for the whole twist.
I like to slide a finger between the two pieces right at the root. It holds the split in place while you start crossing, and it lets you compare both halves at a glance.
If one looks fatter, shift a little hair across before the first cross, not halfway down when it’s already twisted in.
7. Twist Root to End
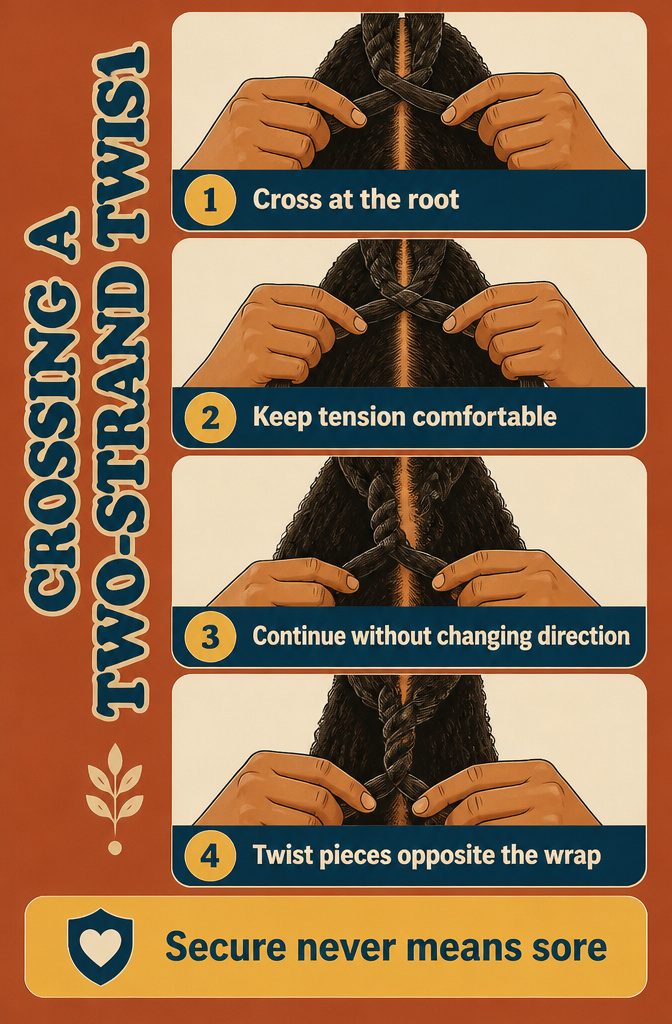
- Cross one piece over the other at the root, then cross again. Pick clockwise or counter-clockwise and stay with it down the whole twist.
- Keep the same comfortable tension on every cross. Secure should never mean sore, so if the scalp stings or pulls, undo that twist and redo it looser.
- Continue to the ends without changing direction.
- For a tighter, rope-like finish that looks closer to locs, twist each piece slightly in one direction as you wrap the two pieces around each other in the opposite direction. I’d choose this over the plain cross when you want the twists to look more defined.
8. Finish the Ends
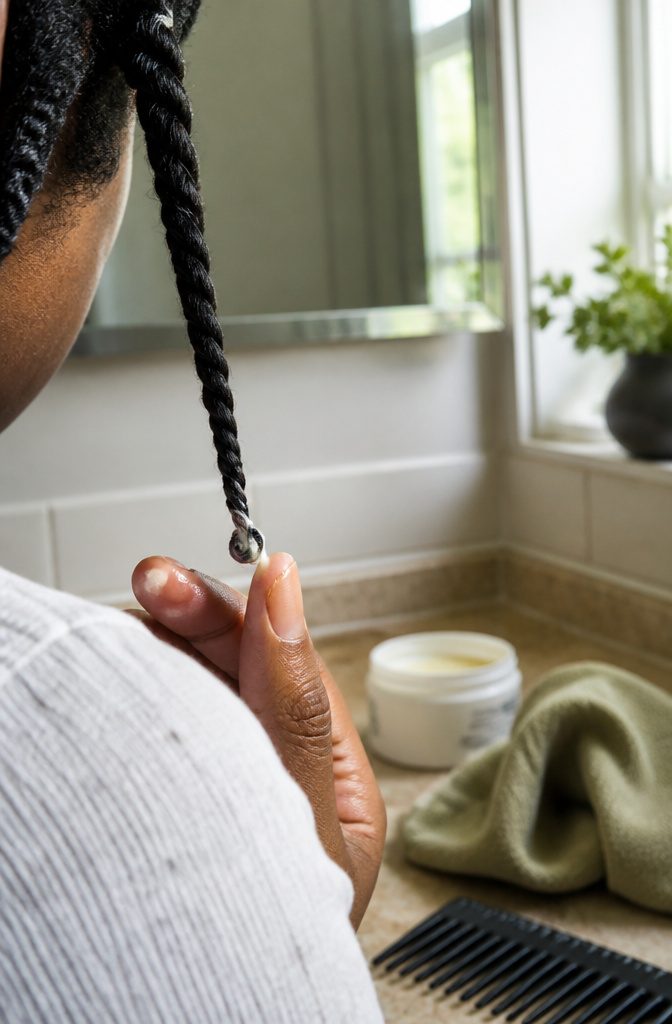
Twist all the way down to the tips, then finger-coil the end around your thumb and index finger so it curls over on itself and stays put.
A loose, unfinished end is the first part of a twist to fail, and I wouldn’t skip this step to save a minute.
Ends are the oldest part of the strand, which is why they run driest. If yours feel brittle, work in a tiny amount of moisturizer before you coil.
Any more than that and the tip gets heavy and slick, which makes it harder to hold. Seal it by pinching the end closed or dabbing on a small amount of twisting gel.
Wet, Damp or Dry Hair
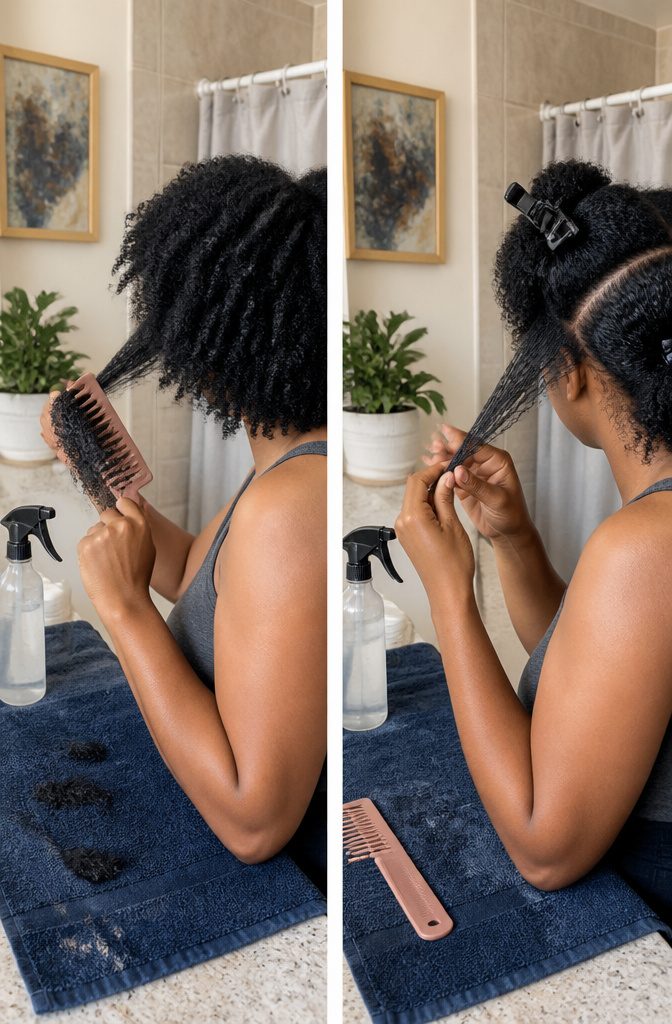
Wet hair gives the most shrinkage, spring and definition, and it can set up a stronger twist-out later.
The cost is drying time. Dense hair twisted while soaking can take a long time to dry completely, and wet twists unravel more easily.
Dry or stretched hair goes the other way: it shows more length with less shrinkage, but it is harder to section smoothly.
For a first attempt I’d go with clean, damp hair that is not dripping. Product spreads evenly, the comb glides, the twists dry faster, and shrinkage stays moderate.
It is also the state that gives the best definition and longevity. Save soaking-wet twisting for when you want compact, very defined twists and have the time to let them dry.
Dry Them, Then Take Down
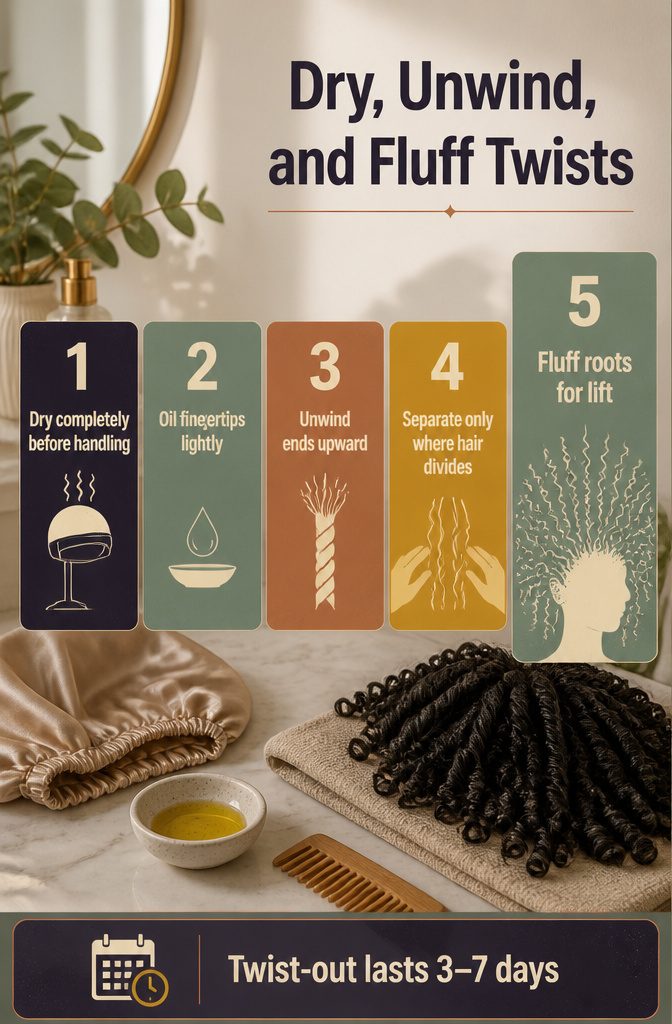
- Let the twists dry completely, overnight or under a hooded dryer. Don’t handle them while damp, because that causes frizz and costs you definition.
- Rub a little oil or butter into your fingertips to keep frizz down.
- Unwind each twist from the end upward, turning in the opposite direction. Never pull the two strands apart from the middle.
- Separate gently with your fingers, only where the hair wants to divide. More separating means more volume and usually less definition, and combs flatten the pattern.
- Fluff the roots for lift.
Some people wear the twists through the rest of that day and the next before taking them down, and I think that’s worth copying. A twist-out lasts 3–7 days, about a week at best.
Nighttime Care and Refreshing
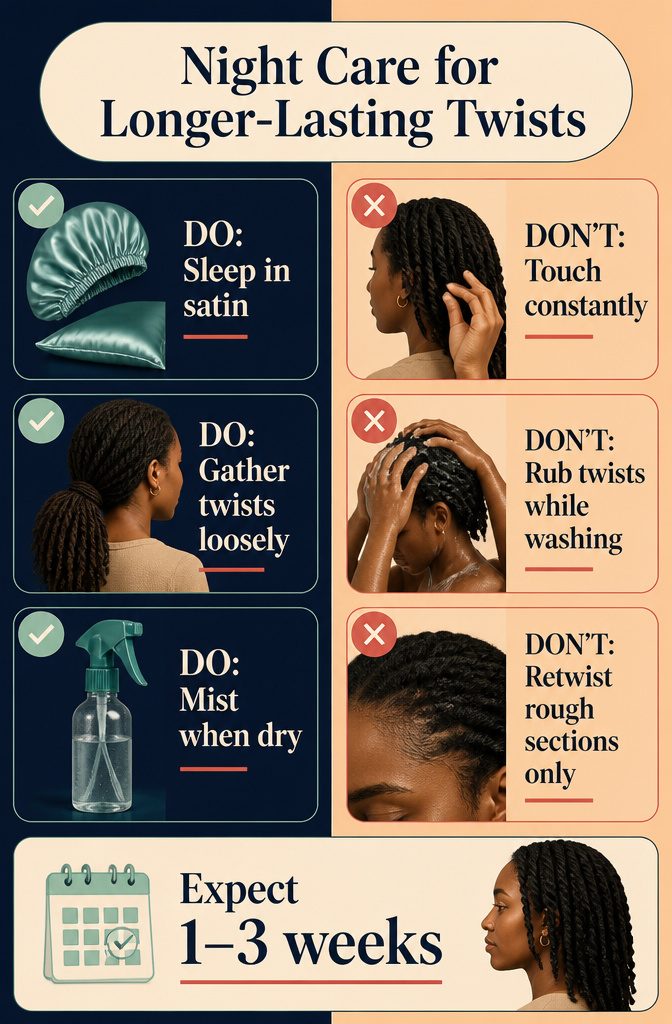
Small habits at night and in between washes decide how long a set looks good:
- Sleep in a satin bonnet or scarf, or on a satin or silk pillowcase. Cotton drags at the hair.
- Gather longer twists loosely into a ponytail or a few big sections so you aren’t crushing them under your head.
- Mist lightly with water or a leave-in spray every few days, or whenever the twists feel dry.
- Retwist only the rough sections, usually roots and edges. Constant touching is what frizzes a set fastest.
- Expect 1–3 weeks, sometimes 1–4, depending on moisture and upkeep. One tutorial stretched a set to 15 days. Twist-outs last 3–7 days.
- To wash, put cleanser on the scalp, skip rubbing the twists together, rinse well, squeeze gently and dry completely. If roots start matting, take the twists down.
Twists and Length Retention
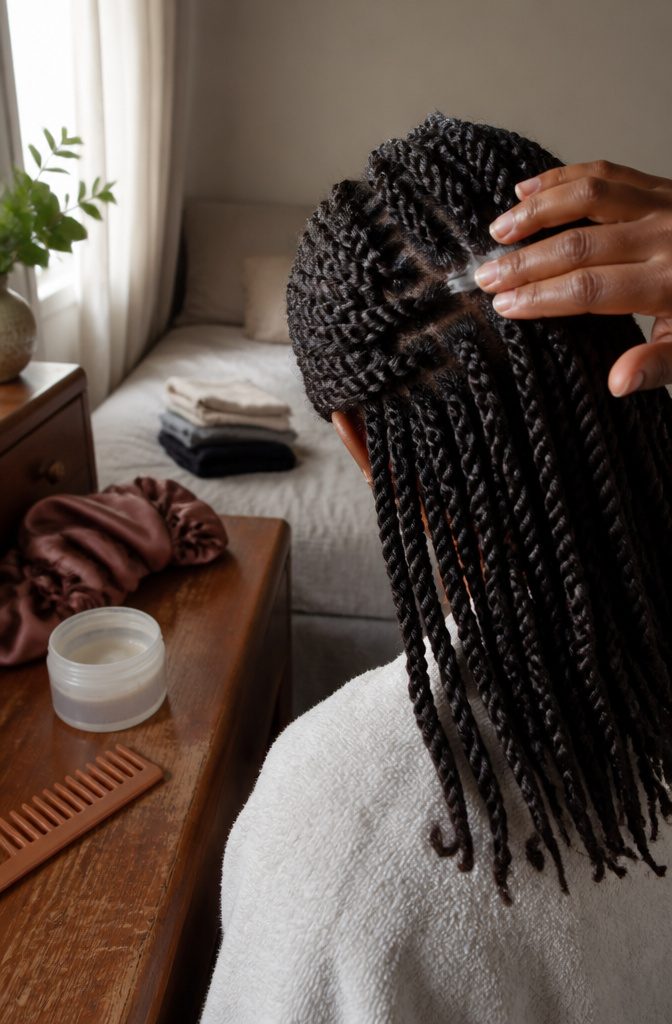
Two-strand twists do not make follicles grow hair any faster.
Any length you gain comes from breakage you avoid, and twists help in a few concrete ways. Once the style is in, you skip the daily brushing, the detangling sessions, the heat and the morning restyle.
The hair also stays divided into sections, so tangles have less room to form, and your ends and scalp stay easy to reach for moisture.
I’d call that a real benefit, just a quieter one than "grows hair" suggests. Twists typically last 1–4 weeks depending on upkeep, so the retention benefit builds only if you really leave them alone for that stretch.
Frequently Asked Questions
Is it better to do a 2 strand twist on wet or dry hair?
Clean, damp hair that isn’t dripping is the best choice for most people.
Soaking-wet hair gives the most shrinkage and definition, but it dries slowly and the twists unravel more easily. Dry or stretched hair shows more length, though it is harder to section smoothly.
How do you do a 2 strand twist for beginners?
Wash, condition and detangle first, then split your damp hair into 4–8 sections. Divide each section into two equal pieces, cross them over each other from the root, and keep twisting in the same direction down to the ends.
Finger-coil each tip so it stays put. Medium-size twists are the easiest size to learn on.
Can you use gel for 2 strand twists?
Yes.
Gel gives more hold, smoother roots and a more defined twist-out. Some gels clump or flake as they dry, so try yours on a single twist before doing your whole head.
How long do 2 strand twists last?
Most sets last 1–3 weeks, and with good upkeep some reach 4.
Twist size, moisture, scalp condition, activity and nighttime care all shift that number. Take them down early if the roots start matting.
How do you do a twist-out from 2 strand twists?
Let the twists dry completely, then rub a little oil or butter into your fingertips. Unwind each twist from the end upward, turning opposite to the way you twisted.
Separate gently with your fingers and fluff the roots for lift. The finished look holds for about 3–7 days.
Can you wash 2 strand twists?
Yes, but washing can add frizz and loosen the twists. Put cleanser on the scalp, don’t rub the twists against each other, rinse well, squeeze out water gently and let them dry completely.
Do 2 strand twists help hair grow?
No, they don’t make follicles produce hair any faster.
They help you keep length by cutting down on breakage, since you skip daily brushing, heat and restyling while the twists are in. The benefit only builds if you leave the set alone for its full run.
What products work best for 2 strand twists on 4C hair?
Layer a moisturizing leave-in first, then a thick styling cream with good slip, and finish with a light oil such as jojoba or argan to seal.
If the section already feels soft and slippery after two layers, you can start twisting without adding more.





